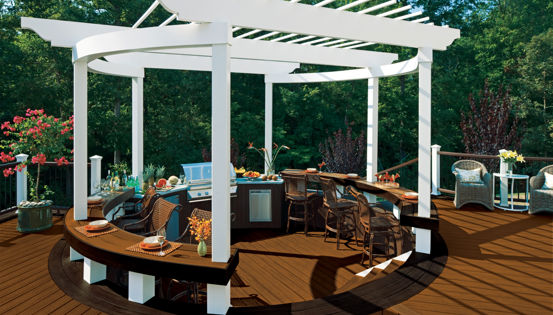
Interested in creating a sun-filled space on your property where you can enjoy the beautiful scenery, relax, and recharge your batteries? Or maybe you would like to create a cool, shady oasis that is your go-to destination for entertaining neighbors, friends, and family on a hot summer day.
Regardless of what your motivation for creating that new outdoor space is, building a floating deck might just be the perfect solution. This article will discuss why you may want to tackle a DIY floating deck, the pros and cons of building one, and includes step-by-step instructions on how to get it done.
What is a Floating Deck?
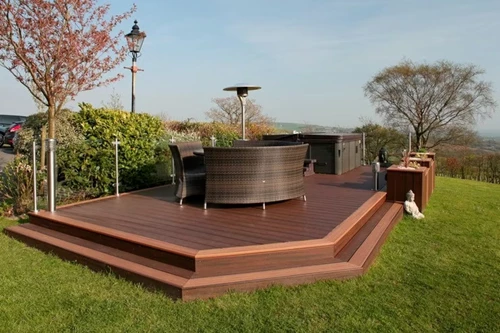
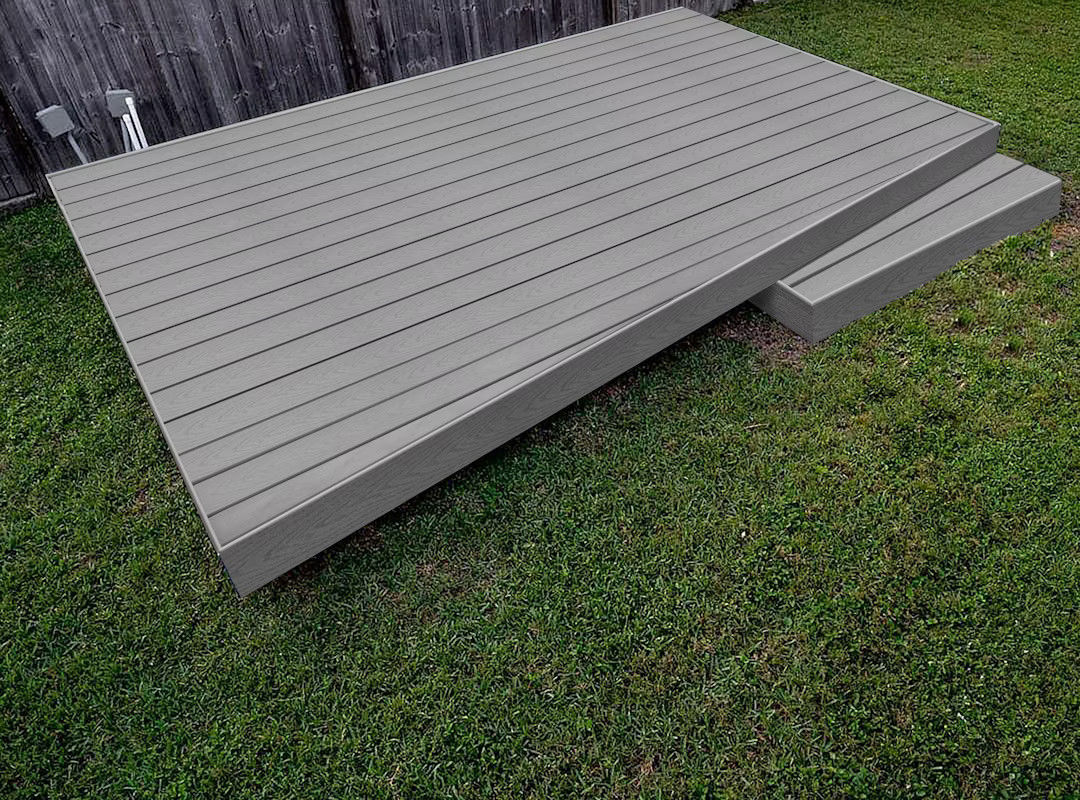
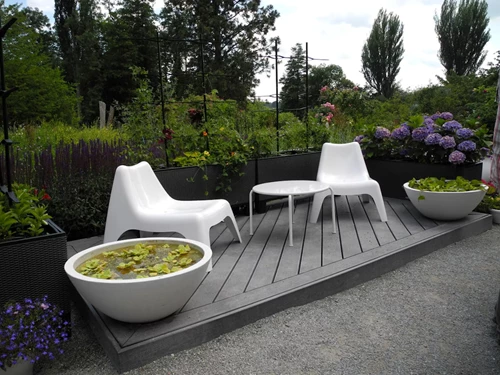
A floating deck, often called a freestanding deck, is a type of deck that is not attached to a house or structure. Because a floating deck stands on its own, additional bracing may be required to keep the deck from swaying back and forth. These decks are typically built close to the ground and do not need to be attached to a structure. This allows you to choose the perfect spot for your outdoor oasis, whether it's in a shaded corner of your yard or closer to the pool.
Why Build a Floating Deck Instead of an Attached Deck?
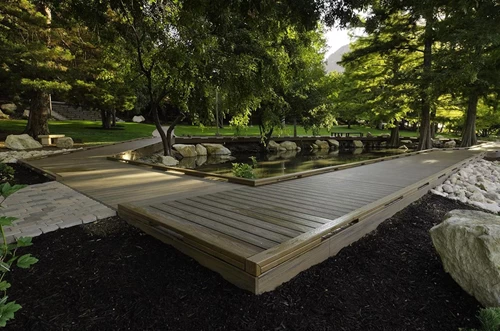
There are several reasons why you may not want your deck attached to your house, which include regulatory considerations, the desire to take advantage of the best location on your property, or eliminating the complications of having to install a ledger board. Also, many floating decks are built in addition to a primary deck that might be attached to a house. Keep reading to discover more reasons why you might want to build a floating deck.
Floating Decks Might be Subject to Fewer Building Codes & Regulations
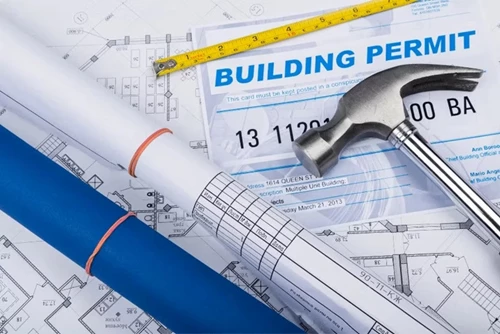
In some municipalities, floating decks of a certain size are not subject to the same permit and zoning requirements as a deck that's permanently attached to a home. However, the exact regulations that pertain to decks vary widely, so you'll need to check with the department of your local municipalities that governs building permits.
Even if a permit isn't required, you'll still want to build your deck to meet building code standards, which are intended to keep the structure safe. Make sure to follow the manufacturer’s instructions to get the most life out of your decking materials and to take advantage of product warranties. Building a deck using subpar techniques and materials will not only affect your enjoyment of a deck but might also affect the value of your home.
Floating Decks Provide Lots of Options
There’s no question that having a deck near the house is convenient when grilling and entertaining, but sometimes, a deck located away from the house can make more sense. Here are some scenarios where it might be a good idea to locate a deck elsewhere on a property:
- You might want to locate a deck away from the house to take advantage of the sun or shade
- You might not want an attached deck to reduce the amount of sunlight entering certain areas of your house
- You can build a floating deck in a more private, quiet, out-of-the-way location
- There might be specific plants or landscaping features that you don’t want to alter or remove to build an attached deck
- Your pool that’s located away from the house could benefit from a wrap-around floating deck
- It could be difficult to align the aesthetics of the home with an attached deck
Floating Decks Don’t Require a Ledger Board
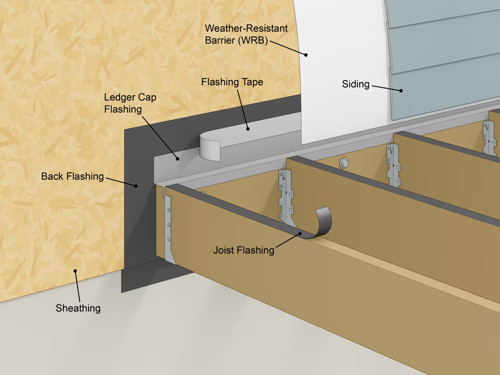
Securing a deck to a house is a good way to create a sturdy and safe structure. However, an attached deck requires a ledger board, and installing a ledger board involves altering a building’s envelope. This often requires very careful flashing techniques and procedures that can be more complicated than the standard construction techniques required to build the rest of the deck. Also, building codes often prevent attaching a ledger boards to cantilevered sections of a house including bays and other features sometimes referred to as bump-outs.
What is the Best Base for a Floating Deck?
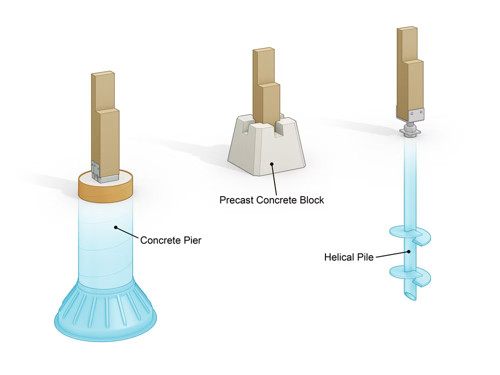
A floating deck is not actually floating in the air, in fact, the best-floating deck will be securely fastened to the ground. While it is possible to set a floating deck on concrete blocks, it’s always best to secure a deck to some sort of permanent footing, and here’s why:
- Permanent footings provide a more secure base, which will add stability to the structure of your floating deck
- Blocks set on the surface of the ground are subject to the shifting of the soil due to erosion and the freeze/thaw cycle and might result in an uneven or wavy deck surface
- Permanent footings allow you to more easily build your deck on a sloped elevation without having to first create a level surface which could require considerable excavation work
- A floating deck that is securely anchored to permanent footings will be less likely to lift or blow away during a storm or tornado that generates extremely high winds.
Building A Floating Deck: Step-By-Step
If, after careful consideration, you have determined that a floating or freestanding deck is the solution that will best suit your specific needs, then following these simple steps will help you get your project done efficiently and avoid costly mistakes. The purpose of this article is to help you achieve a beautiful and safe deck that will add to the value of your home and increase the utility and enjoyment of your property for many years to come.
Step 1: Design Your Floating Deck
The size and shape of your floating deck will depend on your unique property and how you intend to use your new space, but here are a few things to consider: Before you commit to a size, find out what lengths the materials you plan to use are available in. For example, popular brands of composite decking are available in 8-, 12-, 16-, & 20-ft. lengths. That means, if you build a deck just over 12 ft. long, you would have to purchase 16-ft. deck boards, which will result in a lot of waste.
Also, if you prefer not to have a railing, you'll want to keep the surface height of your deck under 30 in. If you build it any higher, your local municipalities might require you to install railings. The surface height will also affect how many steps are needed and how tall each step needs to be. To simplify the design process, try the Trex Deck Designer Software. Click here if you need help figuring out the size of joists you will need and here to determine the size of beams you will need.
Step 2: Choose the Best Decking Material
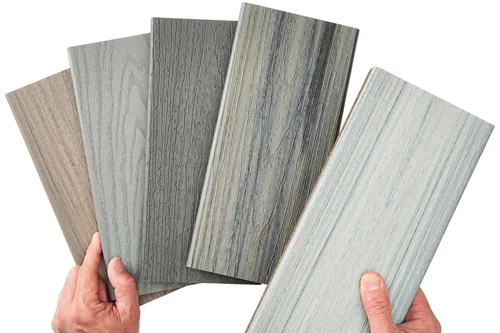
Wood and composite are the two most common decking materials. When you compare and contrast the two, use the considerations below to help you decide which is best for your project.
- Appearance
- Durability
- Longevity
- Warranty
- Maintenance required
- Ease of installation
- Cost
Find more information about wood and composite decking here.
Step 3: Locate Utilities and Attain the Necessary Permits
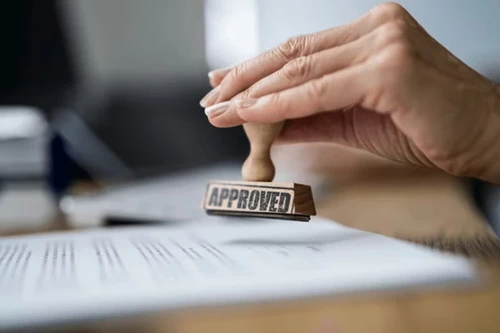
While some municipalities don’t require permits for floating decks, it’s important to call the government department that issues building permits in your area and find out for sure. Even if you don’t need a permit, there might be restrictions on the size of a floating deck you can build and how close to a property line you can build it. Also, if your neighborhood is managed by a Homeowner’s Association, you will need to check with them about your plans. And don't forget to call 811 to have your underground utilities located before you dig the holes for your footings.

Step 4: Prepare the Site
You will want to find, and potentially relocate irrigation lines and sprinkler heads that your new floating deck might block or damage. Pull out or trim down shrubs or bushes and use a vegetation-killing chemical on any vegetation that you don’t want sprouting up under your deck. Make sure the grade slopes away from where you plan to install footings. If the soil around your footings absorbs too much moisture from rain runoff, it could compromise their structural integrity and make them prone to lifting caused by the freeze/thaw cycle.
Step 5: Install the Footings
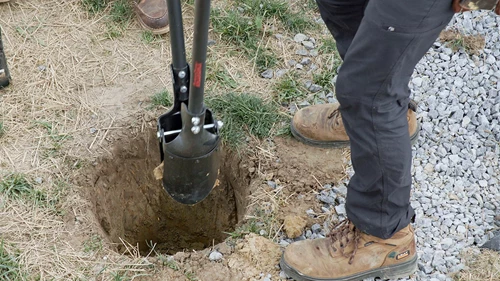
The width of your footings will depend on the amount of weight each one will have to support, and the depth will depend on the region in which you live—The colder the climate the deeper your footings will have to be buried. Your local building official will likely be able to advise you on footing size. Also, here is a helpful reference that will explain footing size requirements. For elaborate and complicated deck designs, you might need to consult an engineer. Your local lumber supplier might have one on staff or be able to recommend one. In order to find the precise location for your footings, you will want to use a mason’s string line to layout the exact location of the beams and frame. If the deck is small enough, you might be able to build the frame first, set it in place to locate the footings, and then move it out of the way when you dig the holes.
Step 6: Install Weed Barrier
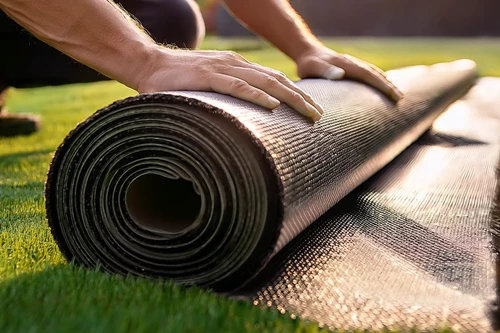
It's a good idea to Install a weed barrier landscaping fabric to prevent weeds from growing up under your floating deck. You could cover the perimeter of the fabric (those areas that will be visible) with a decorative rock or wood chips to conceal and protect the fabric. It’s easier to do this after the footings are in because the fabric will make it harder to dispose of the dirt leftover from digging the holes. Just make sure you buy a fabric that is hardy enough to handle a little foot traffic during the deck construction process.
Step 7: Install the Posts and Beams
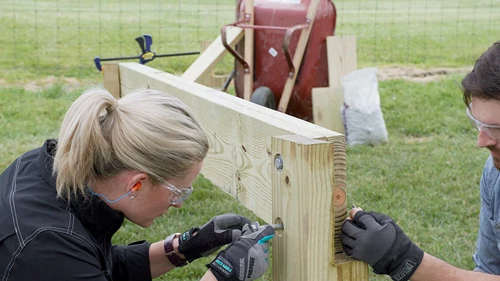
Measure and mark the locations of the posts on the top of the footings. In addition to proper spacing, the posts need to form a square or rectangle with perfect 90-deg. corners. You can accomplish this measuring diagonally both ways between the posts. You’ll know when all four angles are exactly 90 deg. when both diagonal spans are exactly the same distance apart. Install post anchors at those locations. Cut four posts longer than the desired distance between the top of the footing and the top of the drop beam and install them onto the anchors as plumb (straight up and down) as possible using just one fastener at this point. Click here for more information on deck layout and post spacing.
Using a laser level, water level, or a long straight board in conjunction with a 4-ft. (or longer) level, mark the desired locations of the bottom and top of the drop beams on all four posts. Remove the posts, cut them to length and notch out the top of the post to create a ledge for the beams to rest on. Reinstall the posts onto the anchors, and again, secure them with just one fastener in each post. Install the beams onto the posts using just clamps or one fastener for starters. When all the posts are plumb, the beams are parallel, and the ends of the beams create a perfectly square rectangle, use temporary bracing to hold everything in place. Once secure, finish fastening the posts to the anchors and the beams to the post. To keep the deck height lower, it is possible to set the beams directly on the footings and illuminate the need for posts. If you choose to go that route, the height of the footings would all have to be level. Add a flashing membrane to the top of the beams before building the frame on top of them.
Step 8: Build the Deck Frame
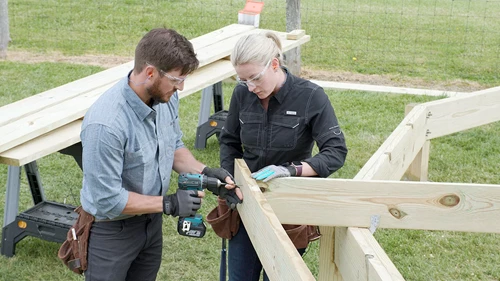
Start by marking the crown on all your joist lumber. The crown is the side of the lumber that is bowed out. Install all the joists with the crown oriented upwards. Start by assembling the perimeter of the deck frame. Don’t fasten the frame to the beams until you know that the frame is evenly spaced on the beams and that it is perfectly square. Once aligned, fasten the joists to the beams using structural fasteners sometimes called rafter ties or hurricane clips. Install the rest of the joist with screws or nails, but only fasten them to the band joists (the two end joists that are perpendicular to the rest) for now. You will secure them to the beam after you know they are aligned properly.
Once all the joists are in place, run a mason’s string/line along the length of one of the band joists to make sure that it's perfectly straight. You will likely have to tap in one side or the other on a few of the joists. Once the band joist is straight, use the string to double check the opposite band joist, then double check the squareness of the overall frame one more time. If everything is looking straight and square, secure the joists to the beams with ties or clips and then secure the ends of the joists to the band joists with joist hangers.
Step 9: Add Blocking, Bracing, and Joist Tape
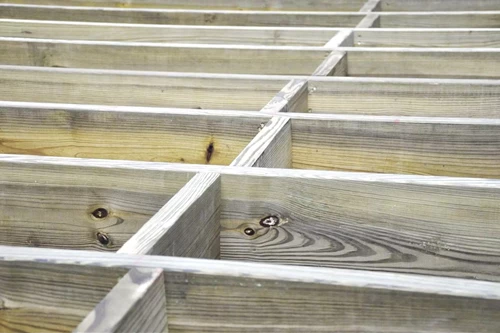
Installing blocking down the middle of the frame will make a deck feel more stable. Blocking can also help prevent wet treated joists from bowing further up as they dry, which could result in a wavy surface. Add more than one row for very large decks. You will need to install extra blocking for posts if your floating deck will have a railing. If you plan on installing an accent or border to create a picture frame around the perimeter of your deck, now is the time to install the extra blocking to help you fasten those boards as well.
Once all the blocking is in place, remove the temporary bracing and check to see how sturdy the frame is by standing on top of it and trying to make it sway back and forth. While the deck boards will add stability once they’re installed, at this point the frame should feel strong and stable. Because floating decks are not attached to an immovable object like a house, they are more prone to swaying. Taller floating decks will likely need knee bracing to help keep them stable. If the beams are secured directly to the footings, bracing won't be necessary. Finish the frame by installing a flashing membrane to the top of the joists and blocks.
Step 10: Build the Deck Stairs
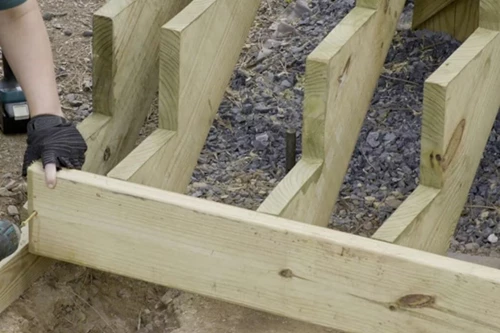
The number of steps you need, and the size of each riser will depend on the overall height of the surface of your deck, but here are some things you should know:
- Stairs with four or more risers will require a handrail
- Each riser cannot be more than 7-3/4 in. tall
- The greatest riser height shall not exceed the smallest by more than 3/8 in.
- Each tread needs to be at least 10 in. wide
- Stair stringers typically need to be placed closer together than standard joist spacing. Always follow manufacturers' guidelines.
Find out more about building deck stairs here.
Step 11: Install the Decking
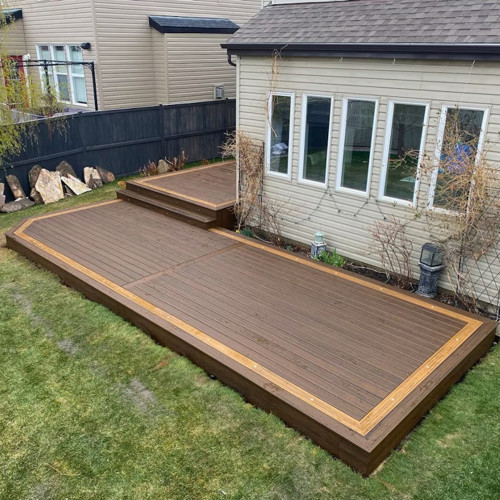
If you plan to create a picture frame, install the boarder boards first. You can hold the miters together tighter by using a combination of adhesive and pocket holes or biscuits. Next, install the boards within the picture frame with the proper gap at each end. You will also want to leave a width-to-width gap between each board.
Click here to find out more about deck board spacing. If you are not going to create a picture frame, install the boards flush with the ends of the joists. You will create a gap at the ends of the boards when you install the fascia (see more below). You could cut each board to length, or start each board flush on one end, run it long on the other, and then trim the long ends down with a circular saw after they have been installed. Just make sure that you don’t damage the joist flashing membrane in the process.
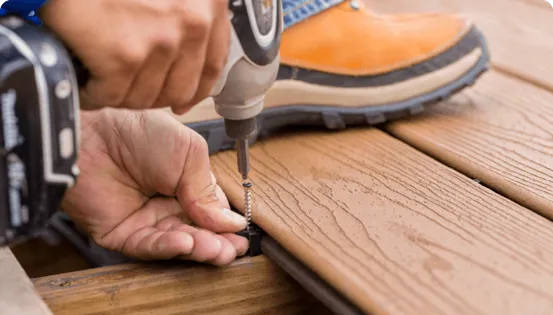
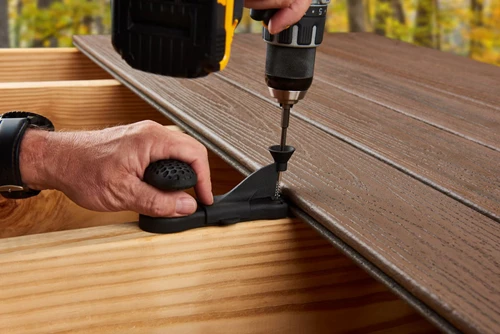
There are three ways to fasten composite deck boards. You could use color-matching screws or install a screw and plug system that renders the fasteners almost invisible. Another option is to secure the deck boards with clips that are self-gapping and leave a fastener-free surface. The tool shown here makes installing these hidden fasteners much easier and faster.
Step 12: Install the Fascia
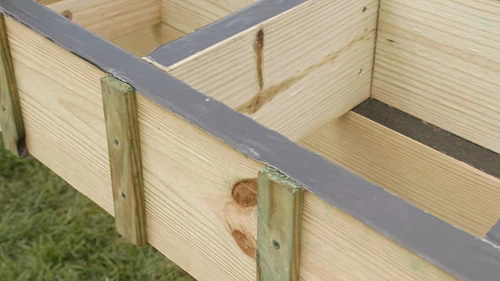
When creating a picture frame, the boards that comprise the frame should be held out far enough past the joists so that they overlap and cover the entire width of the fascia. If you are not creating a picture frame, you will want to hold the fascia up high, so that the top of the fascia is flush with the top surface of the decking. This will allow you to conceal the cut/unfinished ends of the deck boards.
Install spacers between the facia and the joists when using this method to allow moisture and debris to wash out between them and to allow them to dry out after it rains. Use the fasteners recommended by the manufacturer and be sure to follow the recommended fastener spacing for whichever type of fascia you plan to install. Click here for more information on installing fascia.
Step 13: Accessorize
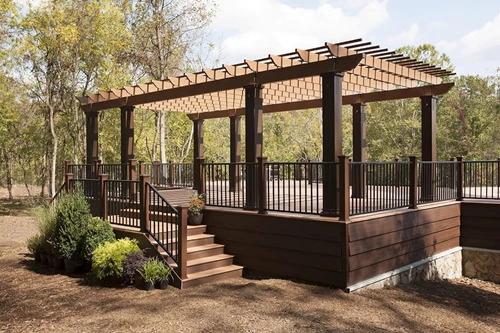
You’ve done it. You built your dream deck! Now all that’s left to do is to add those personal touches that will make your new space the envy of the neighborhood.
- Keep the party going with lighting
- Treat yourself to comfortable furniture that lasts
- Add a touch of privacy
- Stay cool with a pergola
- Create an outdoor kitchen
Materials Needed to Build a Floating Deck
- Pressure-treated lumber for the frame
- 4x4 or 6x6 pressure-treated posts rated for ground contact
- Exterior-grade 3-in. screws or nails approved for use with treated lumber
- Joist hangers approved for use with treated lumber
- Joist corner/angle brackets approved for use with treated lumber
- Exterior-grade structural screws or nails approved for use with treated lumber to fasten the joist hardware
- Exterior-grade structural screws or through bolts approved for use with treated lumber to fasten the joists to the posts
- Weed barrier/landscape fabric
- Weed barrier pins or staples
- Drainable gravel/stone (for the bottom of non-concrete footings)
- Concrete mix and forms (for concrete footings)
- Joist tape
- Deck boards with grooves if you use hidden fastening clips
- Deck boards without grooves for the picture frame and when using surface screws
- Fascia boards
- Hidden fasteners or deck screws
- Fascia board screws
- Construction adhesive (for fascia when using composite decking screws)

Tools Required to Build a Floating Deck:
- Belt sander (Optional)
- Caulk gun (for fascia adhesive when using composite decking screws)
- Chalk line
- Circular saw
- Clamps
- Drill or driver with appropriate bits
- Eye and hearing protection
- Level
- Miter saw
- Pencil or marker
- Post-hole digger (Optional)
- Shovel
- Spacers (when not using hidden fasteners)
- Squares (carpenter and speed)
- Table saw (optional)
- Tape measure
- Trex Universal Fastener Installation Tool (optional)
