1) Router a 3/4" deep channel into the 2x4 top rails. This will allow you to hide the low-voltage wire under the top cap. Also router a 3/4" channel down the side of the rail post, closest to the transformer. This will allow you to transfer the wire from under the deck to the top rail. Place the transformer next to the electrical outlet.
2) Drill a hole into the center of the top of your rail posts using a 2" forstner bit. Drill a 1/2" hole from the side of the top rail through the center hole to pull the low-voltage wire through.
3) Run the wire from the transformer to the first light, leaving a 6" loop of wire at the top of the post. Continue the process of threading the wire along the rail through each post, leaving a loop of extra wire at each post. Do not secure the top cap until the lighting system is finished and working.
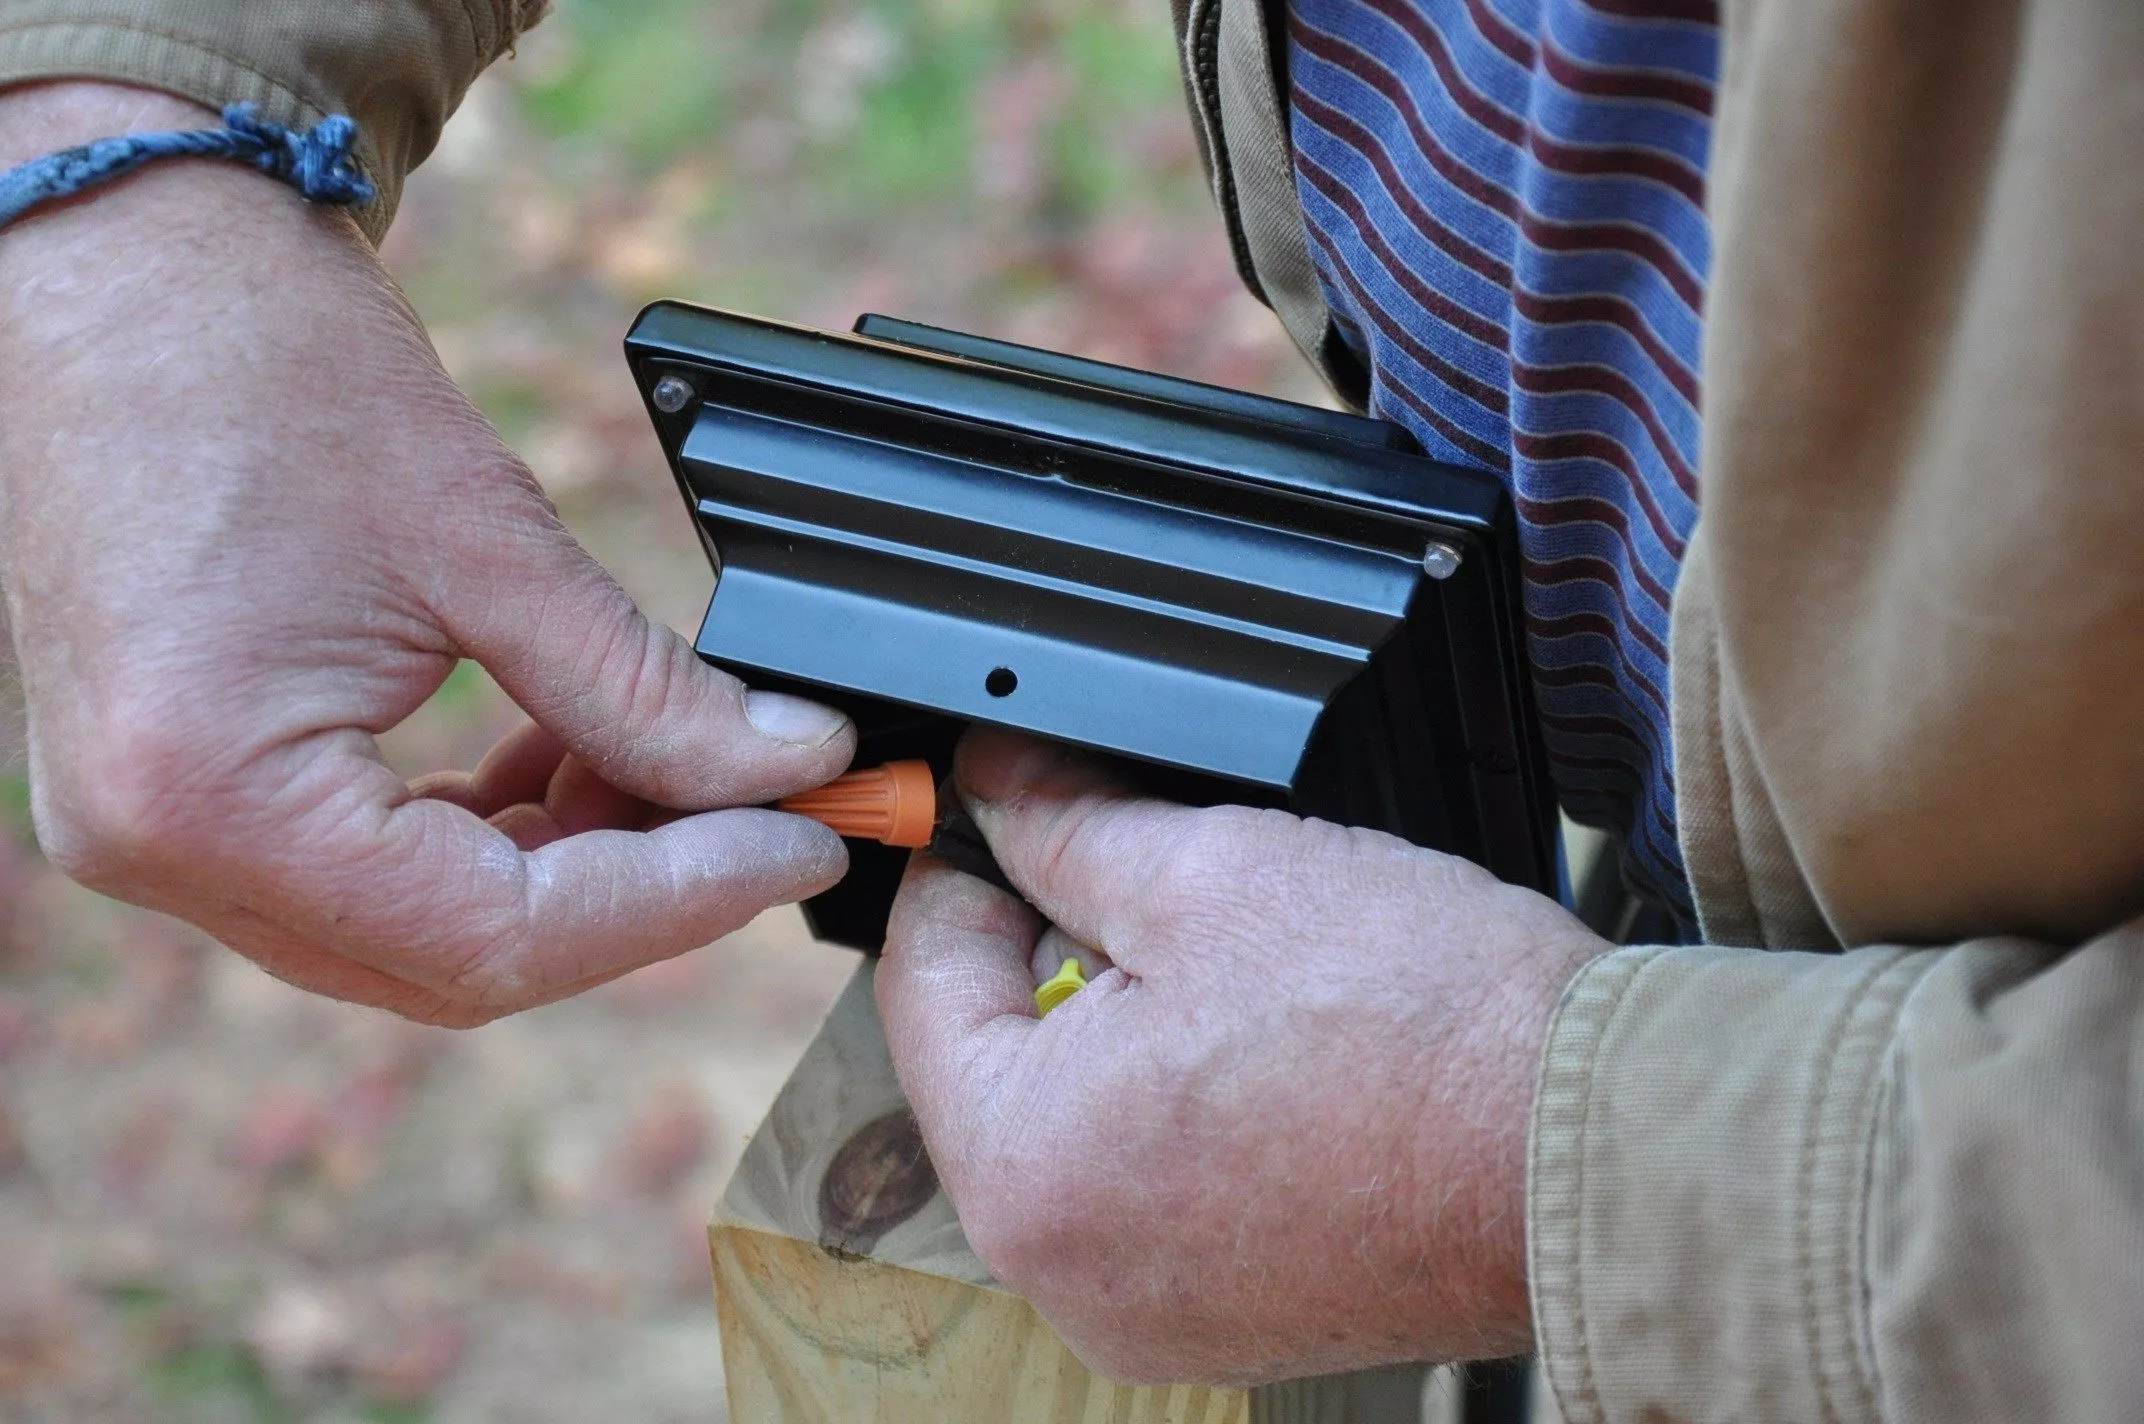
4) At each post, cut the wire and separate the wires into 2-3" strands. Use a wire stripper to remove about 1/2" of sheathing from each wire and the wires from the light cap.
5) Match the polarity of the wires. One wire will have a smooth black wire and the other will have white lettering or ribbing. Hold the wire ends together and connect them by twisting waterproof wire nuts to create a tight connection. Wrap the connection with electrical tape.
6) Read the instructions for your transformer. Make sure the on/off switch is turned off. Secure the transformer using mounting brackets to its desired location and run the wires into place and connect. Make sure the photo eye sensor is accessible to sunlight.
7) Plug the transformer into the outlet and turn it on. Test the lighting and set the timer as needed.
8) Unplug the transformer and secure the top cap to hide the low-voltage wire. Be careful not to screw into the wire.
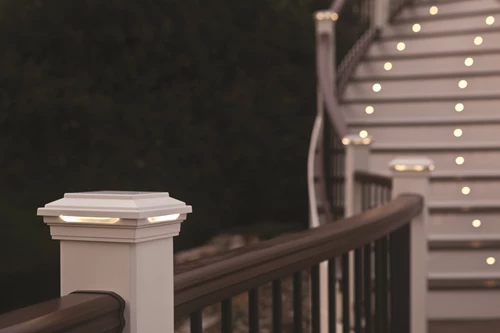
Installing Side Mount Deck Lights
1) Router a 3/4" deep channel into the 2x4 top rails. This will allow you to hide the low-voltage wire under the top cap. Also router a 3/4" channel down the side of the rail post closest to the transformer. This will allow you to transfer the wire from under the deck to the top rail. Place the transformer next to the electrical outlet.
2) Drill a hole into the center of the top of your rail posts using a 2" forstner bit. Drill a 1/2" hole from the side of the top rail through the center hole to pull the low-voltage wire through. Determine the height of the side-mounted lights. This is usually just below the top rail. Drill a 1/2" hole from this location into the center post hole.
3) Run the wire from the transformer to the first light, leaving a 6" loop of wire at the top of the post. Continue the process of threading the wire along the rail through each post, leaving a loop of extra wire at each post. Do not secure the top cap until the lighting system is finished and working.
4) At each post, cut the wire and separate the wires into 2-3" strands. Use a wire stripper to remove about 1/2" of sheathing from each wire and the wires from the light cap.
5) Match the polarity of the wires. One wire will have a smooth black wire and the other will have white lettering and ribbing. Hold the wire ends together and connect them by twisting waterproof wire nuts to create a tight connection. Wrap the connection with electrical tape.
6) Read the instructions for your transformer. Make sure the on/off switch is turned off. Secure the transformer using mounting brackets to its desired location and run the wires into place and connect. Make sure the photo eye sensor is accessible to sunlight.
7) Plug the transformer into the outlet and turn it on. Test the lighting and set the timer as needed.
8) Unplug the transformer and secure the top cap to hide the low-voltage wire. Be careful not to screw into the wire.