


As an Amazon Associate, Decks.com earns from qualifying purchases from the links in this post.
How to Build a Wheelchair-Compliant Deck Ramp
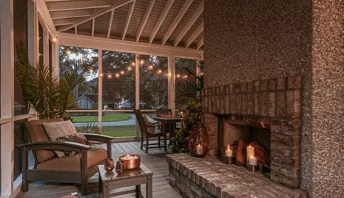
Adding a wheelchair-friendly ramp to your deck makes it more accessible and safer for everyone. Even aging pets will prefer walking on a ramp instead of scaling stairs. Wooden or composite ramps are a great choice because of their design flexibility compared to prefab metal ramps. A custom ramp will also match the existing deck structure better than a prefabricated one, regardless of whether you choose to do-it-yourself or hire a contractor.
Follow these basic steps to plan and build an ADA-compliant wheelchair ramp that attaches securely to your deck.
Required Materials & Tools for Building a Ramp
The type and quantity of materials required to build a wheelchair ramp depends on the size and design of it. For instance, you may want to match the look of your deck boards and handrails or add lighting to the ramp. Use this list of materials as a starting point to create your own.
- 4x4 pressure-treated lumber
- 2x6 pressure-treated lumber
- 2x4 pressure-treated lumber
- Composite or 5/4” wood deck boards
- Anti-slip tread tape
- Standoff post base (Such as Simpson ABA ZMAX or ABU ZMAX ($10 or $20)
- Anchor bolts (Such as Grip Rite 1/2 in. x 8 in. Hot-Galvanized Anchor Bolt ($2)
- Post-pour anchor bolts
- ½” x 7” carriage bolts
- 1/2” x 6” carriage bolts
- 3/8” x 4” lag screws
- 2-1/2” galvanized deck screws
- Joist hangers and fasteners
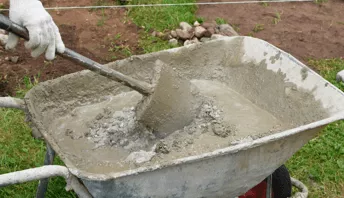
- Concrete mix
- Tubular concrete forms
If you’ve done some DIY building projects, you probably have most of the tools needed to build a wheelchair ramp.
- Hand saw
- Hammer
- Drill and driver with bits
- Chalk line
- Framing/speed square
- Eye protection
- 4’ Level
- Gloves
- Chisel
- Screwdriver
- Circular saw
- Ratchet wrench and sockets
- Mason line
- Line level
- Wheelbarrow
- Shovel
- Posthole digger
- Plumb bob
- Post level
- Cement mixer/mixing tub
Building a DIY Wheelchair Ramp
Estimate the size of the ramp
There are important dimensions to be aware of when building a wheelchair ramp that will meet ADA guidelines (link). These include the minimum width of the ramp, its maximum slope, and the handrail height.
Ramps must be at least 36 inches wide at the narrowest point, typically from handrail to handrail. In practice, this means the minimum width of the ramp deck will be 42 inches, because each handrail—one on each side 34 to 38 inches above the ramp surface—of 1.5 inches must be at least 1.5 inches away from any surface. Larger handrails would require a wider ramp deck.
Depending on your design, 60” x 60” landings may be required along the ramp’s path. ADA compliance also requires similar areas at ground level and in front of the entry door. In most cases, the existing deck provides plenty of room at the entry, but make sure the transition from the deck to the entry door’s threshold is no more than 3/8”.
To calculate the length of your ramp, measure the rise. This is the vertical distance from the ground where the ramp starts to the deck edge where it ends. Using the ADA-approved 1:12 ratio, the number of inches of rise equals the number of feet of run. A ramp longer than 30’ or a change in ramp direction requires a 60” x 60” landing measured from handrail to handrail.
Seek permit/approval to build
In most cases, you’ll need a building permit to add a wheelchair ramp to your deck. That could require you to present a scaled plan and possibly await a site visit before starting. Gather all the information you can from building authorities and your local building code because the requirements will influence your design and material choices. Homeowner associations will likely also have specific requirements and prohibitions.
Plan the ramp
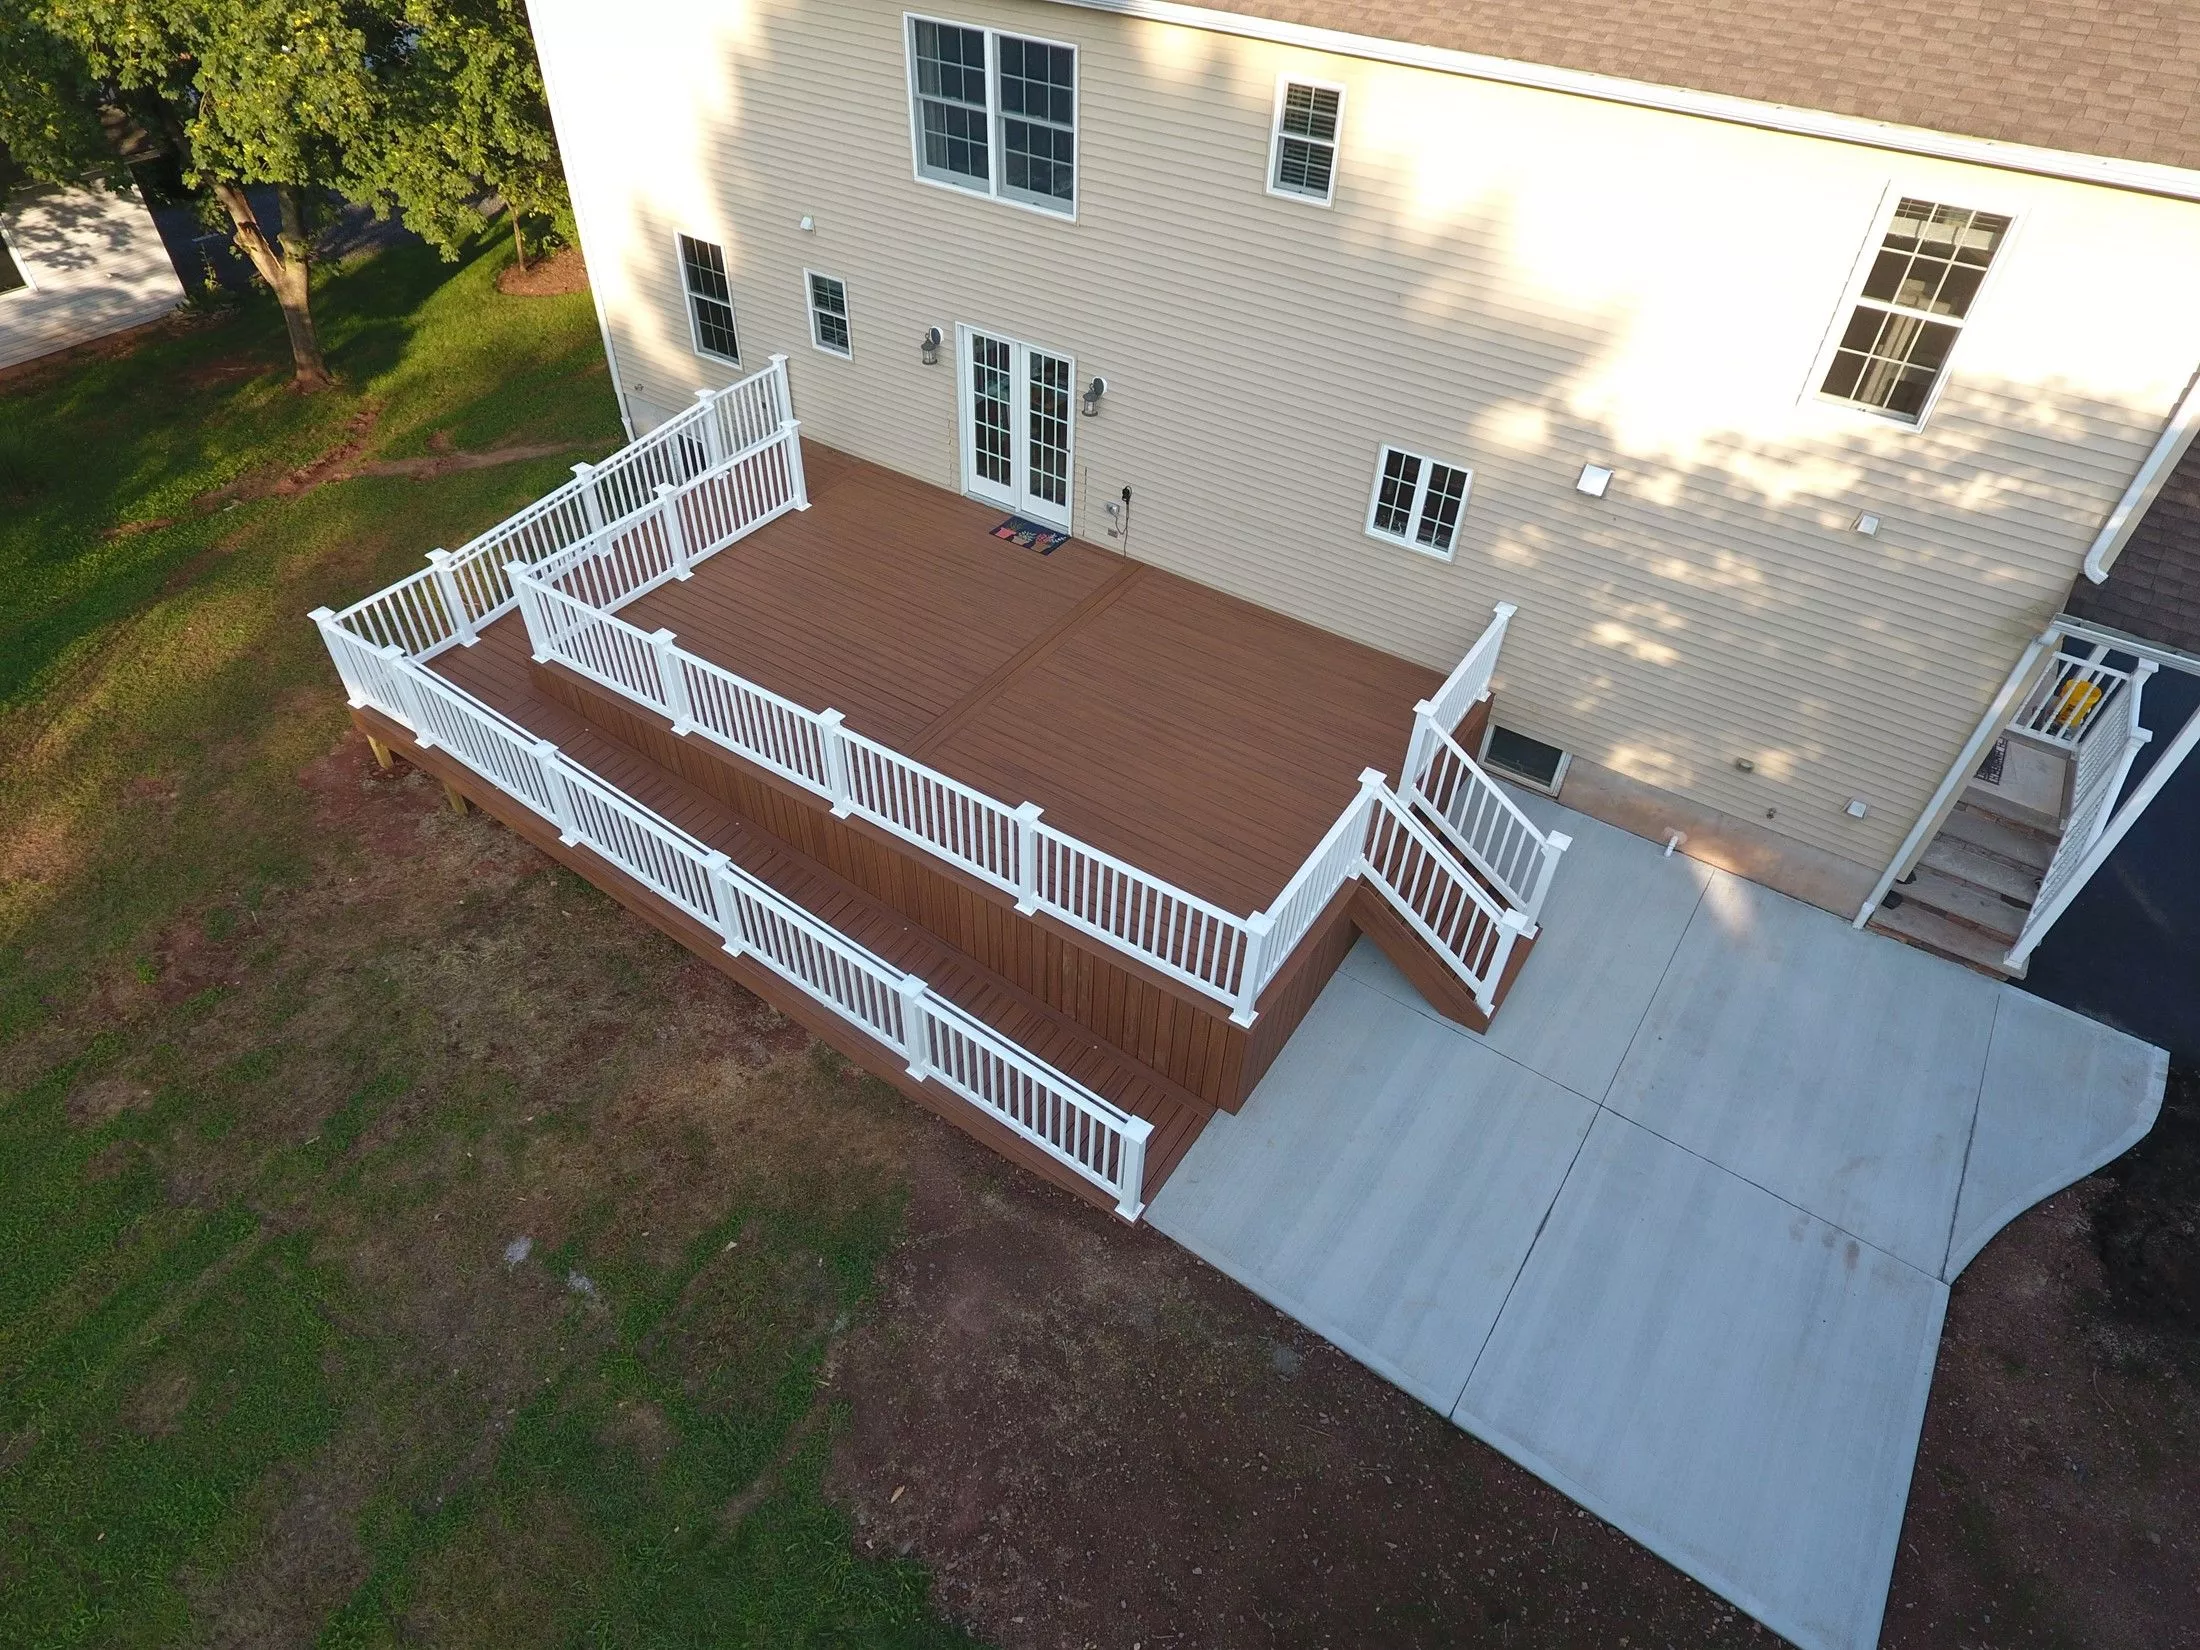
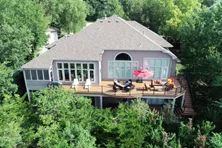
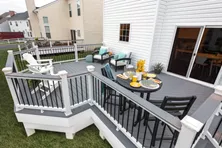
Search online and in your neighborhood for wheelchair ramp designs that you like. Then see if you can create similar designs that fit the space you have. You’ll have to decide whether to build the ramp over the existing stairs or to attach it to the deck elsewhere. Tight spaces and/or high decks might require switchbacks (zig-zags) in the ramp and/or a ramp that wraps around the deck (photo).
Other considerations include whether to place the posts on the inside or outside or the ramp’s framing, what railing style to, use and how to transition from the ramp to ground level. Take your time in planning. It’s easier to fix mistakes made on paper than it is relocate posts set in concrete.
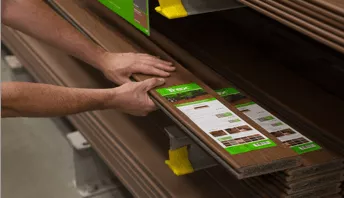
Select your materials
For the in-ground posts and the framing, use pressure-treated lumber suitable for ground contact. Look for this information on a plastic tag stapled to the end of the board. Use hot-dipped galvanized nails or exterior-grade structural screws to assemble the members. Make sure the joist hangers are rated for outdoor exposure and are compatible with pressure-treated lumber.
Set the posts
Using batter boards and mason line, apply the 3-4-5 method to create a grid that is square with one or more sides of the existing deck. Use a plumb bob and marking paint to show where to dig post holes or place footings.
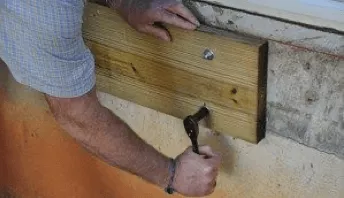
Dig holes to required depth or place the footings and, if necessary, have them inspected. You can place the 4” x 4” posts in the hole with the concrete or level the concrete and, after it cures, attach the post using post brackets fastened with concrete screws. An alternative is to set an anchor bolt into wet concrete and attach the post bracket after it cures. Using tubular cardboard forms in the holes makes leveling the concrete easier.
Always put the uncut factory end of the posts into the hole. In fact, anytime you cut treated lumber, don’t put the cut side on the ground without first applying a wood preservative because the factory-applied treatment only penetrates so far into wood. Cover the exposed tops of the posts with caps or cut them at an angle so that they shed water.
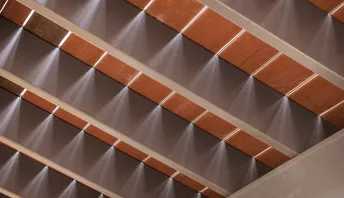
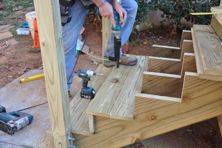
Frame the structure
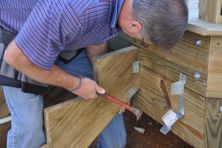
It is usually easier to frame the ramp sections first and then mount them to the supports. After you assemble the framed sections, get some help installing them. If your ramp spans the deck’s steps, the stringers will need to be notched so that the ramp can terminate flush with the deck surface. The depth of each notch will depend on the slope of the ramp, the rise of the step, and the thickness of the ramp’s deck boards. When adding cross pieces between stringers, try to locate them where the handrail posts will be. That way, you can firmly secure the posts on two sides with lag bolts and at the base.
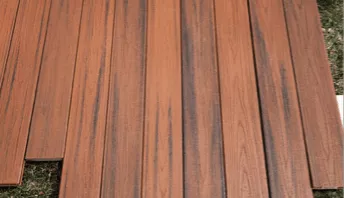
Add deck boards
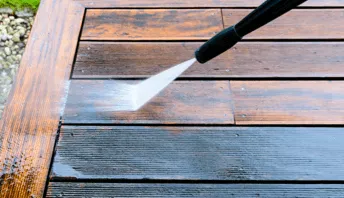
Whatever decking material you choose, the ramp must remain slip-resistant in all weather. If you want to use composite deck boards, ask the manufacturer whether they are approved for ADA ramps. If not, add anti-slip tread tape (“grip strips”) to make them comply. A roll of 4” wide anti-slip tape 35’ long costs about $16.
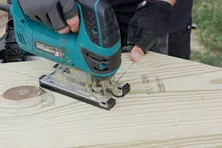
Pressure-treated 5/4” deck boards are another popular choice. If they are kiln-dried after treatment, space these boards with a 1/8” gap. If your boards are still wet with preservative, reduce the gap 1/16” because they’ll shrink. Leave a ¼” gap if the boards that are dry and lightweight. Lay deck boards bark side up and drill pilot holes to avoid splitting the wood. Don’t worry too much about keeping the ends of the deck boards flush with one another. After you install them, snap a chalk line and cut the ends flush then.
Avoid using plywood as a ramp deck. It is too slick in wet or snowy weather, and it is more likely to separate and/or rot than dimensional lumber.
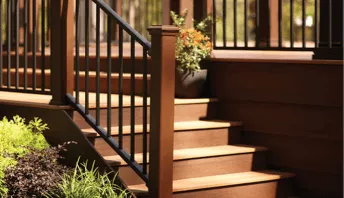
Add handrails
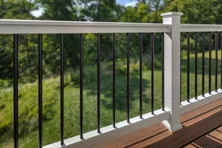
To be ADA compliant, the handrails must be at least 1.5” in diameter, have at least 36” of horizontal clearance between them, be mounted within 34” to 38” inches above the ramp deck, and run continuously from the top to bottom of the ramp. Basic off-the-shelf wood and metal handrails are easy to install, at least along the straight runs. It gets more complicated when the handrails must turn to accommodate a change in ramp direction. For a more professional look and to save time, use a handrail kit (link). They supply modules that are easy to assemble and that shorten installation times.
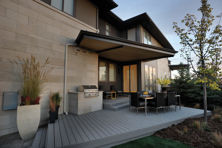
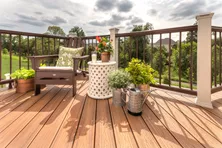
If the ramp is 30” or more from the ground, you must add horizontal boards or vertical balusters between the posts. The space between the boards or balusters must not exceed 4”. Balusters can also enhance the ramp’s aesthetics. Adding a skirt of garden lattice below the ramp is another nice touch (photo).
How Much Does It Cost to Build a Ramp?
As a DIY project, building a wooden wheelchair ramp will cost whatever you spend on materials, plus the value of your time. To estimate the materials, just add up the costs of the items on your materials list. Assuming you use basic materials and a basic design, expect to spend $40 to $50 per linear foot to build a wooden ADA-compliant wheelchair ramp. Adding lighting, balusters or other architectural features will nudge costs higher.
Estimating your time is more difficult. It depends on the size and design, how skilled you are, and how much help you get. Naturally, the bigger the ramp, the longer it will take to build. Installing a wheelchair ramp over uneven ground or in tight spaces can be especially challenging.
If you want a professional job, any contractor competent to build a deck should be able to build a wheelchair ramp onto your deck. However, not every deck builder knows exactly what an ADA-compliant ramp requires or what additional ramp requirements are in the local building code. As you gather estimates, ask each builder how the ADA and code requirements will affect your ramp in terms of design and materials. Depending on the materials you use, the ramp’s design, and where you live, expect to pay $100 to $250 per linear foot for a wooden ADA-compliant wheelchair ramp.
To get started on your search for a professional builder in your area, use the Decks.com “Find a Builder” (link) tool.
This page contains affiliate links. If you choose to purchase after clicking a link, Decks.com may receive a commission at no extra cost to you.
How to Build Box Steps for Your Deck
Learn how to build a set of box platforms to act as stairs for a low deck. You don't need to cut stair stringers.
Cutting Stair Stringers
The stair stringers are essentially the backbone of your staircase. Learn how to properly measure, cut, and build deck stair stringers.
Glass Deck Railing Ideas and DIY Installation Tips
All glass panels used for deck railings must be safety-tempered and shatter-resistant. Learn how to install glass railing panels and get ideas for your deck.
How to Choose the Right Deck Railing
As one of the most visible elements of a deck, railings add support, safety and style. Get tips for choosing the right deck railing at Decks.com.
How to Install Metal Deck Railings
Metal deck railings can add a sophisticated and modern look to your deck. Learn how to install metal and aluminum deck railings
More Helpful Resources


Explore Articles by Topic
Footings
Information related to installing frost footings for decks
Framing
Learn structural framing methods
Decking
Learn about wood and composite decking materials
Stairs
An in-depth look at the complex issue of how to build stairs
Railings
How to install guardrails and handrails to meet IRC code
Features
An overview on water drainage, benches, planters and lights
Design
The basics of deck design
Planning
Learn about permits and working with contractors
Porches & Patios
Build a covered deck to enjoy all seasons
Ledger
Proper attachment techniques
Care
Maintain your deck to maintain your investment
Materials
An overview on water drainage, benches, planters and lights

Installing Deck Stair Railings
Ensure your deck stair railing is safe, sturdy, and code compliant with this expert DIY guide. Learn about permits, materials, tools, and the best practices for a flawless installation.
Stair Stringer Length
Learn how to measure the height of your deck and use our Decks.com Stairs Calculator to determine your stair stringer lengths.
Support Long Stringers
Long stair stringers may need extra support from installing a brace at mid-span.
Baluster Basics: Types, Installation Tips, and Deck Design Ideas to Transform Your Space
Discover everything you need to know about deck balusters, from code requirements to material options and installation tips. Explore practical advice and stylish infill alternatives to help bring your project to life with confidence.

Innovative Deck Railing Ideas that Won’t Break the Bank
Discover budget-friendly deck railing ideas and tips to upgrade your outdoor space without compromising on style. Whether you prefer traditional wood and metal or cutting-edge composite and mixed materials, you’ll find affordable solutions that align with your aesthetic, budget, and code requirements.
Low-Maintenance Composite Deck Railing Options
Composite railing systems offer a low-maintenance alternative to traditional wood railings. Learn why composite is the best railing system at Decks.com.
Explore Articles by Topic
Footings
Information related to installing frost footings for decks
Framing
Learn structural framing methods
Decking
Learn about wood and composite decking materials
Stairs
An in-depth look at the complex issue of how to build stairs
Railings
How to install guardrails and handrails to meet IRC code
Features
An overview on water drainage, benches, planters and lights
Design
The basics of deck design
Planning
Learn about permits and working with contractors
Porches & Patios
Build a covered deck to enjoy all seasons
Ledger
Proper attachment techniques
Care
Maintain your deck to maintain your investment
Materials
An overview on water drainage, benches, planters and lights