


How to Build a Ground Level Deck
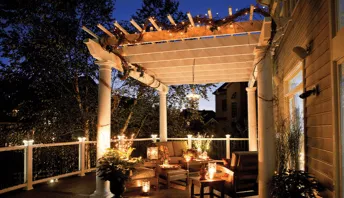
Have you dreamed of entertaining guests outdoors? Or enjoying some quiet time, sipping coffee on your deck Then perhaps it’s time to think about building a ground level deck.
Ground level decks (also called a floating deck or a platform deck) are decks that are close to the ground. When decks are less than 30” above grade, they’re usually easier to build for three reasons.
- They don’t require ladders or railings (less risk of injury)
- They usually don’t require stairs or guard rails for safety (Though you may choose to add one or both for ease of use and/or decoration.)
- They may not require a permit. Typically, decks under 200 square feet and/or shorter than 30 inches high that are unattached to a property do not require a permit. (Just to be safe, however, check with your local builder’s office to be sure you’re not in violation of any codes in your area or neighborhood.)
Easier to build can also mean lower costs than an elevated deck. Depending on the size and materials used, a ground level deck can cost upwards of $4,000. Some of the most expensive components for a deck are railings and stairs. Since a ground level deck does not require safety railings or stairs to access, the cost to build one is comparatively lower than building an elevated deck in terms of both materials and labor.
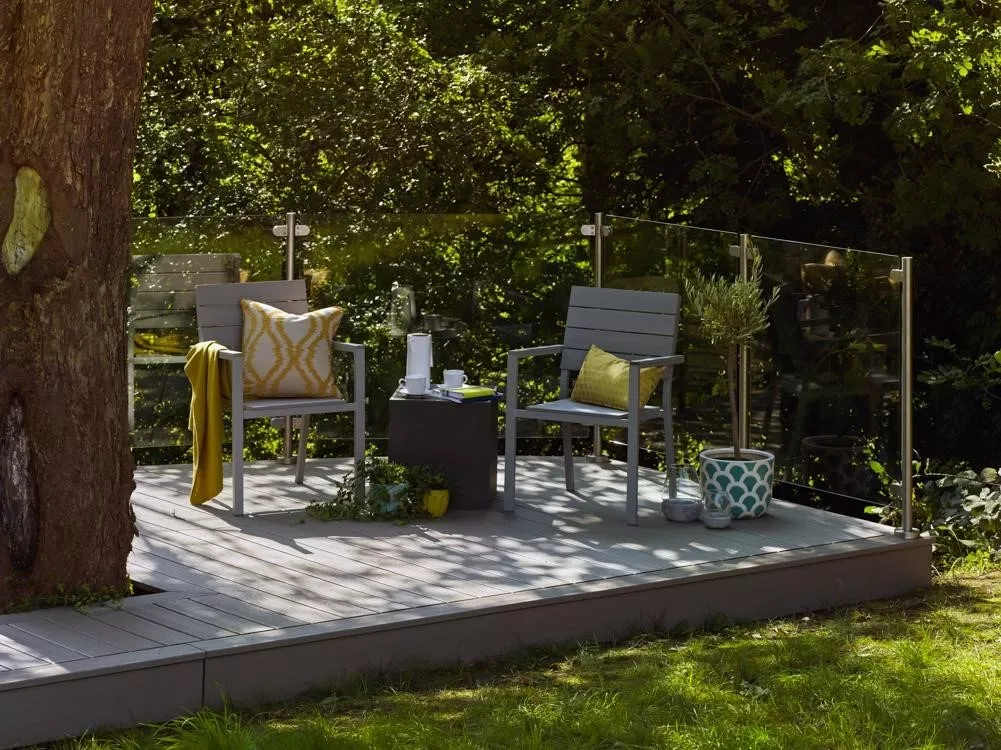
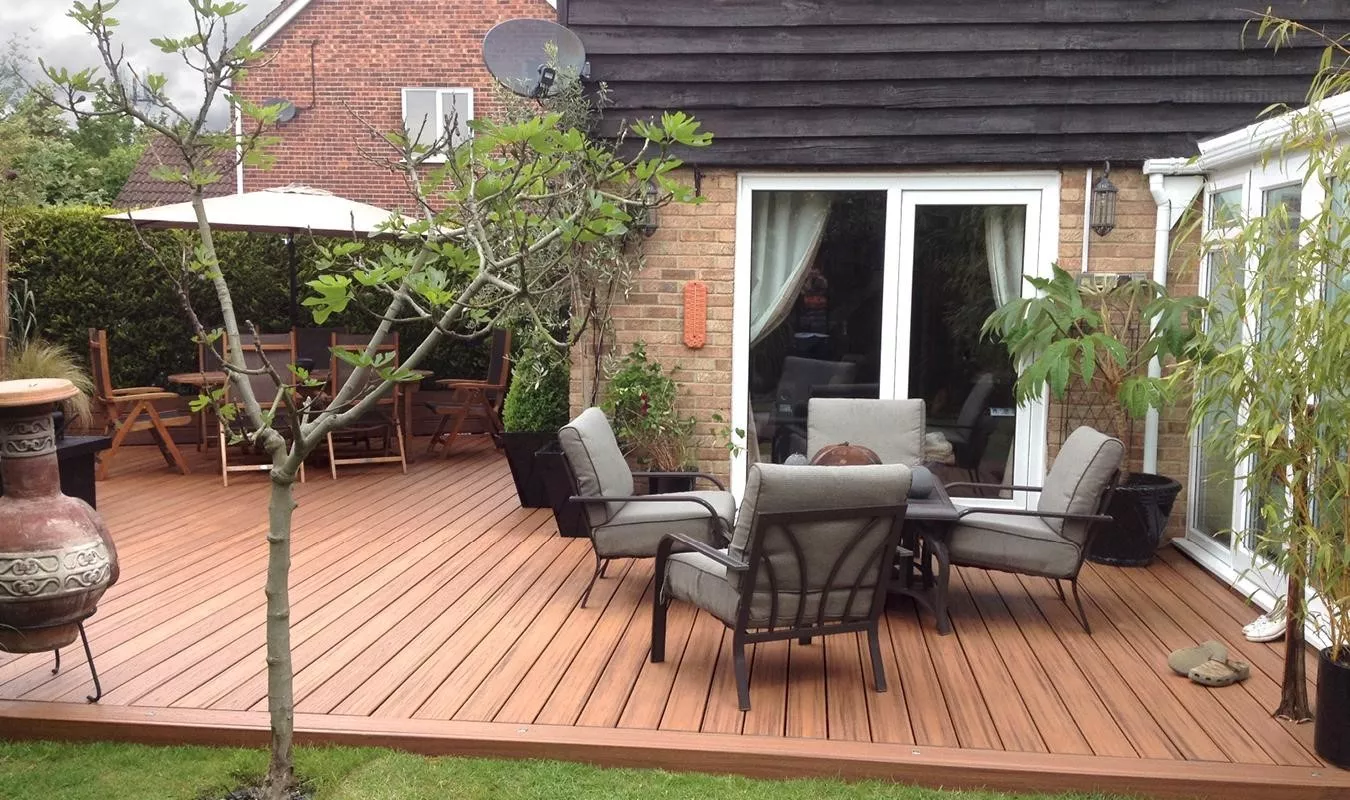
Ground level decks set outdoor living spaces apart and give you a beautiful area to add chairs, potted plants, and even a grill for entertaining. It provides you with a level of space to enjoy your property and time outdoors.
However, there are a few things to know before you start building your own ground level deck. As with all DIY projects, the success is in the planning. There are many different types of ground level decks, including decks that require footings and those that are attached to your home. However, just in case this is your first DIY home project, we’re going to keep it simple.
We’ll walk you through step-by-step directions for how to build a platform deck that isn’t attached to the house and uses a simple foundation. Follow this tutorial and you’ll be enjoying your own ground level deck before you know it!
Building A Ground Level Step-By-Step
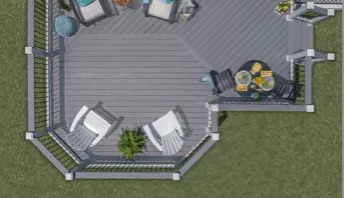
The beauty of a ground level deck lies within its simplicity. You can choose a pretty area of your yard to build your deck and admire the view. Or, you can also dress it up with pavers back to your house if you want a more polished, elegant look. The choice is up to you and your own personal backyard aesthetic.
Step 1: Planning and Design
Consider where you’d like to put your platform deck by imagining how you’ll use it and assessing your terrain. Since you’re not attaching the deck to your house, you don’t have to worry about door clearance. However, you will need to consider drainage below your deck and potentially if you should add a slope to your deck. Does the ground slope for water run-off? Building the deck so it’s well-ventilated will help it last longer.
Step 2: What Type of Material Will You Use?
A ground level deck is meant to be low, which means you’ll want to consider the type of wood or composite you’ll use for framing. If the bottom of your deck frame is less than 6" above the ground or partially buried, you should use pressure-treated wood that is rated for ground contact. This type of wood has a higher level of preservative that guards the wood against rot and decay.
Do you want a step or two to your platform deck? If so, consider how you’ll attach the steps because if you attach them with stringers, you don’t want to bury metal in the ground since it can corrode.
Step 3: Consider Ground Level Deck Ventilation
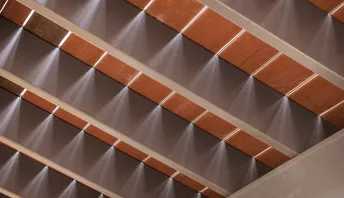
The ground under a platform deck will get wet. Sustained dampness is the enemy of a ground level deck since it will lead to mold, rot and decay. Make sure you build your deck high enough for ventilation so the ground can dry out. That way, your deck will last longer. Generally, if a deck is less than 12 inches above the ground, the perimeter of the deck must be open for free air to flow beneath the deck.
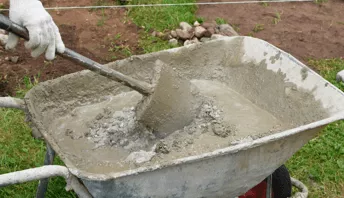
Step 4: Plan the Foundation and Leveling
You can create a simple foundation by placing concrete blocks at the deck’s corners. You can also place your structure on top of gravel for better drainage. Next, you’ll put stakes in the ground and string the perimeter using the stakes and hang a line level. Once you know your deck outline is level, you’re ready to move to the next step.
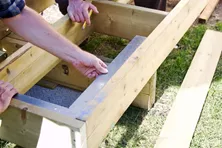
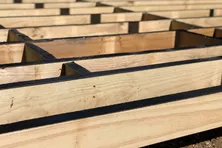
Step 5: Lay the Beams
Lay the deck beams on top of the concrete blocks, making sure they’re high enough to allow for ventilation, as previously mentioned. These beams will serve as your ground level deck framing. Next, measure diagonally and tap the beams to line them up. It’s a good idea to use temporary stretchers (a temporary wooden framework that props the beams up) to hold the beams in place. You can use pressure-treated shims below the beams, if needed, to keep them level. You may want to add additional gravel to level out the ground.
Step 6: Attach Anchors / Joists
Once your beams are level, attach angle brackets at the corners of the deck where joists and beams meet. These will add additional support at the corners of your ground level deck. Once again, use your string level to assess the evenness of your terrain and deck.
Step 7: Attach Inner Joists
Using joist hangers, fasten the joists into the beam faces at regular intervals. Make sure to use the recommended spacing from the decking manufacturer. This provides stability and gives you a good idea of how the decking will lay. If you’re planning to add steps, then consider your stair placement.
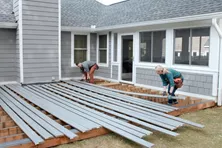
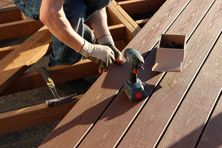
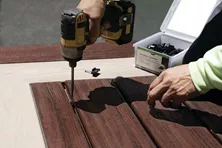
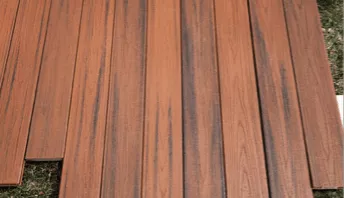
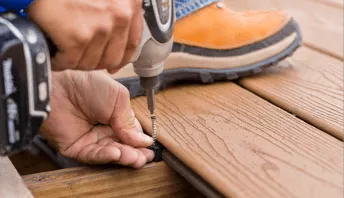
Step 8: Lay the Decking
Finally, your decking is starting to take shape and resemble the structure you’ve envisioned. Take the first length of decking and line it up with the outside edge so it’s even. Then, install your decking boards perpendicular to the joist, making sure they’re well-secured. Make sure to gap the boards appropriately for proper ventilation, checking the manufacturer’s recommendations for gapping.
Step 9: Trim the Edges
Once your decking is installed, use a circular saw to trim any overhang, making your decking neat and even. Clean up the discarded ends of wood. Now you can admire your new ground level deck.
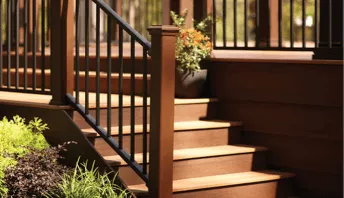
Step 10: Add Steps or Stairs
If you want steps for your ground level deck, then you will need to decide on how many and how you’ll build them. Some deck builders add additional footings on the ground or you can hang stringers from the deck. You can attach the stringers from the platform deck joists with either metal angle brackets or 2 x 4’s.
Step 11: Enjoy Your Deck
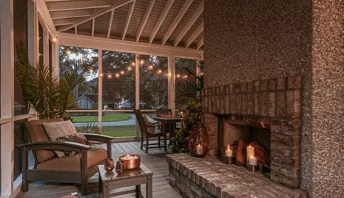
Once your hard work is finished, it’s time to relax and enjoy your new deck. Add seating, friends, a grill, and refreshments for a well-deserved break.
Now that you know how to build a ground level deck, you can see more ground level deck pictures and ideas here to plan your deck. You can also find your ground level deck building materials at a local retailer or online.
How to Decorate Deck Support Columns
Browse some examples of decorative deck support posts for tall decks.
How to Slope a Deck for Water Runoff and Drainage
Learn if your deck needs to be sloped and how to do it.
4 Tried and True Methods on How to Square a Deck Frame
Discover the secrets to perfectly squaring your deck frame. Our guide simplifies the process, ensuring your deck is flawlessly shaped and structurally sound.
How to Install Decking Over Existing Concrete Slab, Patio, or Porch
Discover the best techniques to build a deck over concrete, ensuring proper drainage and stability, while creating a beautiful outdoor space.
How to Install Composite Decking
Learn about how to install composite decking. Topics include expansion and contraction issues and hidden fastener systems.

Tile decking
Installing tile over a standard deck frame in an exterior environment is a recipe for trouble.
More Helpful Resources


Explore Articles by Topic
Footings
Information related to installing frost footings for decks
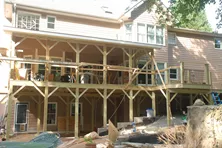
Framing
Learn structural framing methods
Decking
Learn about wood and composite decking materials
Stairs
An in-depth look at the complex issue of how to build stairs
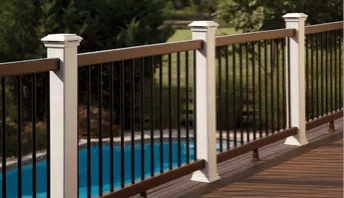
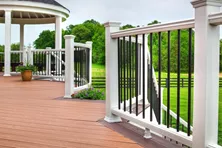
Railings
How to install guardrails and handrails to meet IRC code
Features
An overview on water drainage, benches, planters and lights
Design
The basics of deck design
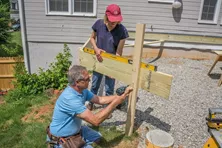
Planning
Learn about permits and working with contractors
Porches & Patios
Build a covered deck to enjoy all seasons
Ledger
Proper attachment techniques
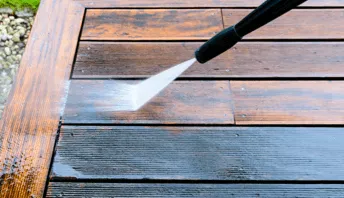
Care
Maintain your deck to maintain your investment
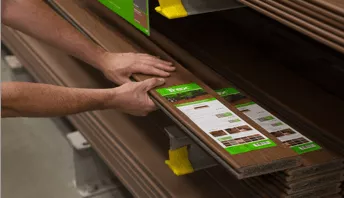
Materials
An overview on water drainage, benches, planters and lights
Why is Joist Protection so Important for Your Deck?
If you’ve ever seen a piece of wood left out in the weather for any period of time, you know what happens: decay. Whether through wet rot, insect damage, or mildew, the fibers begin to break down.
Decks vs. Patios: Cost, Pros, Cons, & Comparisons
Learn what factors affect the costs of decking and patios. Discover all the comparisons factors to help you choose the right space for your home with Decks.com.
Determining Deck Beam Height
Learn how to measure in order to set your posts to properly position your deck beam to the correct height. We recommend sloping your deck to shed water away from the house.

What to Consider When Building A Wrap-Around Deck
Looking to add a wrap-around deck to your home but unsure of what the process involves? Check out this guide to learn more about top considerations when building a wrap-around deck.
How To Build a Roof Over A Deck
Extend your outdoor living space with a covered deck! Discover the key considerations like structural support, roof styles, materials, and costs.

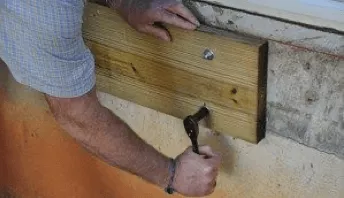
How to Install and Fasten Deck Fascia
Installing deck fascia can be easy if you have the proper tools, fasteners, and practical information that you’ll find right here.
Explore Articles by Topic
Footings
Information related to installing frost footings for decks
Framing
Learn structural framing methods
Decking
Learn about wood and composite decking materials
Stairs
An in-depth look at the complex issue of how to build stairs
Railings
How to install guardrails and handrails to meet IRC code
Features
An overview on water drainage, benches, planters and lights
Design
The basics of deck design
Planning
Learn about permits and working with contractors
Porches & Patios
Build a covered deck to enjoy all seasons
Ledger
Proper attachment techniques
Care
Maintain your deck to maintain your investment
Materials
An overview on water drainage, benches, planters and lights