Designing and building a deck can be exciting, but it can also feel overwhelming, especially when choosing the right components for the perfect deck railing.
Whether you’re a contractor, homeowner, or DIYer, this step-by-step guide will help you create a material order, avoid mistakes, and install an attractive, code-compliant deck railing system.
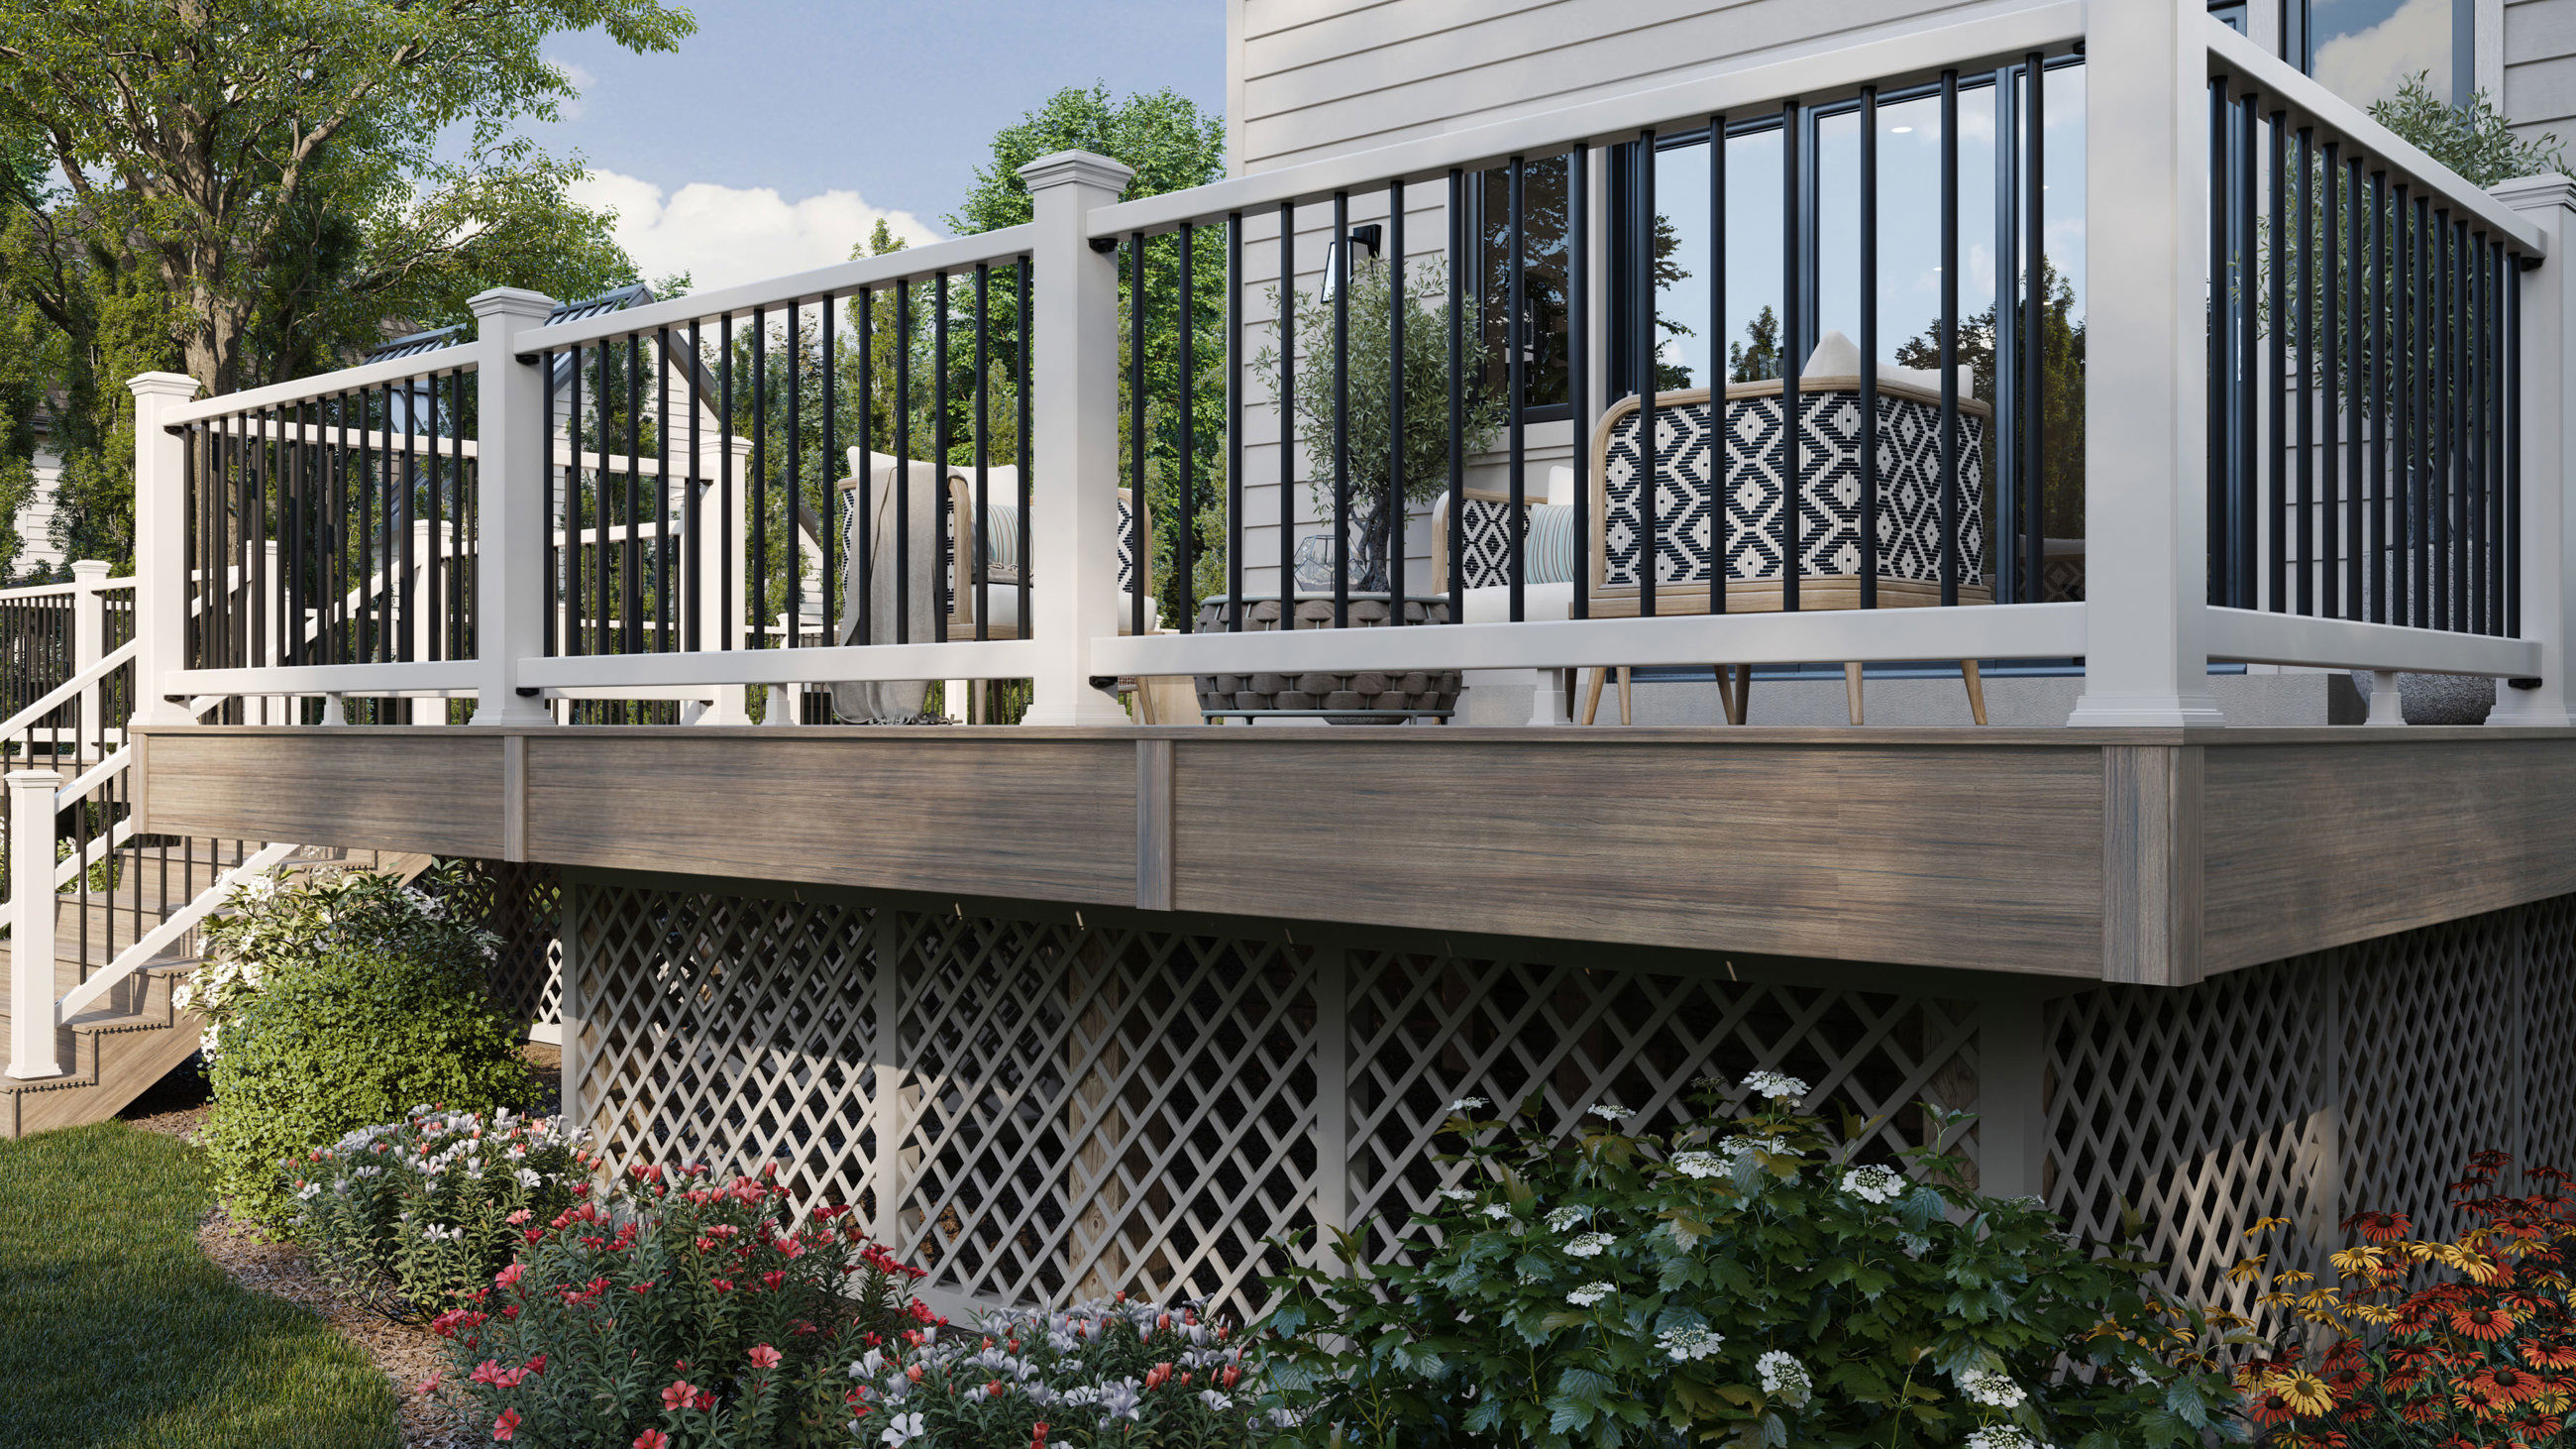
Deck railing materials range from traditional wood to durable composites, elegant aluminum, and steel, available in various colors and textures. Rail infills include vertical or horizontal balusters, mesh panels, cable, and framed or frameless glass.
You can order railing by selecting individual components or opting for pre-assembled kits or panels.
Below is a complete deck railing guide to ensure a smooth and safe process. First, check out some key railing terms.
Key Railing Terms
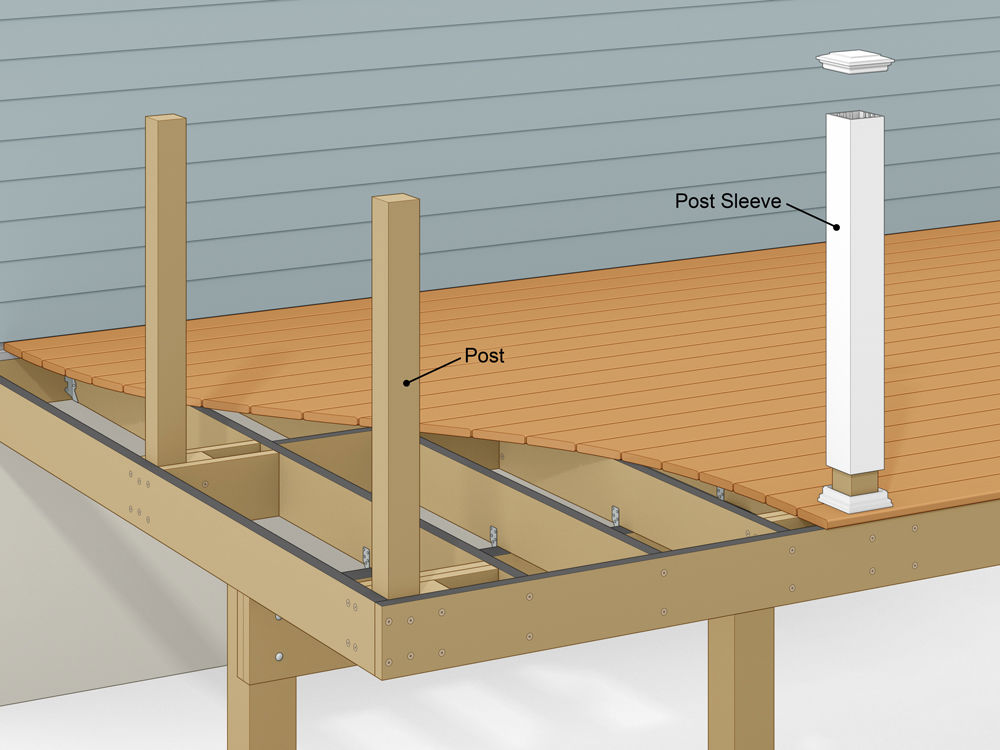
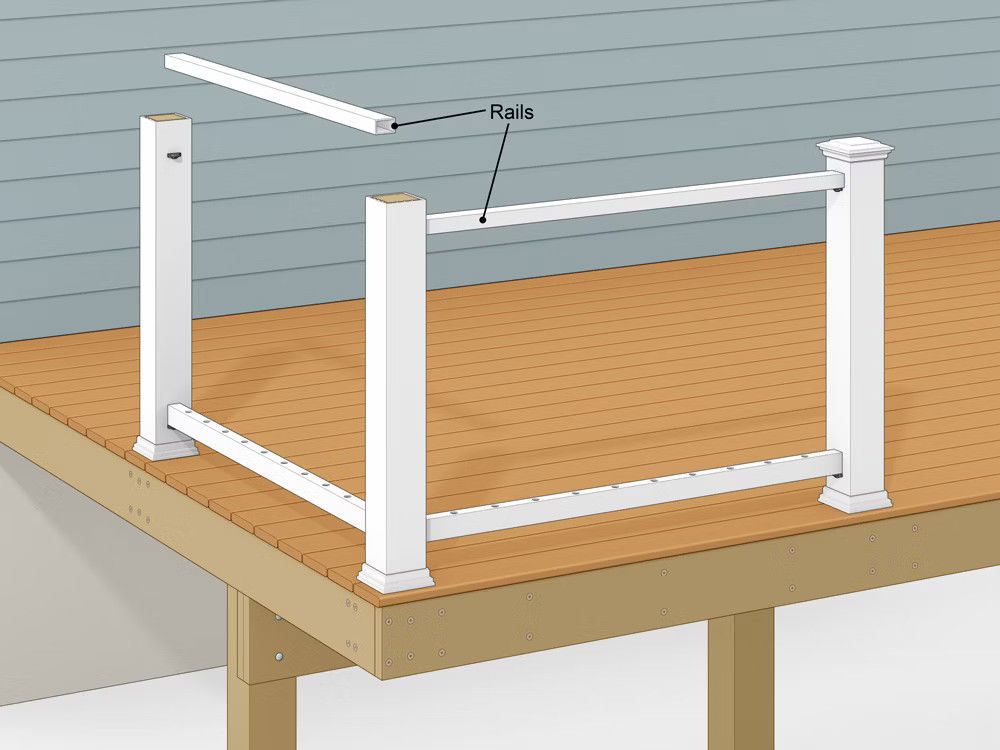
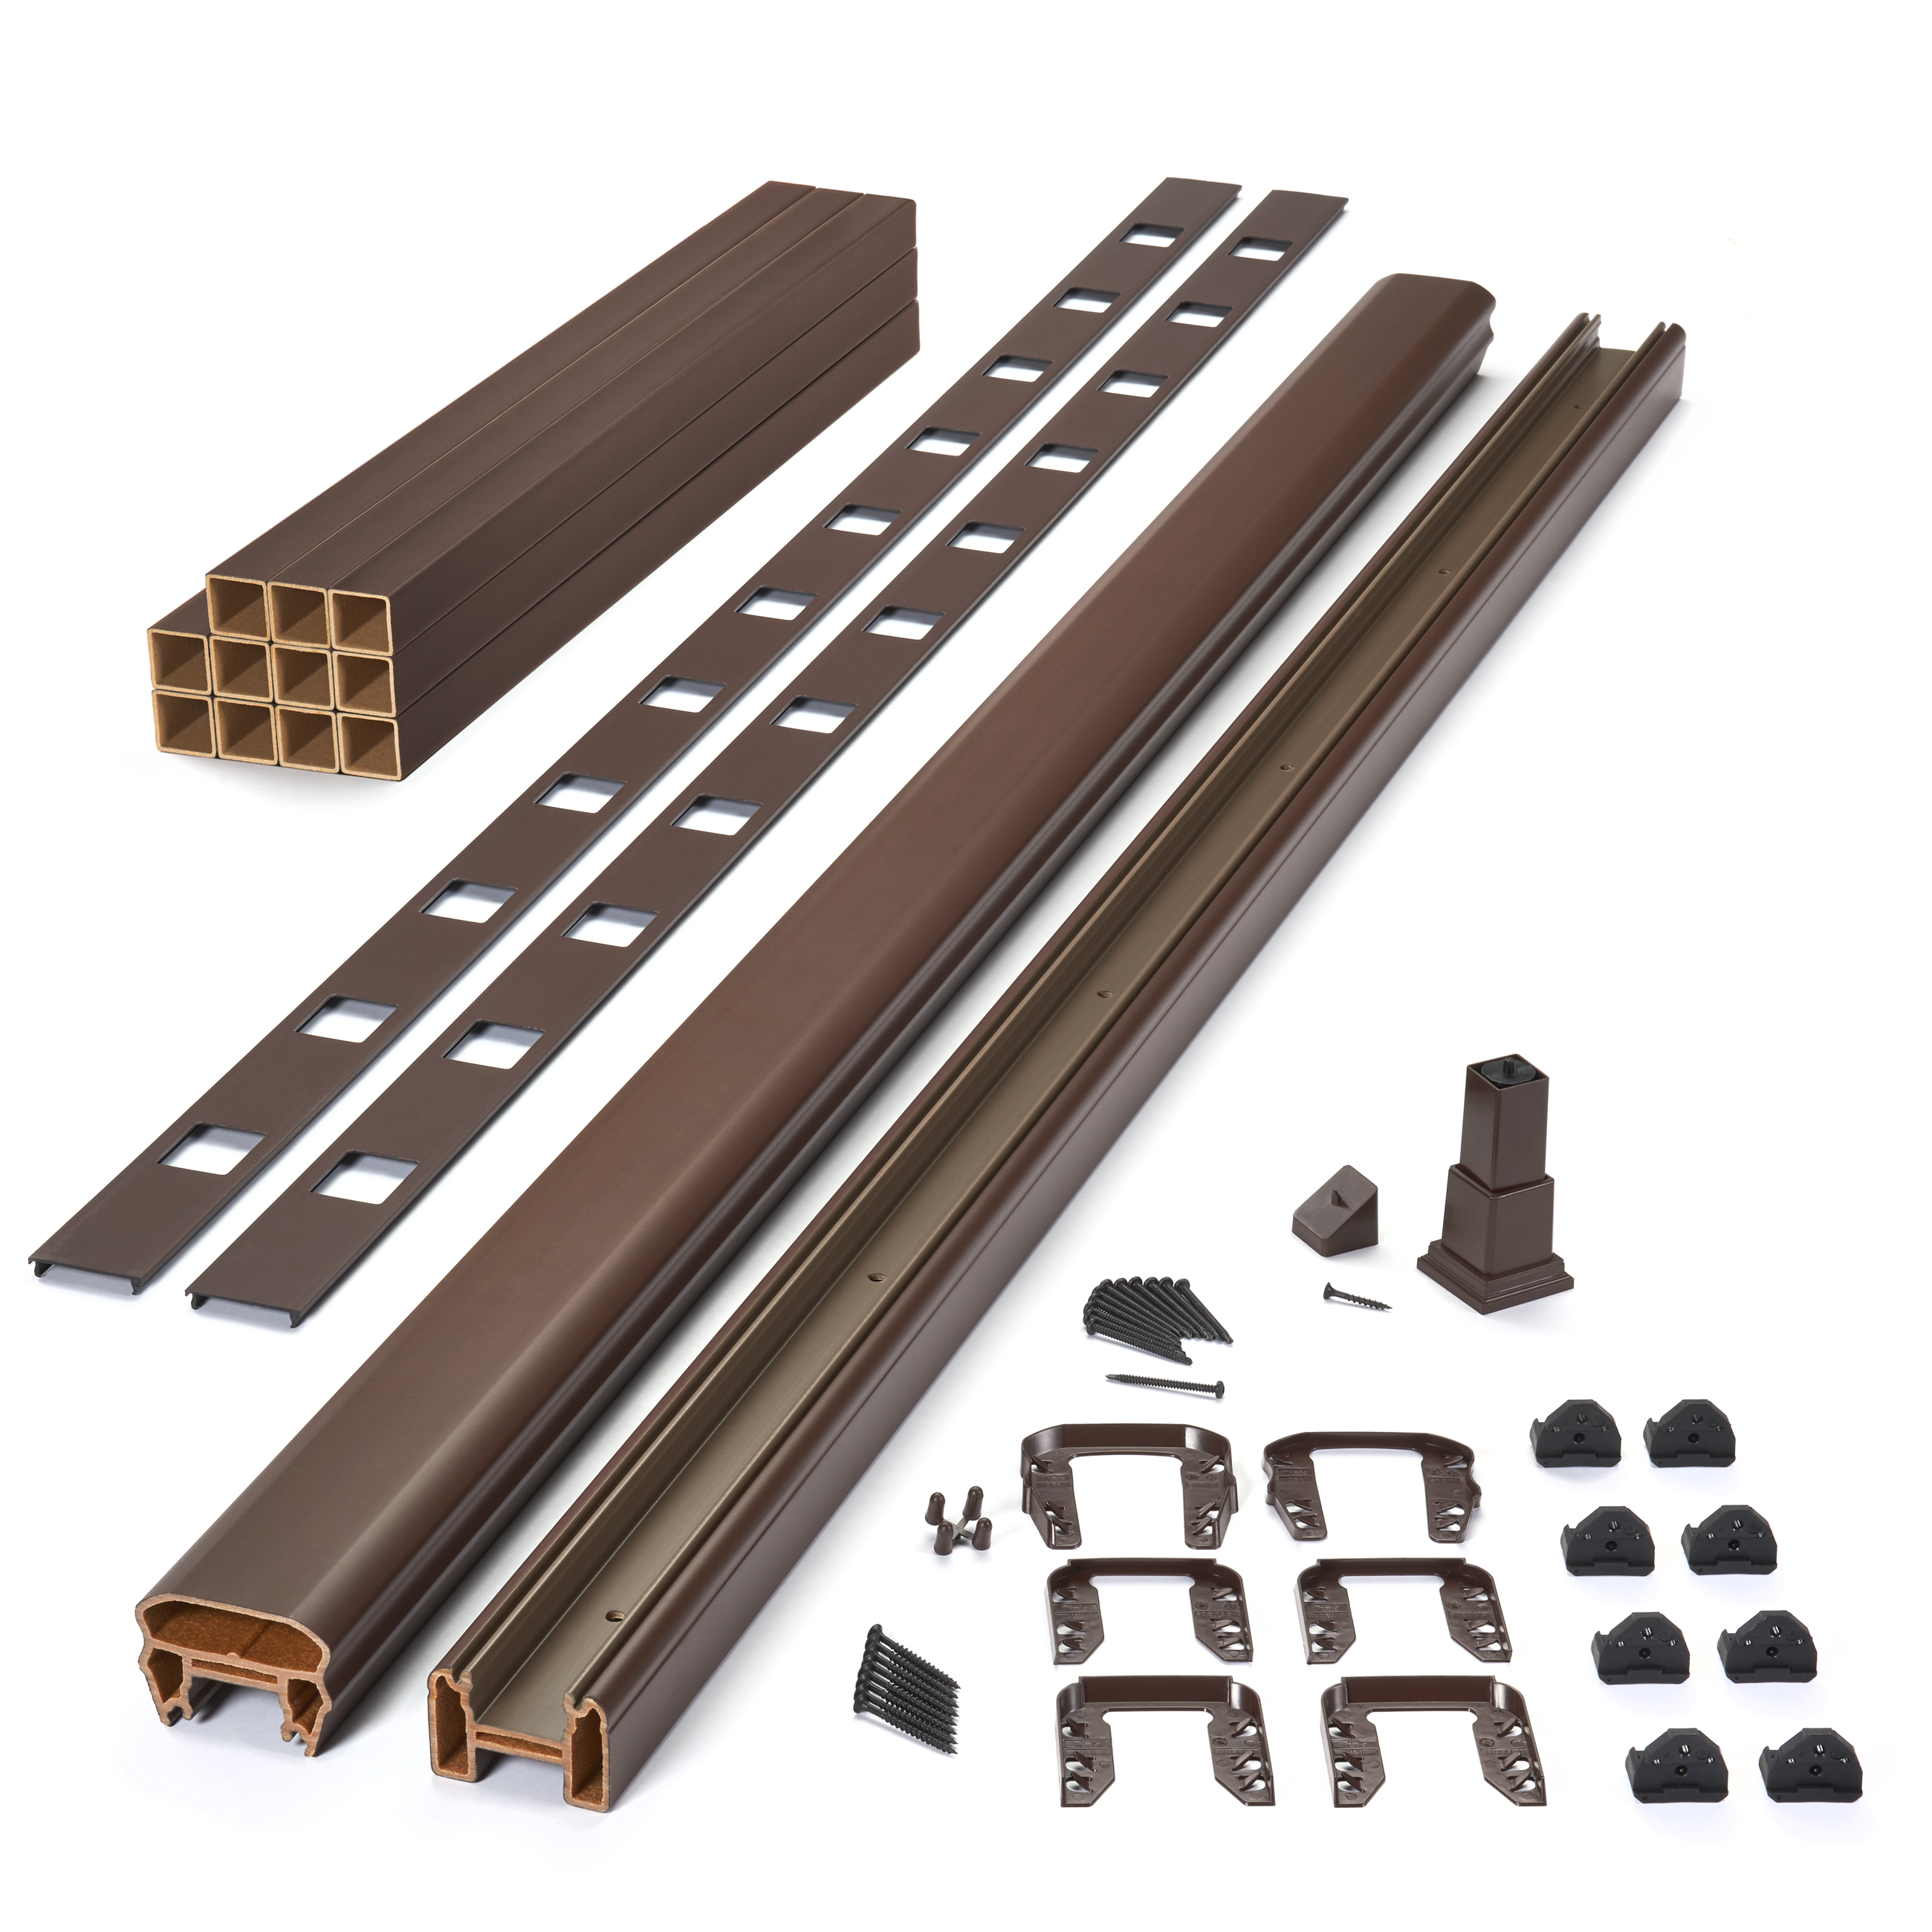
Post: The post is the main vertical support structure in a deck’s railing system. It anchors the railing to the deck frame and provides the strength needed to support horizontal rails and infill. Posts are typically made from wood, metal, or composite materials and are spaced at regular intervals for stability and code compliance.
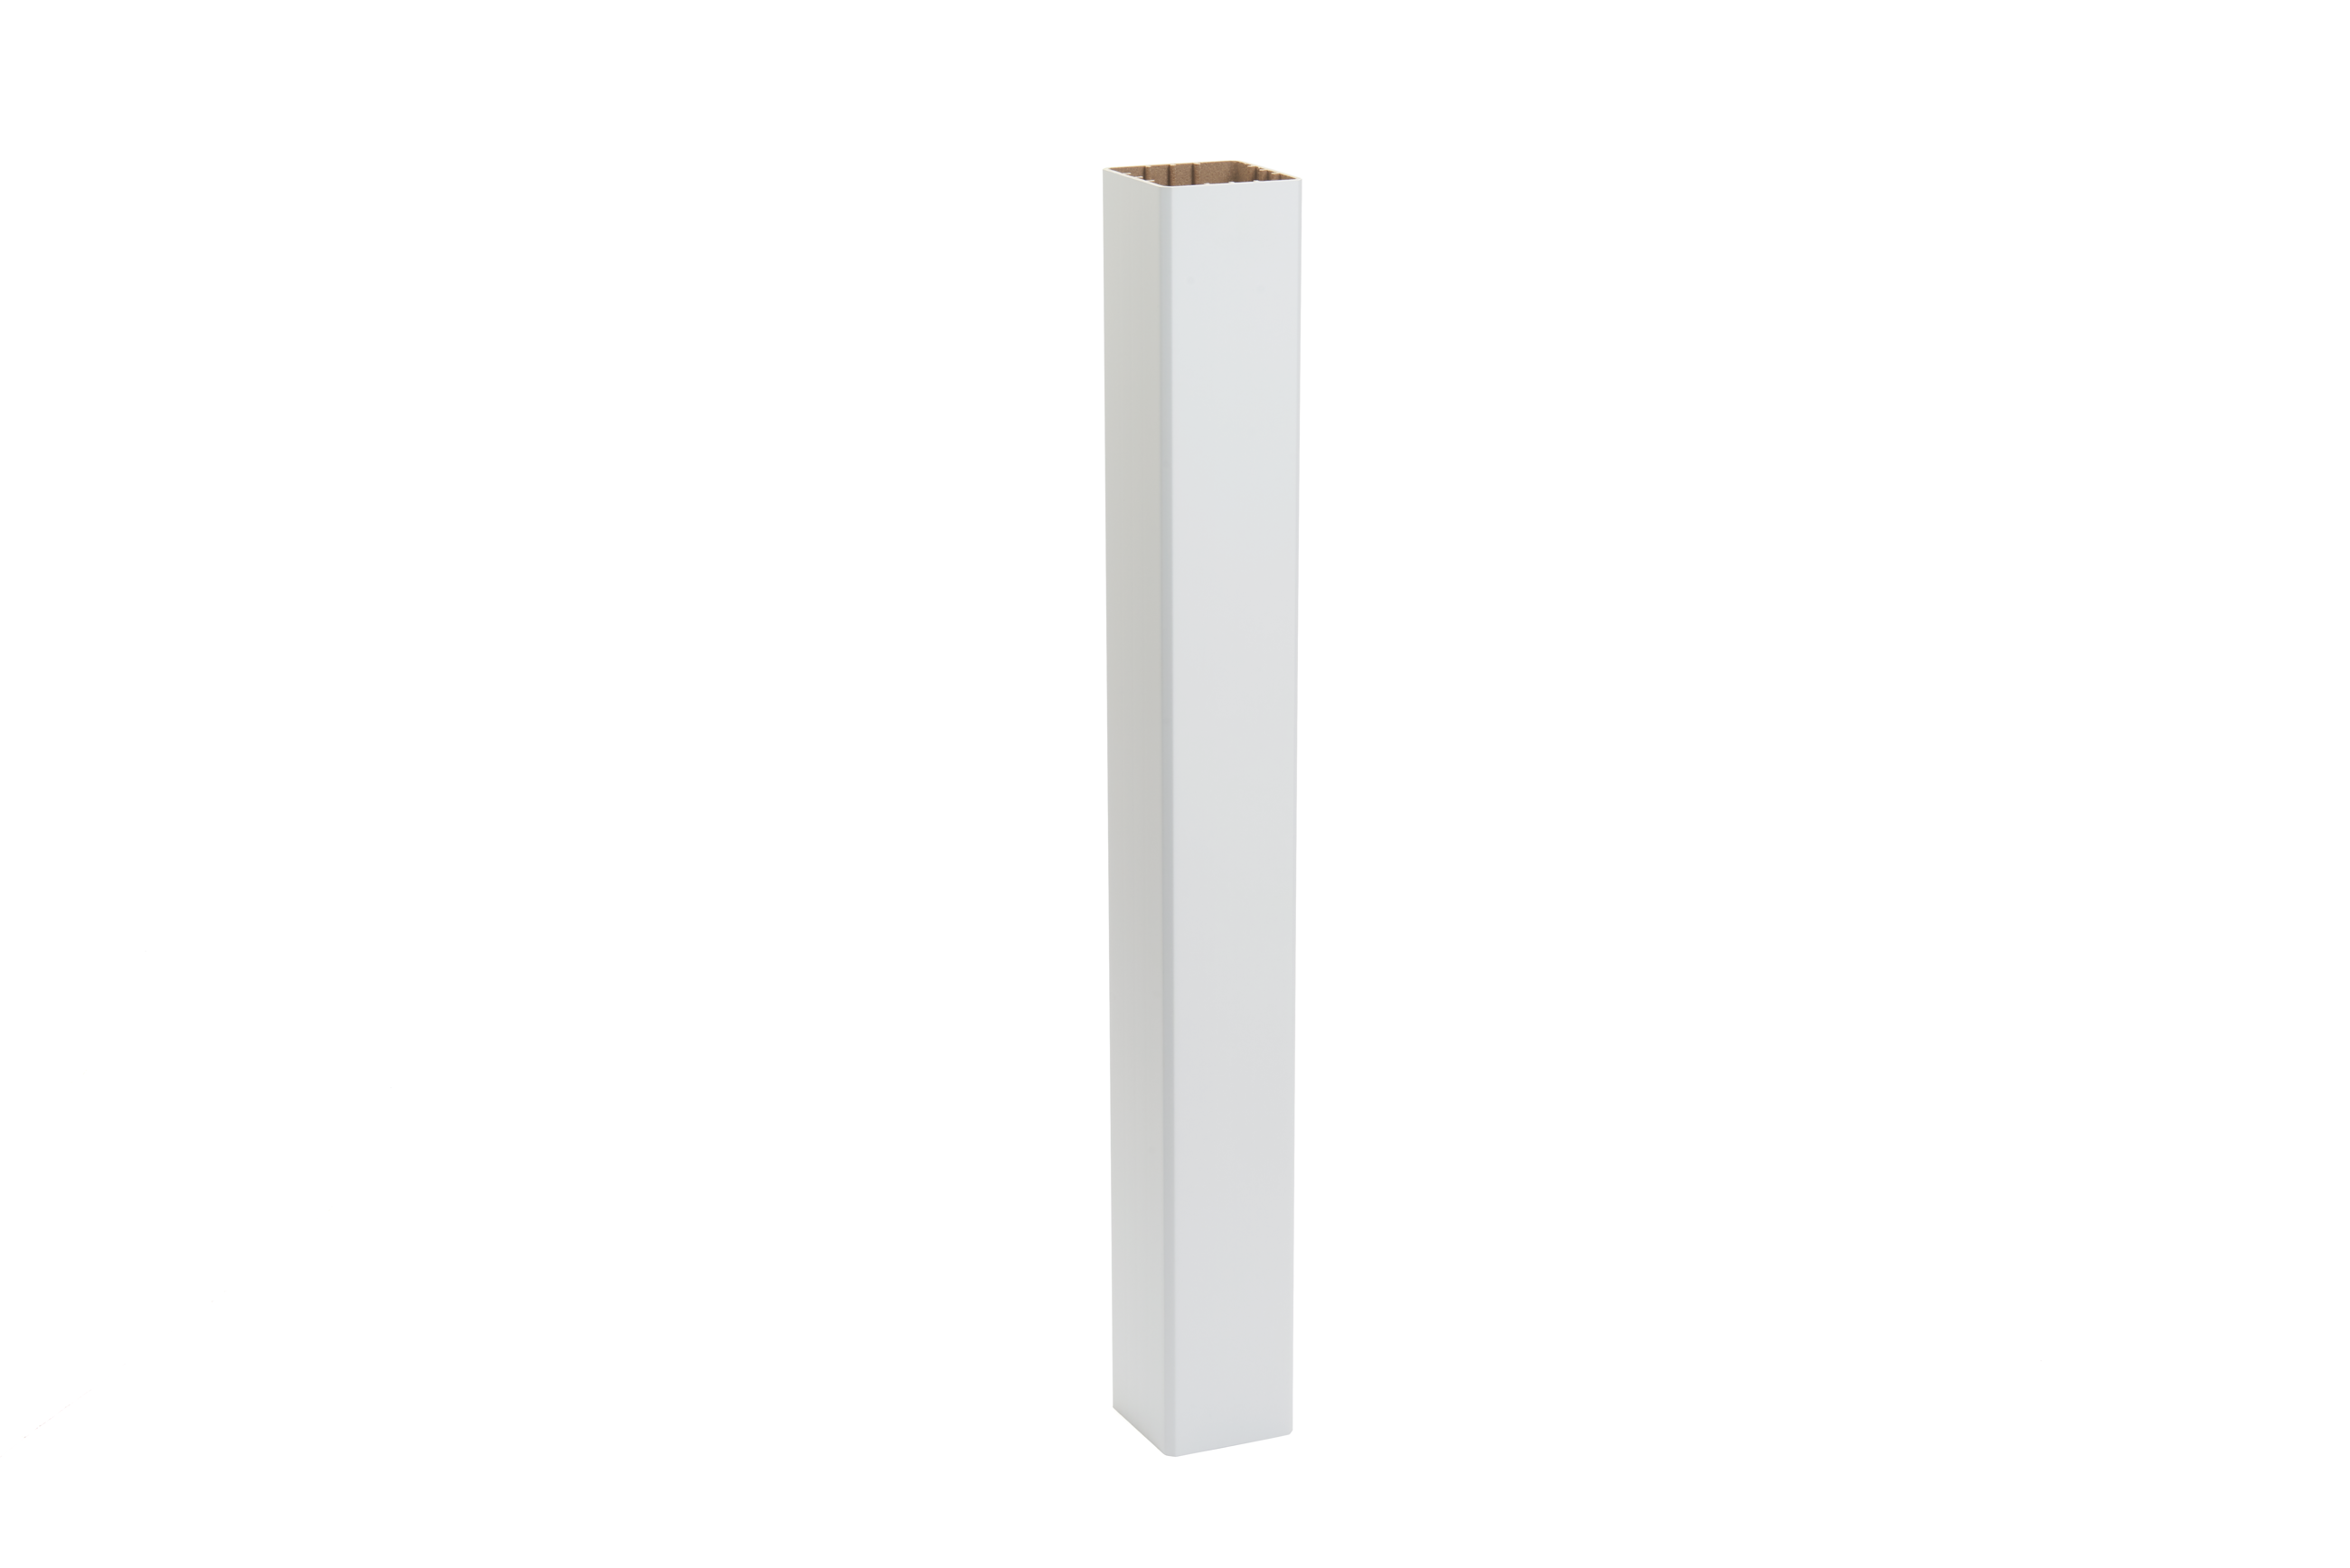
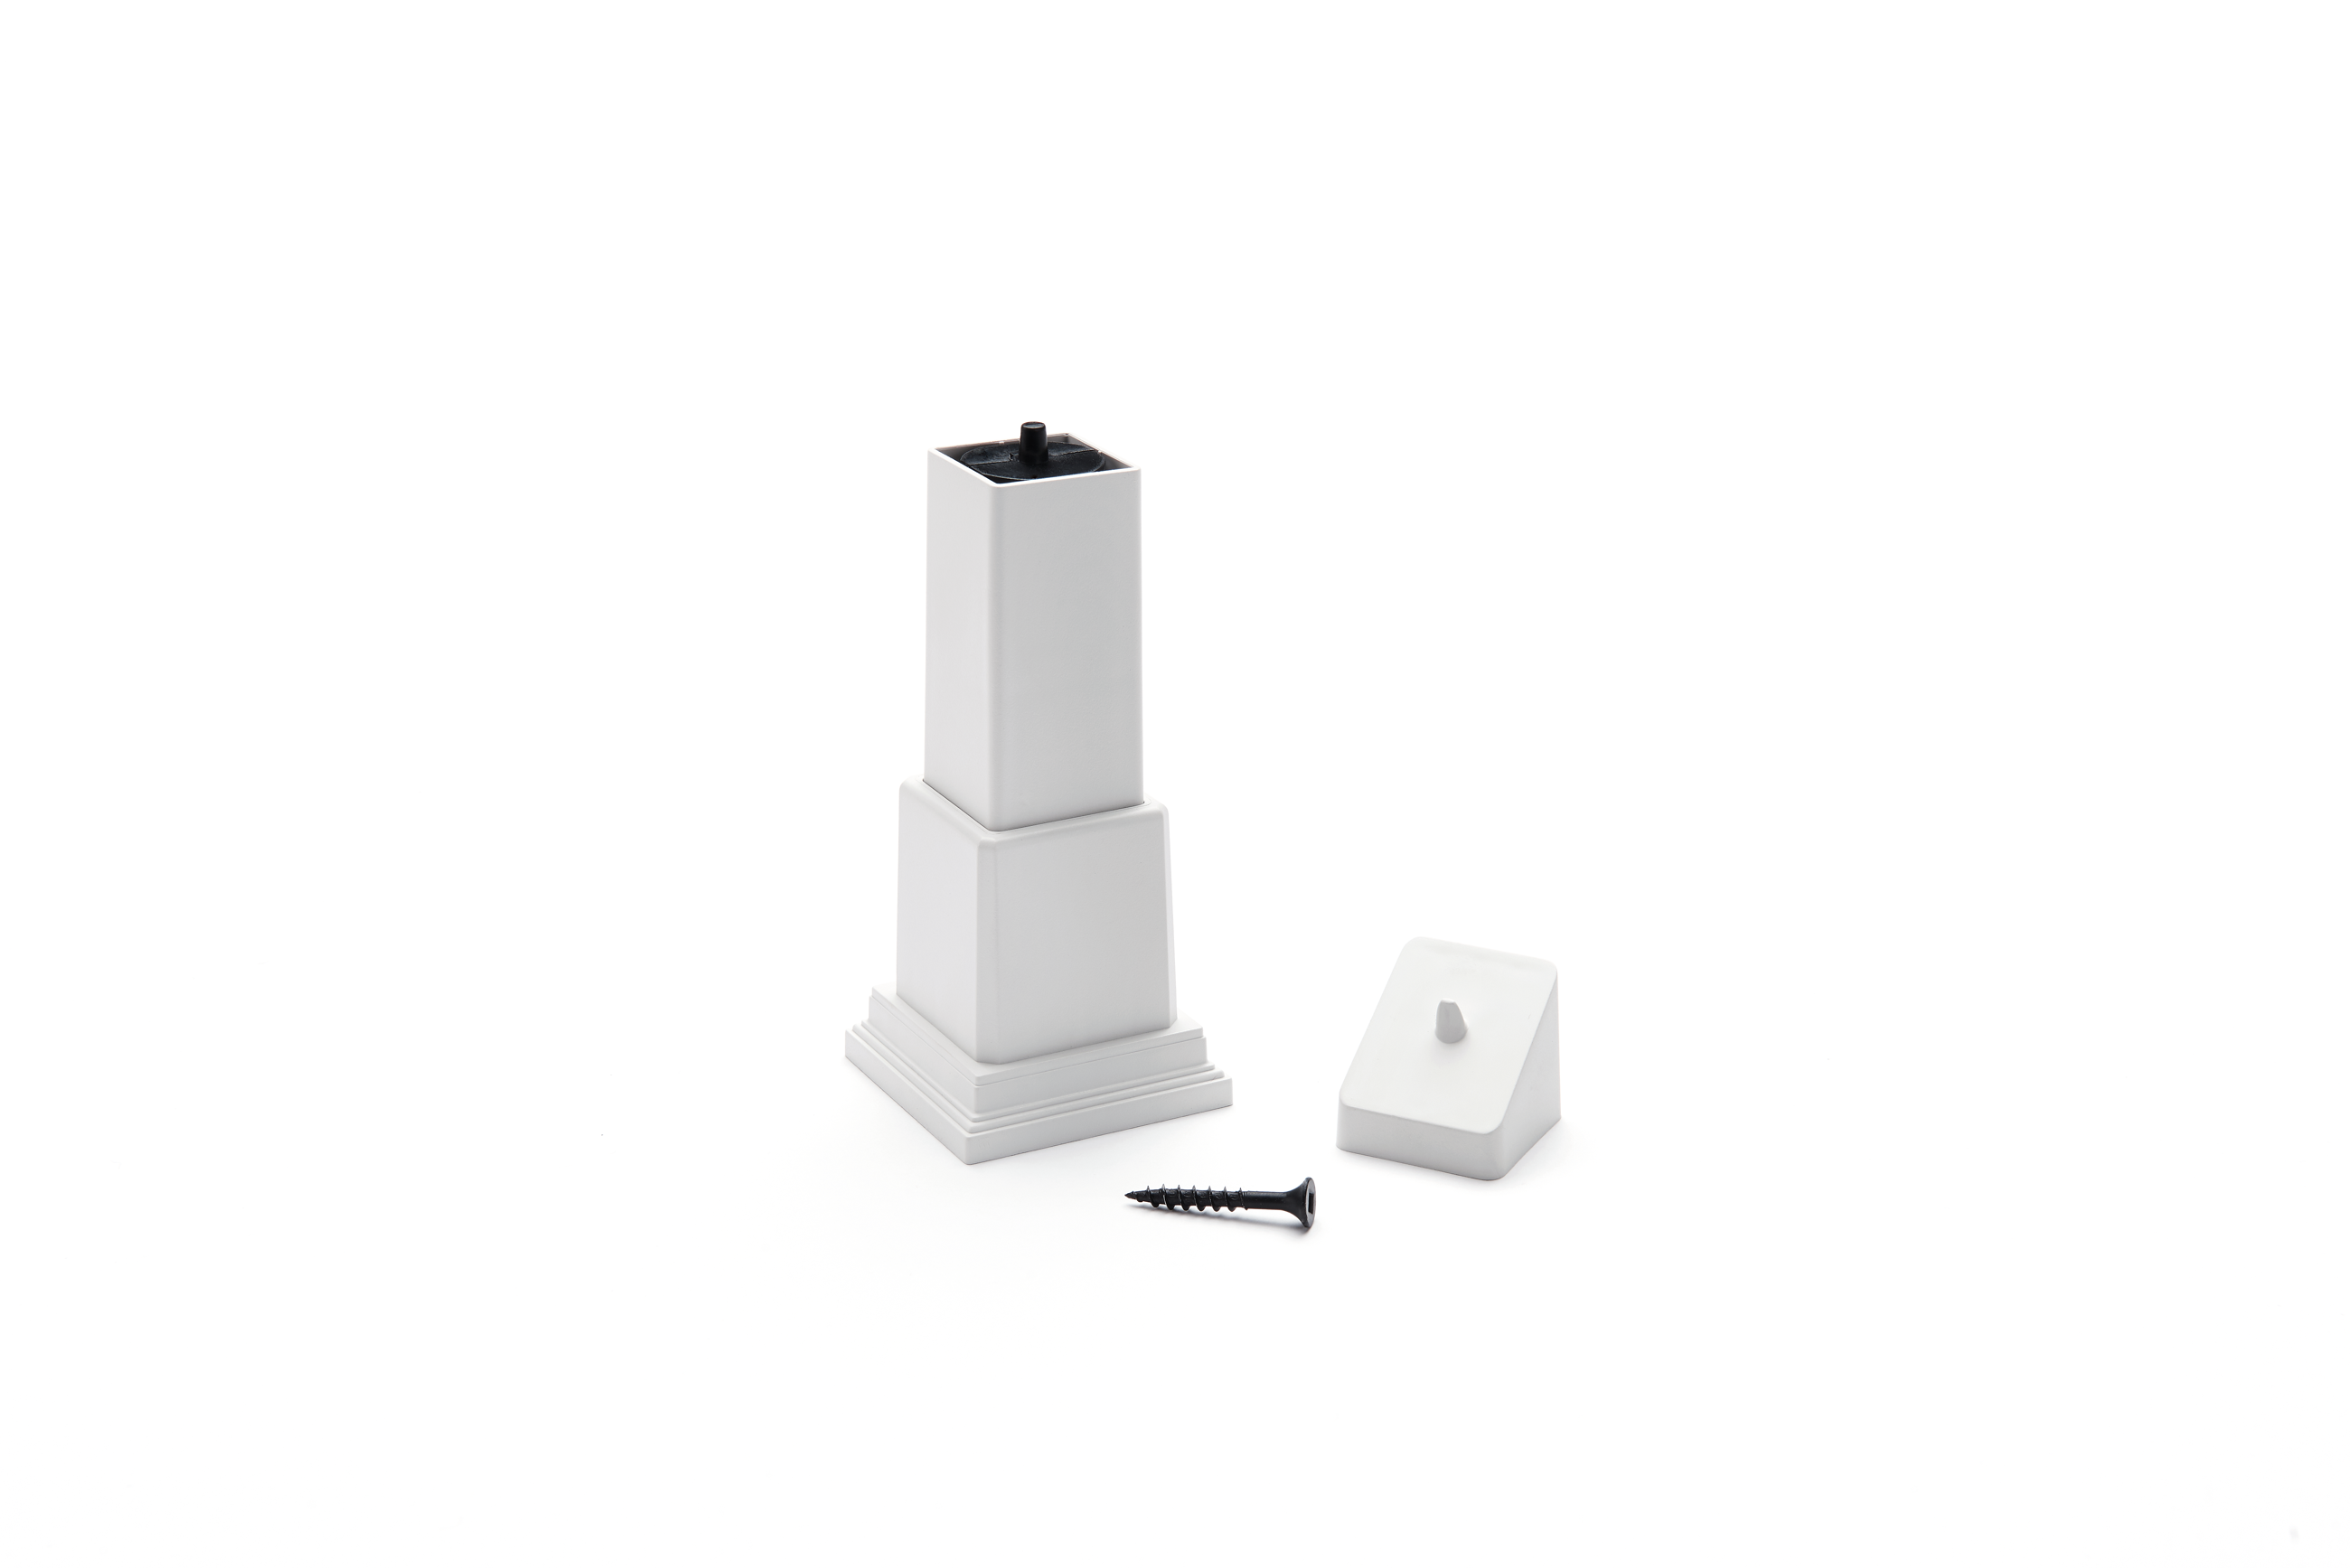
Post Sleeve: A post sleeve is a hollow covering that slips over a structural post. It serves both an aesthetic and protective function, shielding the post from weather and wear, and allowing for a finished look. Sleeves come in various colors, textures and materials.
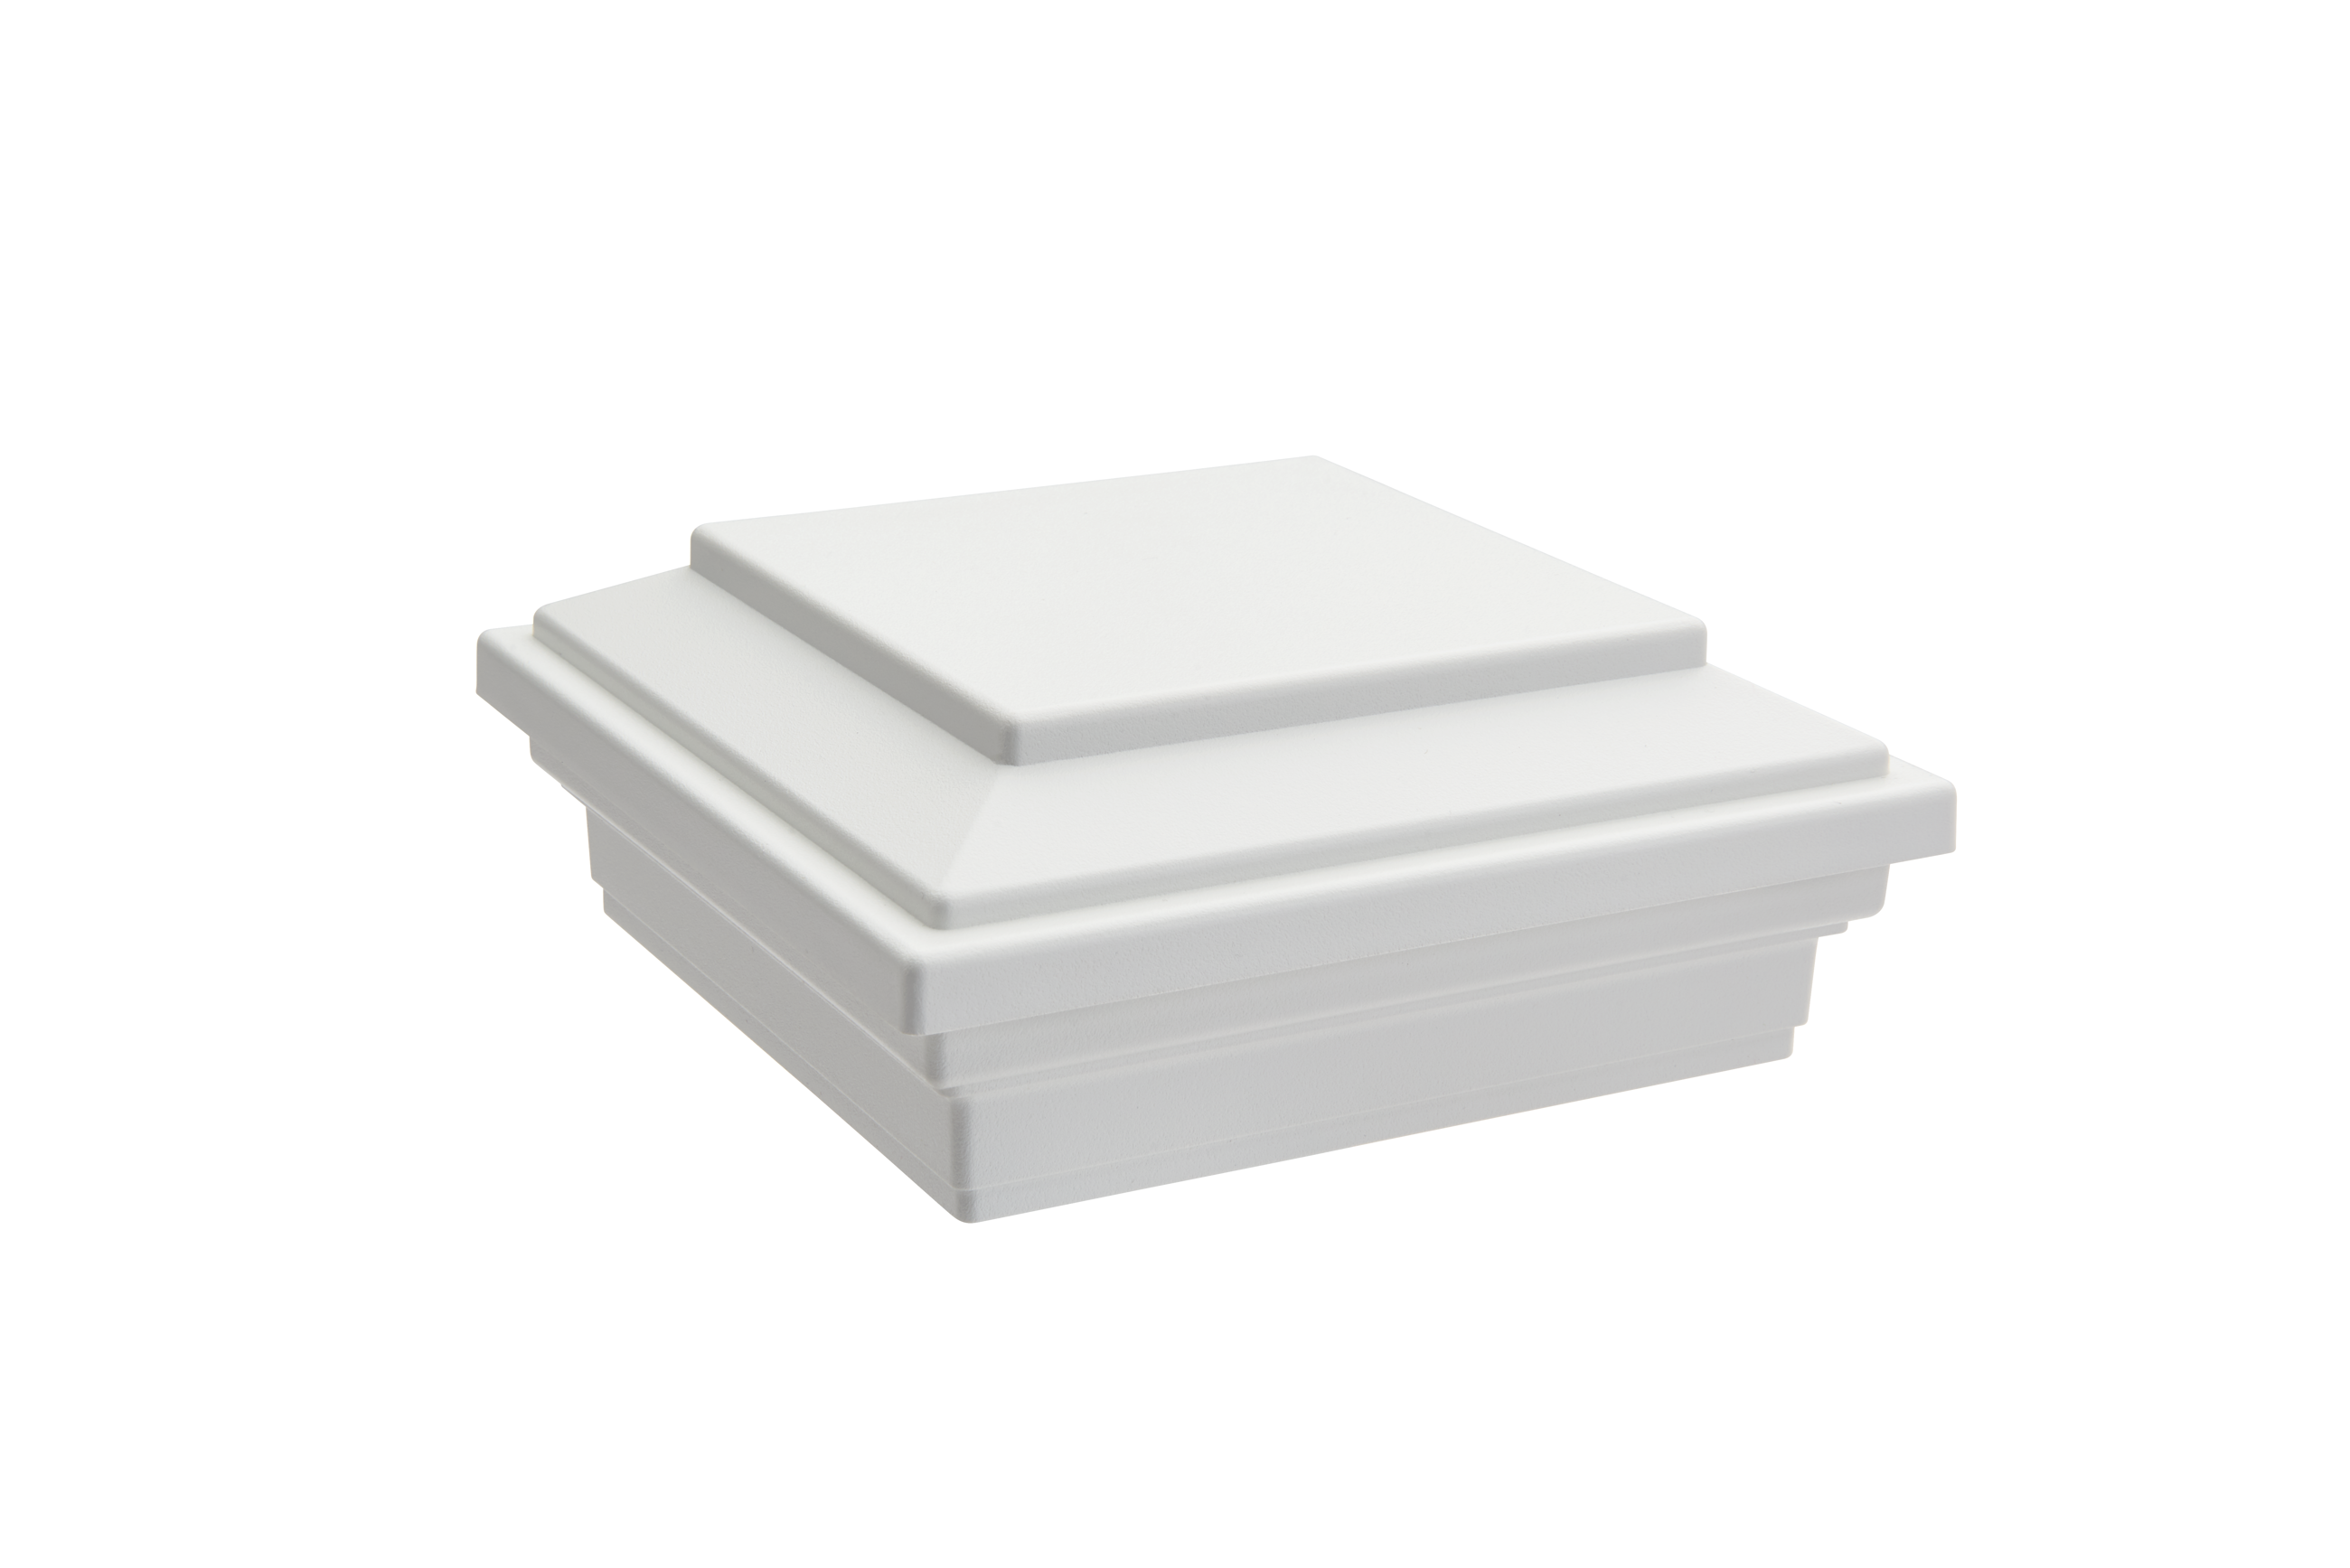
Post Cap: The post cap sits on top of the post or post sleeve. Caps can be flat or pyramid and even solar-lit, and enhance the railing design. Caps also help deflect water and protect the post from weather damage.
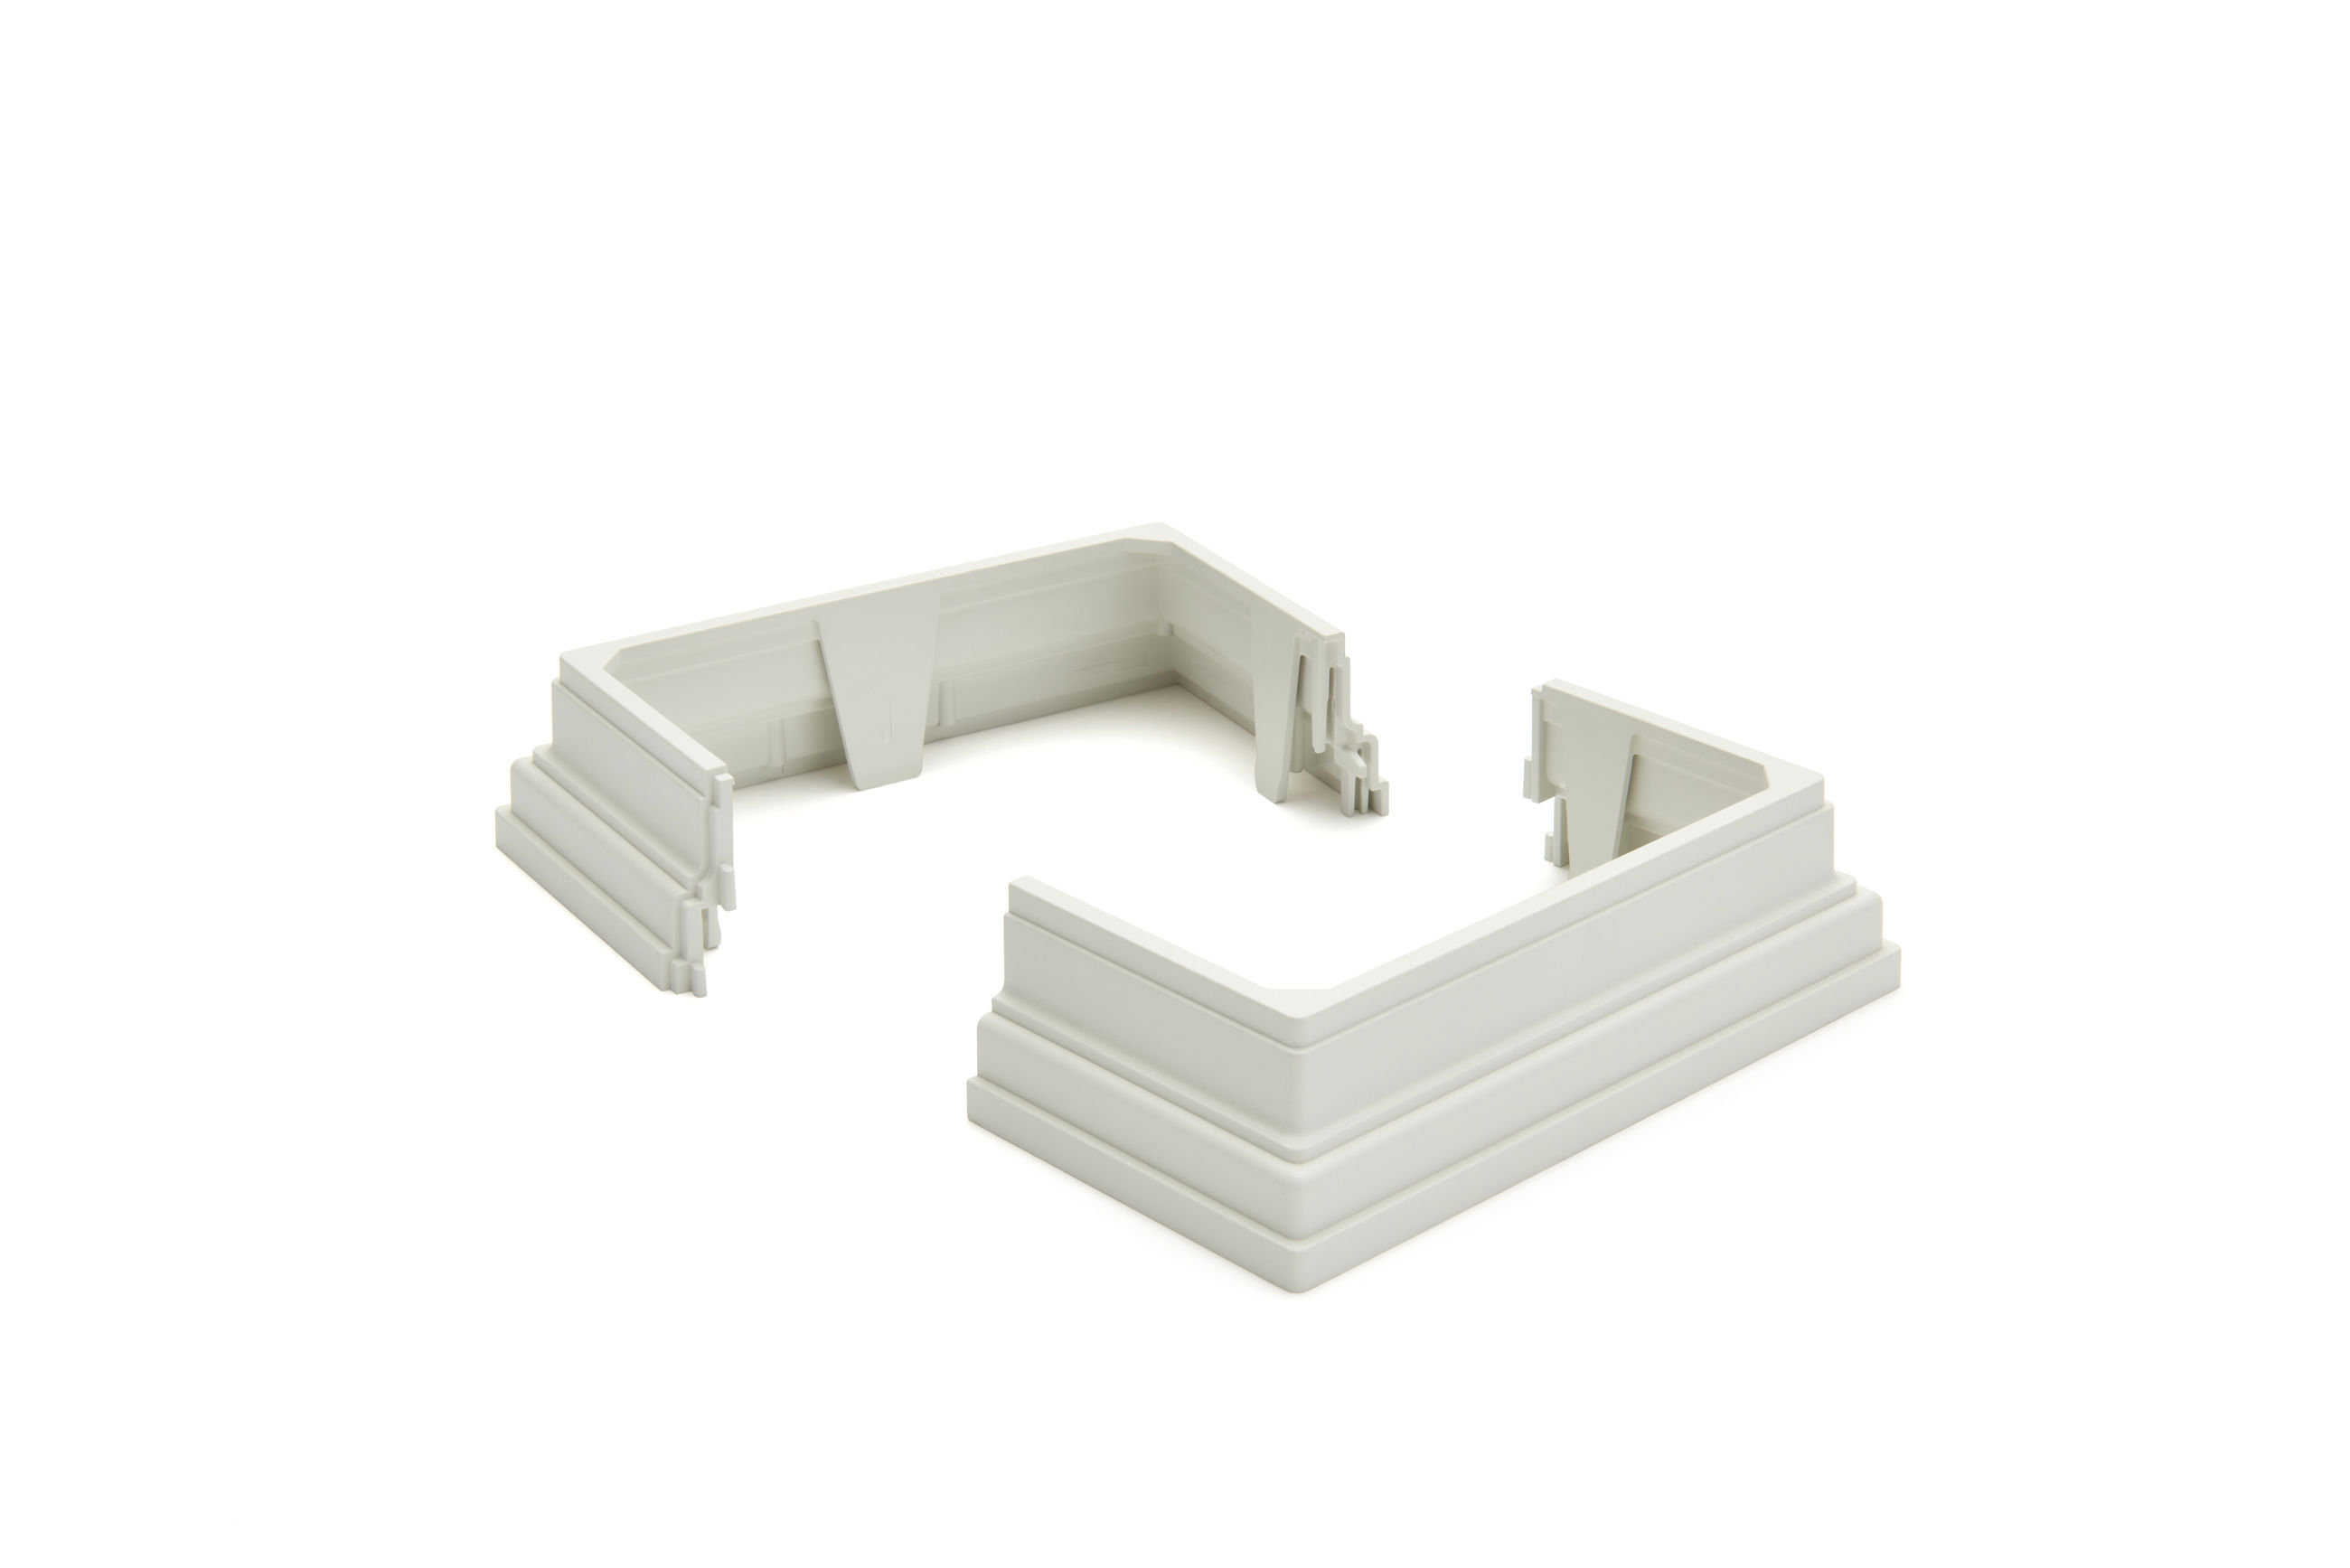
Post Skirt: A post skirt is a trim piece that fits at the bottom of a post or post sleeve, covering the gap between the post and the deck surface. In addition to its finished look, it helps protect the post from debris and weather damage.
Rail: The top and bottom rails refers to the horizontal components of a deck railing system and are the key structural element. The rails provide stability and finished appearance and support the balusters or infill.
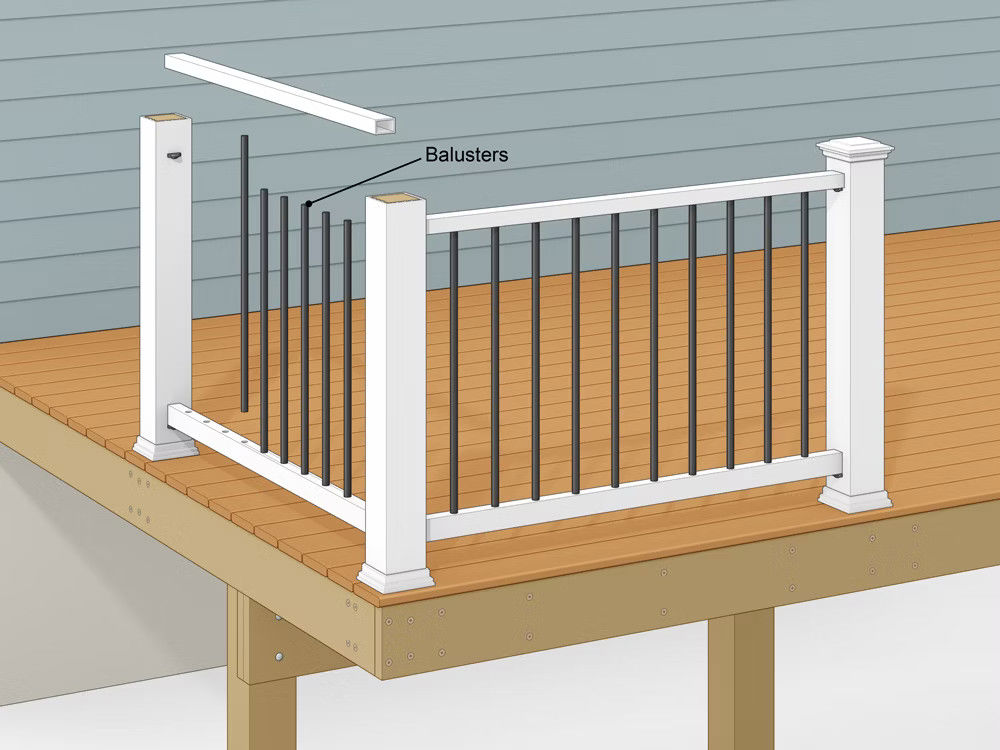
Baluster: Balusters are the vertical or horizontal components that fill the space between the top and bottom rails. They are often referred to as spindles or pickets. They are a key safety feature, preventing falls, and an important design element as well.
Infill: Infill refers to the material used between the top and bottom rail, in combination or in place of balusters. Common infills include glass or mesh panels and cable. Infills dramatically affect the aesthetics of a deck railing system and are a critical safety element.
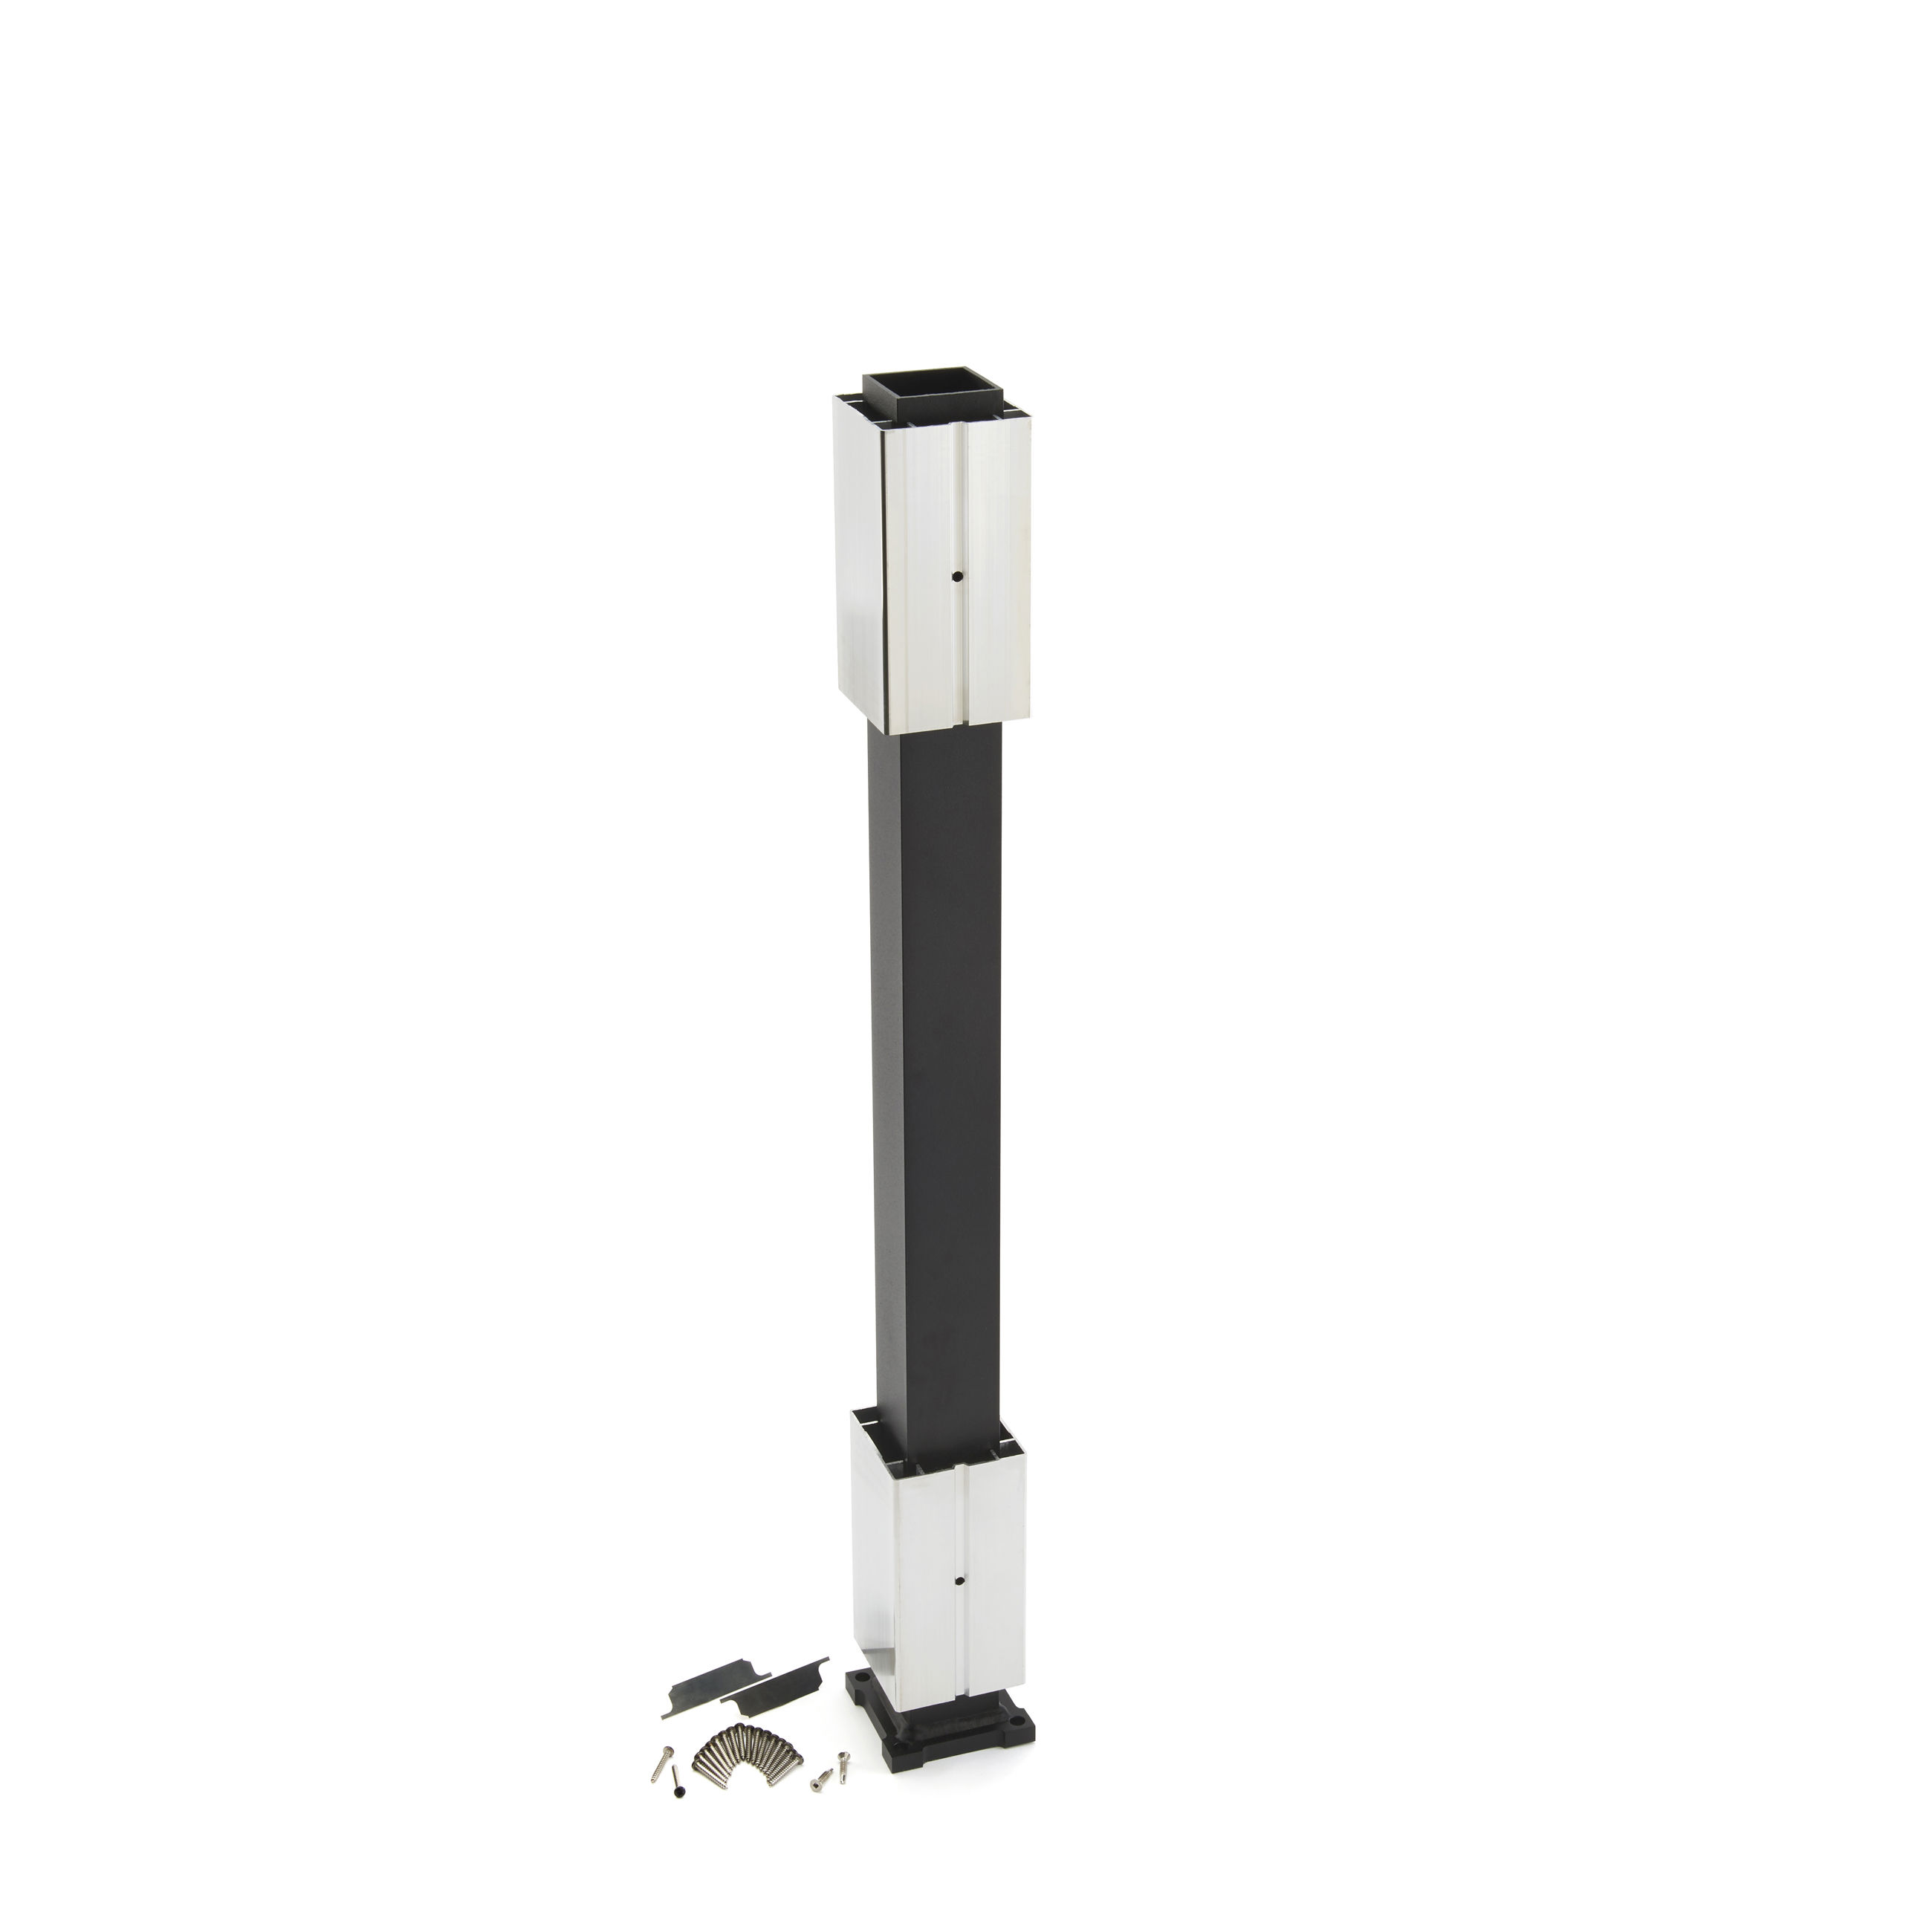
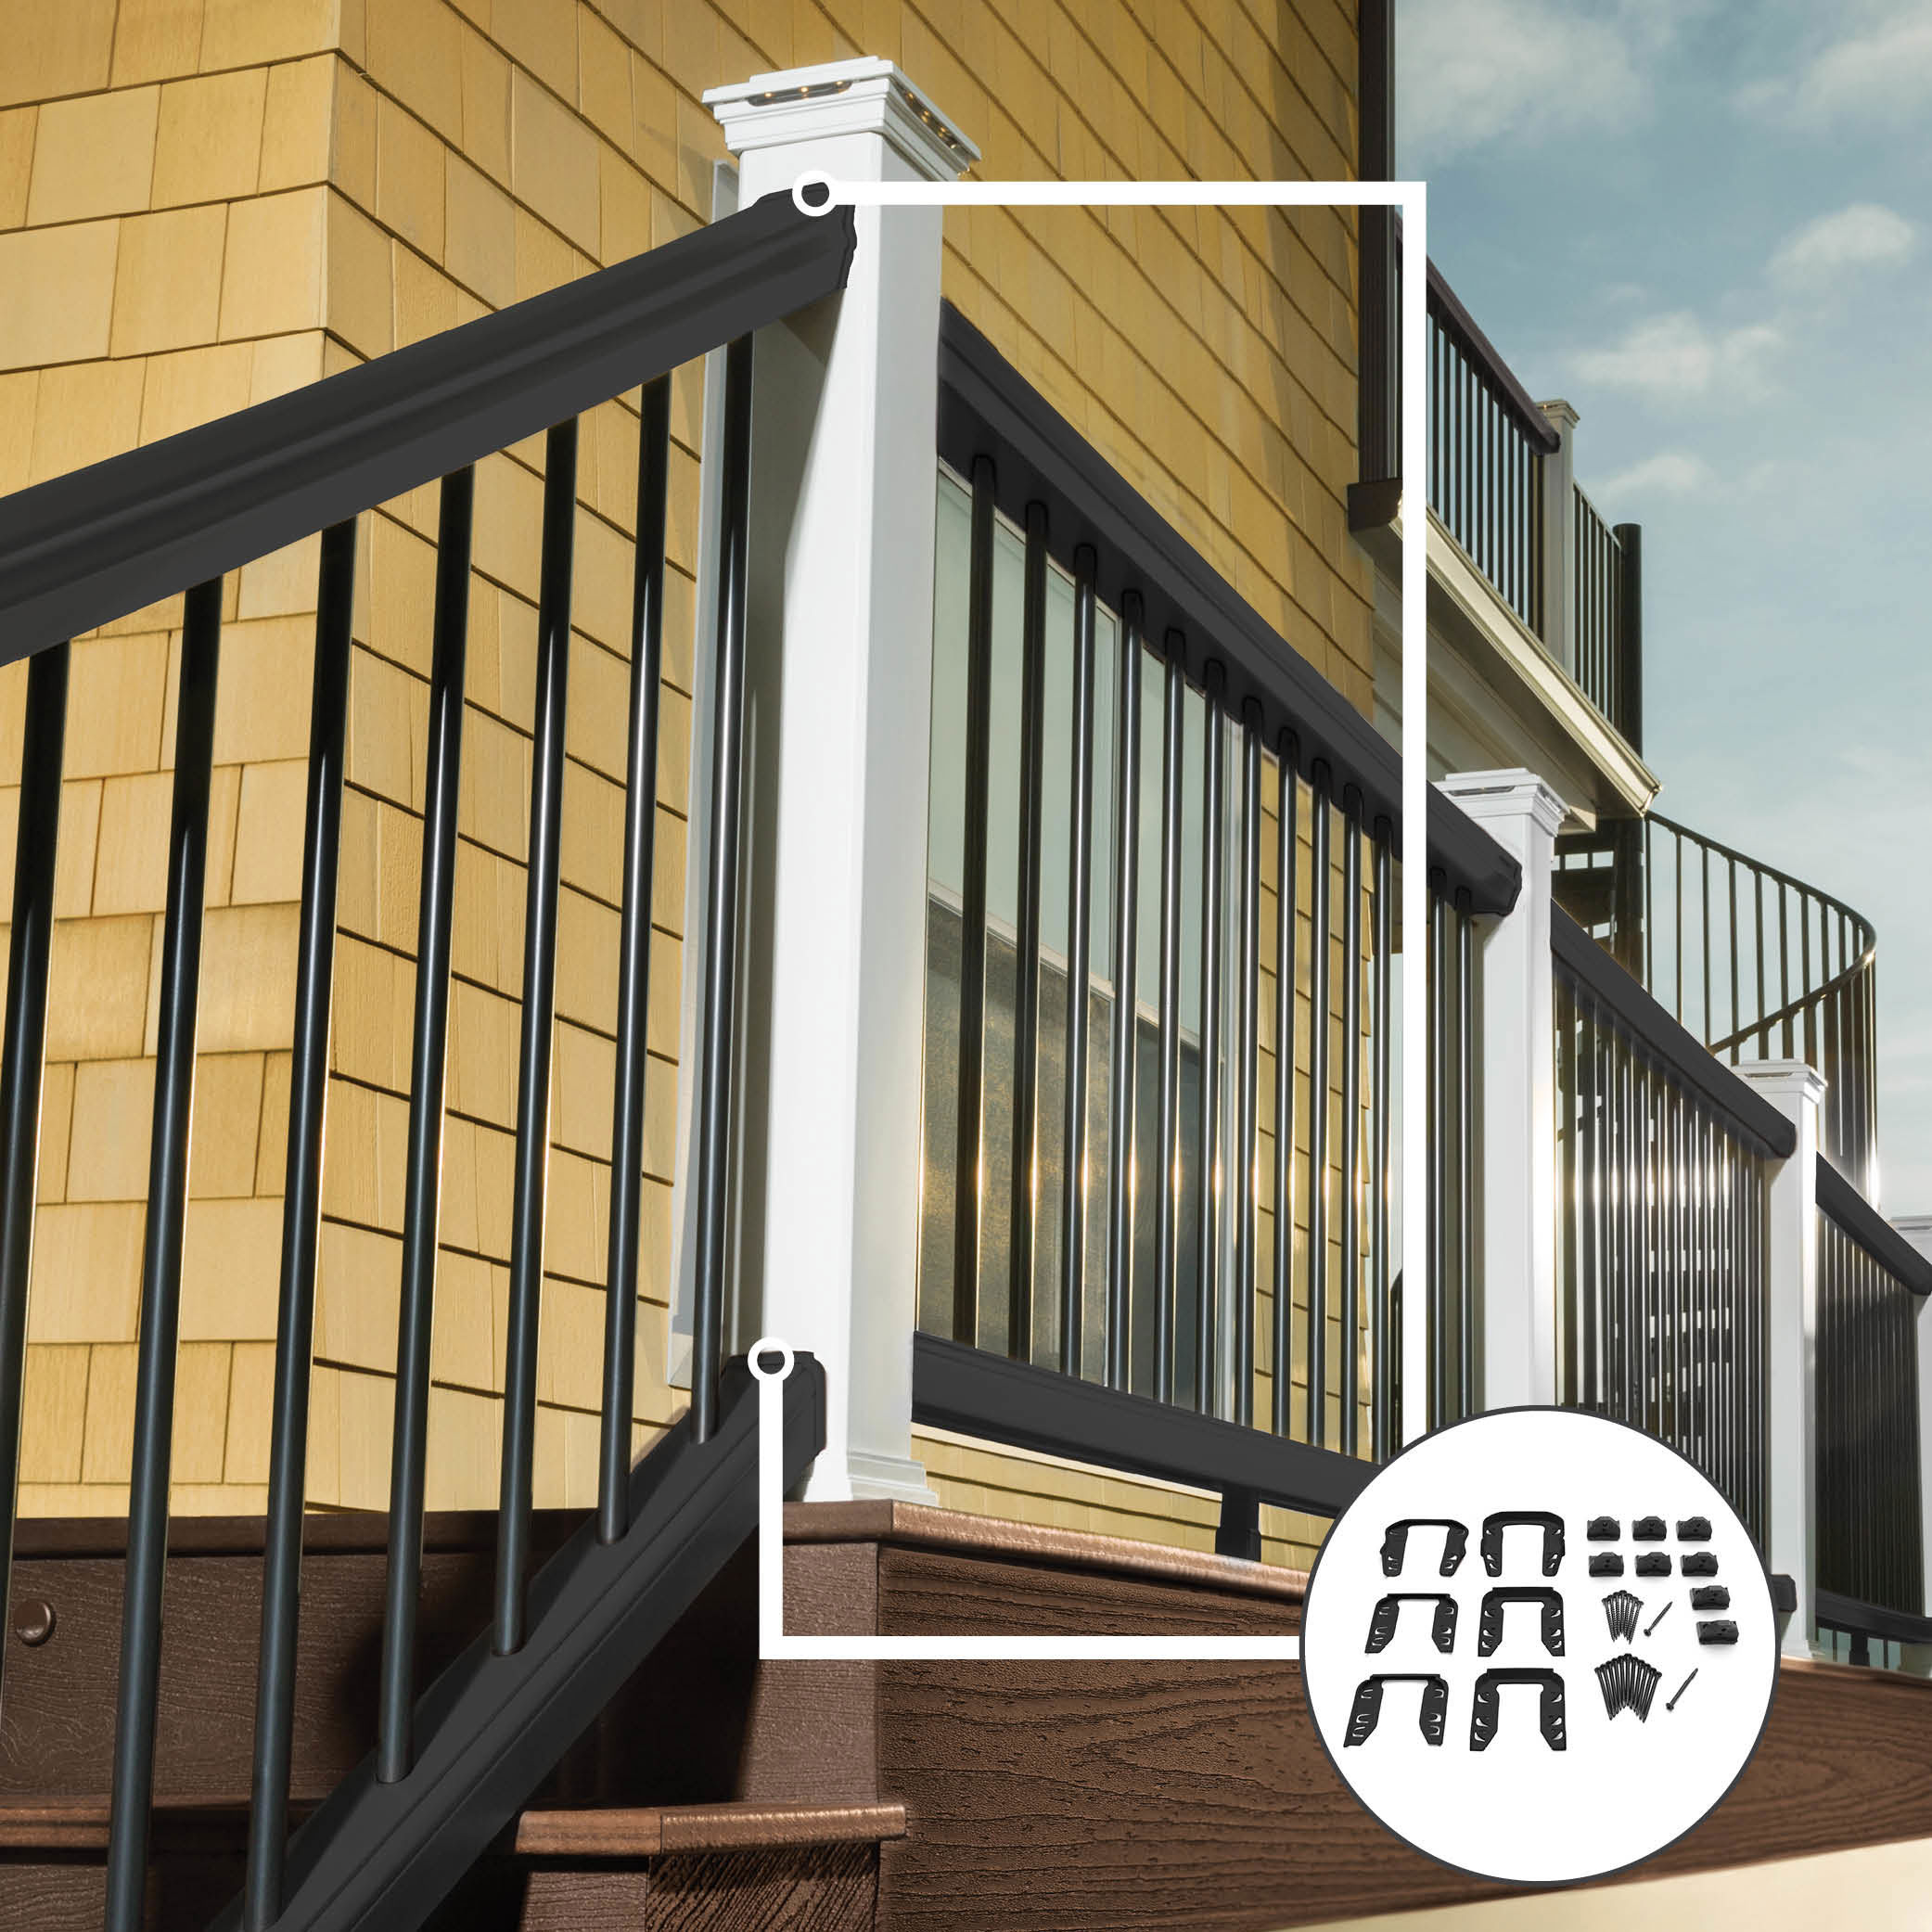
Bracket: A bracket refers to a small but essential piece of hardware used to securely attach the rails to the posts. They may be hidden or decorative, made of metal or composite, and included as part of railing kits or sold separately.

Foot Block: A foot block, or rail support block, is attached to the bottom rail at the midpoint of a rail section to prevent sagging. It supports the structure integrity of a rail section, especially with longer spans or with heavy infills like glass.
Stair Rail: A stair rail is the safety and support structure installed alongside deck stairs. Components include top and bottom rail, handrail, balusters or infills, brackets (both adjustable and pre-angled) and stair or newel posts (structural vertical posts sometimes placed at the top, bottom and intermediate points of a stair railing system to anchor the rails).
Check Building Codes
Never start a building project before checking with your local building department. Each locality has its own unique requirements. Ignoring this step could be costly.
- Check local building codes for height, spacing and structural requirements
- Verify minimum rail height requirements. Common railing heights are 36" and 42"
- Check maximum baluster spacing (usually no more than 4")
- Obtain required permits
Measure and Plan
It’s critical to know your deck’s correct dimensions. Careful measuring will ensure a correctly placed material order, successful installation and timely build. If using railing material made by a manufacturer, such as composite, metal or vinyl, be sure to review their installation instructions first.
- Measure the deck perimeter to determine the amount of railing needed. Maximizing spans can reduce both material and labor costs
- Determine rail height (typically 36” or 42”) and rail length (typically 6’ or 8’)
- Make railing material, infill and color choices
- Determine if railing is needed on stairs or landings
- Draw deck layout with post locations and railing sections
- Create an electrical plan before installation begins if you want lighted post caps or other lighting components integrated into your deck
- Make a materials list that can be shared with your retailer or used to order online

Choose Railing Type and Infill
Just like decking boards, railing comes in a variety of materials. Budget, design and style preferences will impact choices. Considerations include:
- Wood: Most deck railings are made from pressure-treated lumber, but cedar and redwood are also popular choices. Wood is the most affordable option initially, but requires yearly maintenance for the duration of the deck’s lifespan, increasing overall costs
- Composite/Vinyl: Low-maintenance, traditional alternatives to wood. Limited colors and styles. Kits available
- Metal: Aluminum, steel, iron are durable, contemporary options that typically cost more than wood, composite and vinyl. Kits available
- Infill: Choose from traditional wood balusters (also called spindles or pickets), metal deck balusters, composite deck balusters, mesh panels to higher-end cable and glass
Railing Kits or Customization
Rail kits simplify the ordering process, although they may limit some of your choices. Customizing complicates the ordering process but can lead to a more unique design. If building a wood deck, you'll have to purchase all of the components separately.
Railing kits
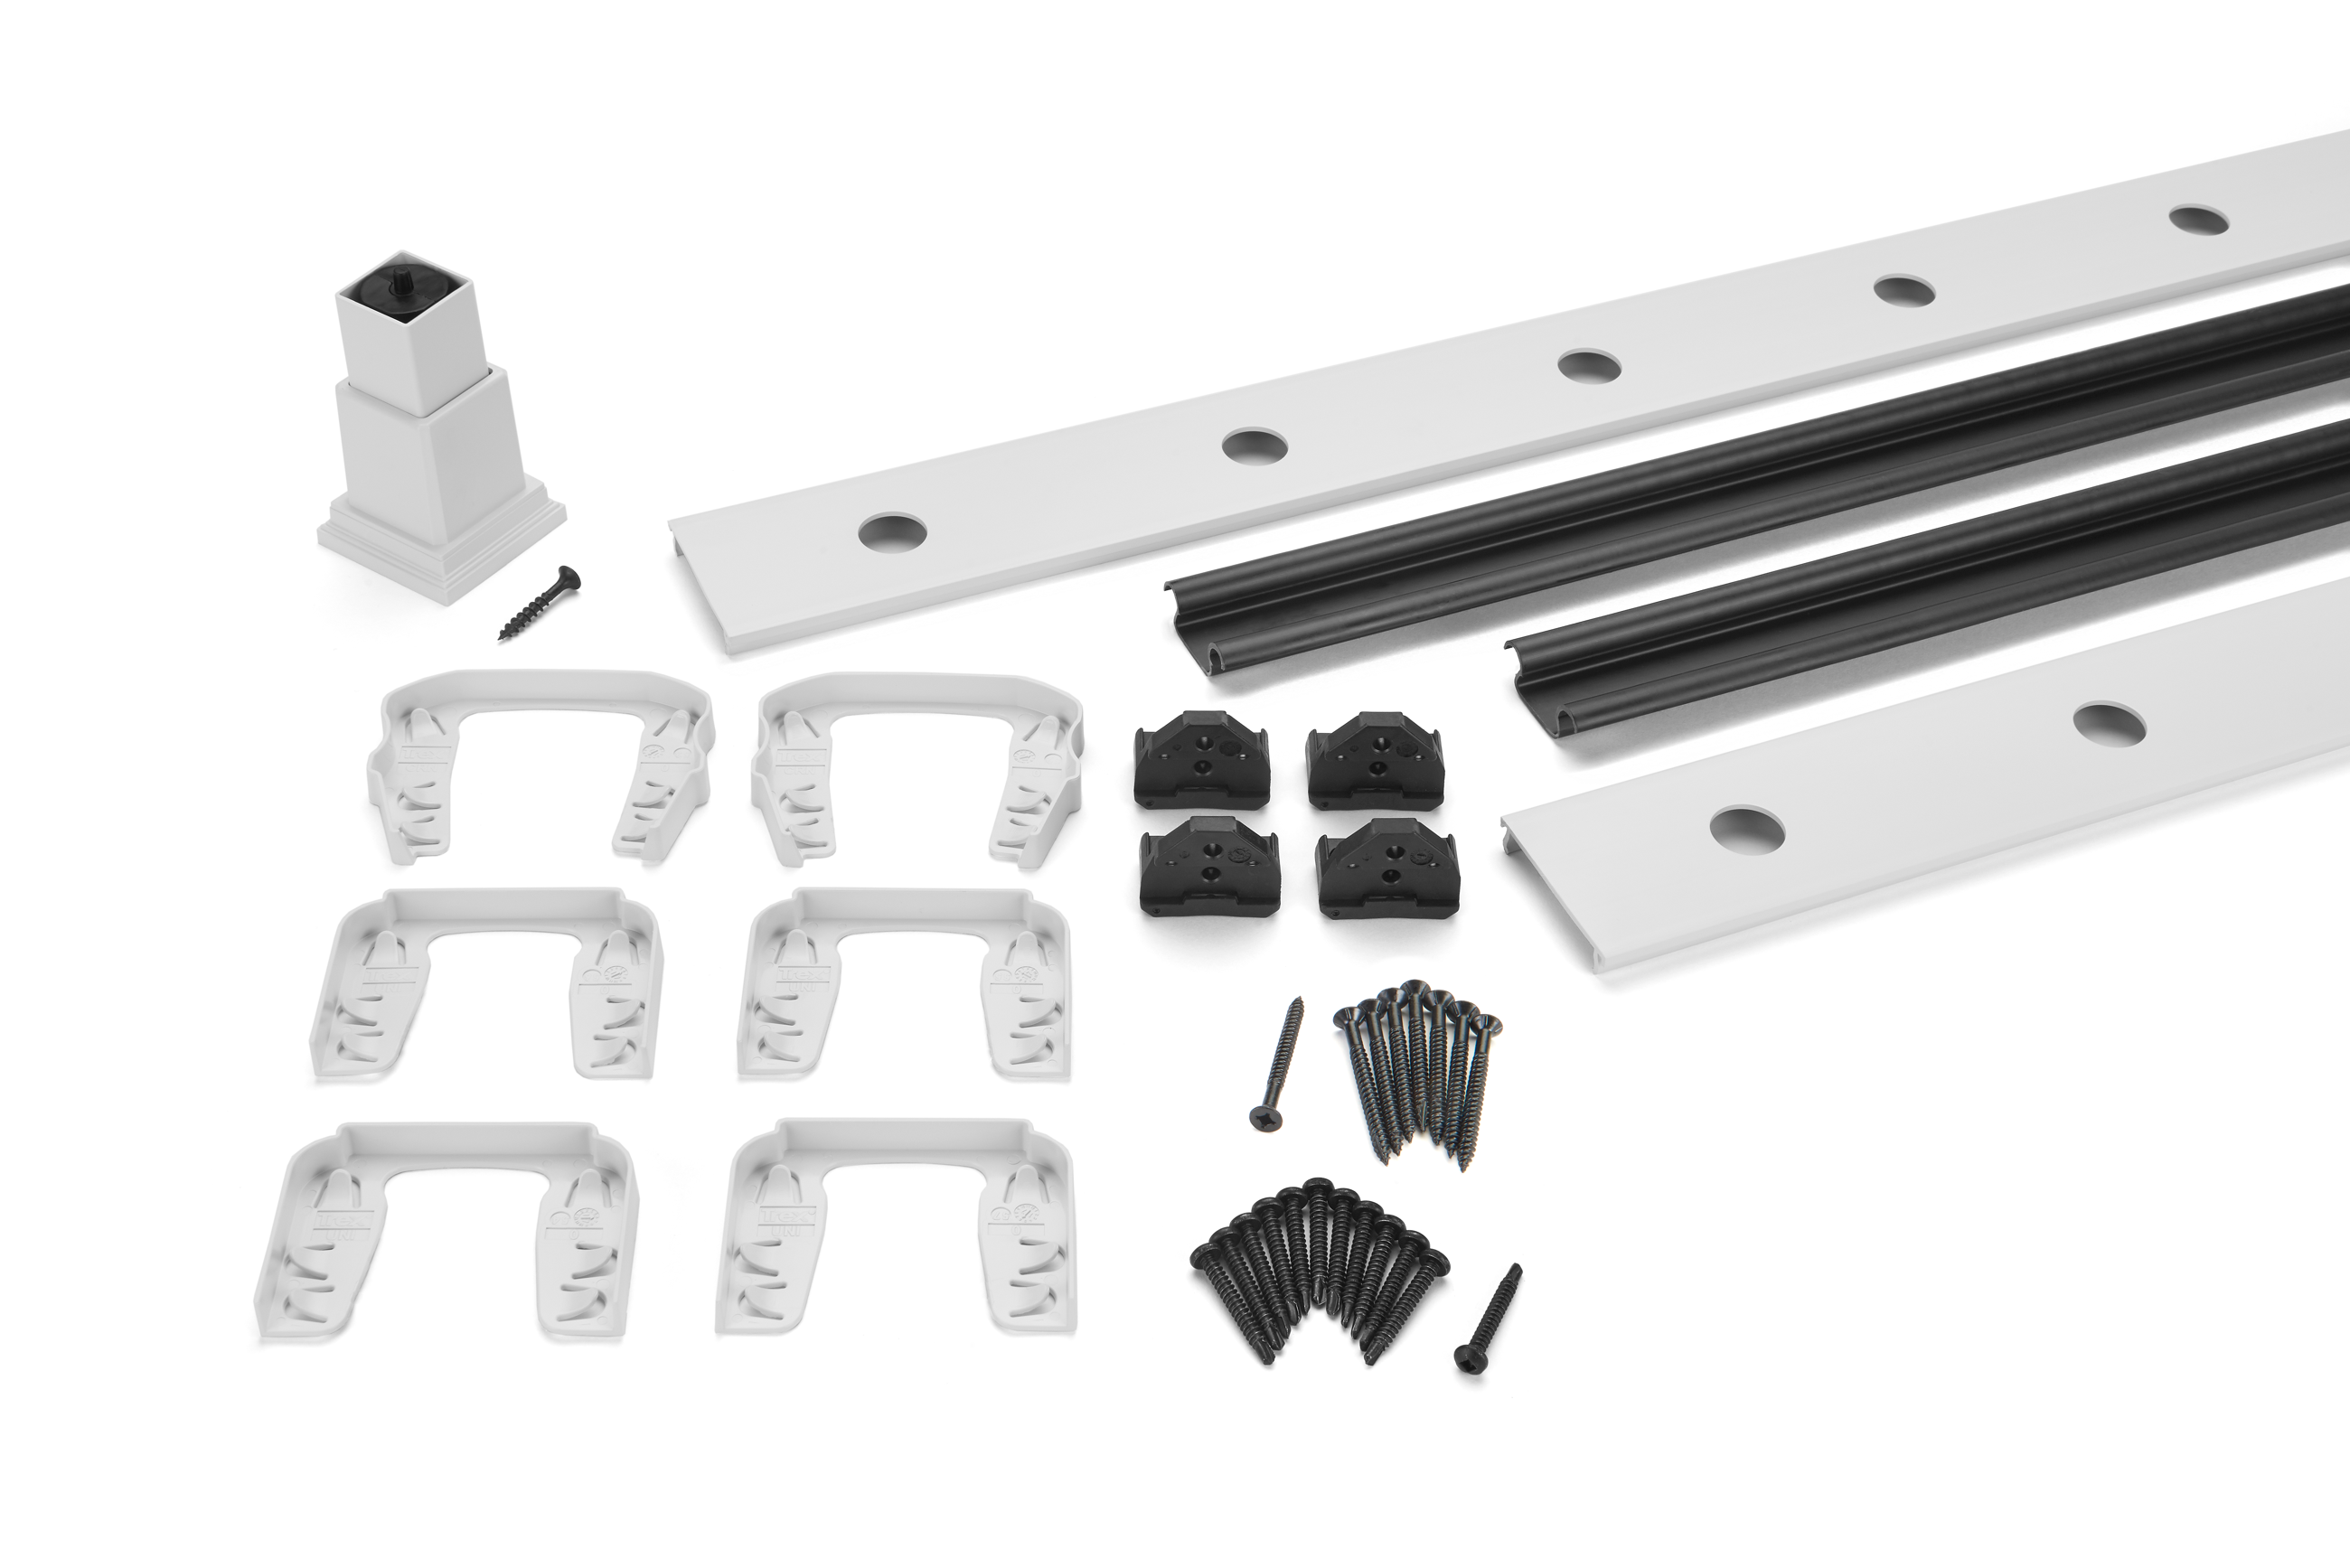
Horizontal and stair railing kits are typically available from manufacturers in materials such as wood-plastic composites, aluminum and steel. Boxed kits usually include one top and bottom horizontal rail, balusters (round or square), deck and stair railing hardware and fasteners needed to assemble one section of railing. Railing posts, post sleeves, railing post caps and railing post skirts must be purchased separately.
If Purchasing Kits:
- Choose your color. Kits typically come in white, brown or black. Top rail designs can vary, so give some attention to options such as crown, bread loaf or T-rail styles, or a top rail that allows for the installation of a deck board on top (deck boards purchased separately)
- Purchase the appropriate number of post sleeves for composite/vinyl posts. (typically 4”x4” or 6”x6”). Sleeves can be used in the same color as the top and bottom rails, or mix and match such as a white post with brown rails.
- For metal rails, posts can come in various sizes. One manufacturer, for instance, makes its metal posts in 37’, 43’ and 53’ heights and 2”x2” and 2.5”x2.5” widths
- Choose balusters. Kits typically come with square composite balusters in white, brown or black to match the rails, or with round, black aluminum balusters
- Purchase the appropriate stair railing kit in the same color and correct height and length
- Kits include necessary installation parts, such as mounting brackets, fasteners, and footblocks
Railing Customization
Customizing your railing requires purchasing separate components, instead of relying on the security of kits. After determining dimensions and choosing your material (wood, composite, aluminum, steel):
- Choose post sleeves to cover wood railing posts, composite/vinyl posts or metal posts for horizontal and stair railing
- Choose post sleeve caps and skirts
Choose top and bottom rails for horizontal and stair railing
- Choose infill. For balusters, mesh panels, cable, framed glass, or unframed glass.
- 6’ horizontal rail section requires 14 square composite balusters
- 6’ stair section requires 11 square composite balusters
- 8’ horizontal rail section requires 19 square composite balusters
- 8’ stair section requires 15 square composite balusters
- 6’ horizontal rail section requires 16 round aluminum balusters
- 6’ stair rail section requires 13 round aluminum balusters
- 8’ horizontal rail section requires 21 round aluminum balusters
- 8’ stair rail section requires 17 round aluminum balusters
- Mesh, framed glass and unframed glass panels come in a variety of sizes
- Choose fasteners (hidden fasteners, clips, screws)
- Choose stair railing post, rails and necessary brackets and hardware
- Purchase accessory infill kits for each rail section. Include baluster spacers, adjustable foot black and mounting hardware and brackets
Wood railing
You won't find pre-made kits for wood railing systems. You'll need to purchase all the components separately. As with composite and metal railing systems, you'll need posts, rails, balusters, caps and skirts, but you typically won't use a post sleeve or brackets. Deck railing hardware (nails and screws) made specifically for pressure-treated lumber should be used to fasten the wood components.

Other Railing Considerations
Railing manufacturers offer options that can help simplify installation even further. They include:
- Pre-assembled aluminum and steel horizontal and stair panels typically come in 6’ and 8’ lengths with vertical balusters already assembled in place. Mesh panels generally come in a variety of heights and lengths
- ADA handrail and components
- Crossover posts that allow for a continuous top rail design for those who want to minimize or eliminate post caps
- Aluminum posts with premounted brackets for quicker post installations
- All-In-One Post Kits: posts which come with the post cap and skirt included in the box
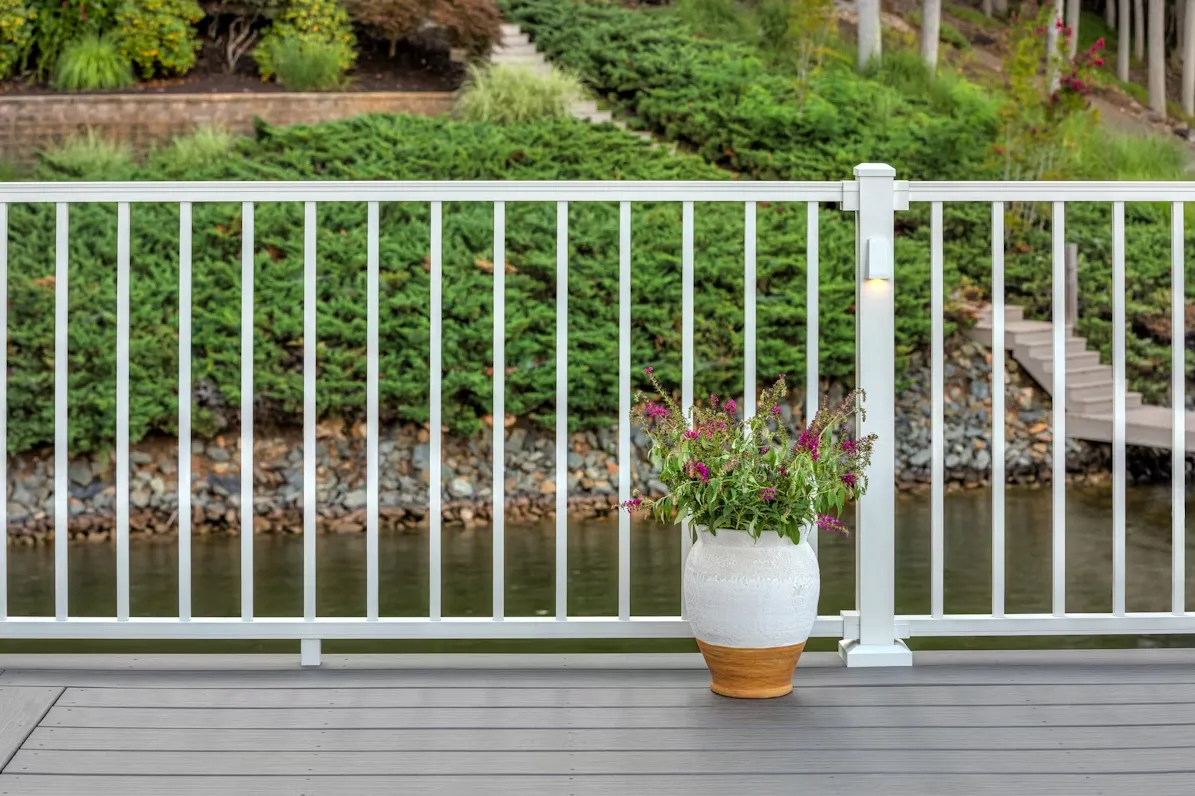
- Solar post caps which eliminate the need to wire electricity
- Bracket templates to assist with the installation of posts
- Easy to install, preassembled gates that add safety without sacrificing style
Whether you want your railing to say something about your unique style, or just want a safe space for visitors - young, old, two legs or four - careful planning goes a long way toward a successful installation and creating enduring outdoor memories.
For More Information
Check out these articles for more information on designing and building your railing: