In the past, many decks were built with 4x4 support posts (also called structural posts). But these can bow seriously, even if a deck is only 3 feet off the ground. For that reason, we strongly recommend that you use 6x6s instead, even if your building department does not demand them. And if a deck is over 10 feet tall, you should install bracing.
This article shows installing non-notched posts on top of concrete footings that rise above the ground, to support framing that has already been built on temporary supports.
[tip] Wait for the Concrete to Cure
Allow at least two days for the concrete to cure before drilling holes and installing a post. If you install the post the same day as you poured the concrete, the footing could crack.
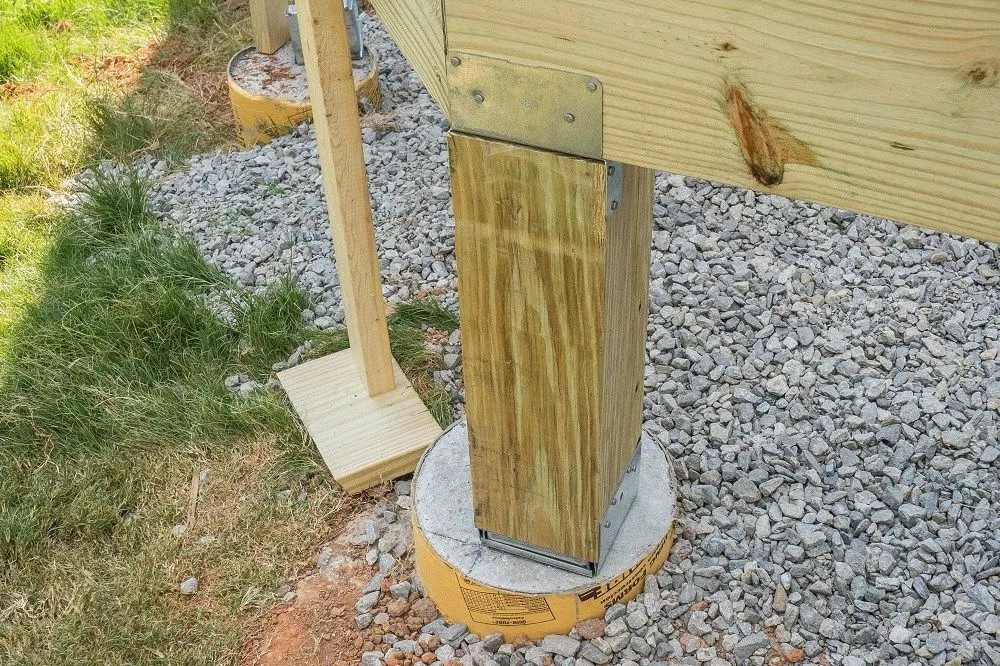
Mark the post’s corner on the footing.
1. The support post’s side should be flush with the outside of the beam or doubled header.
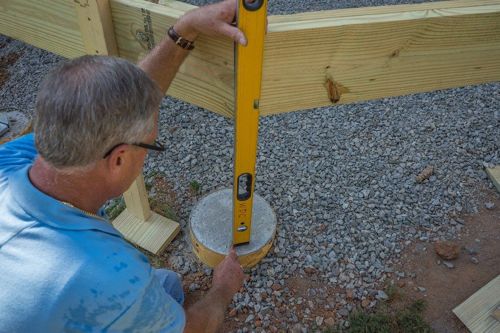
Draw the outline
Use a level to mark the post’s corners, then use a square or straightedge to mark its outline.
Heavy-duty hammer drill
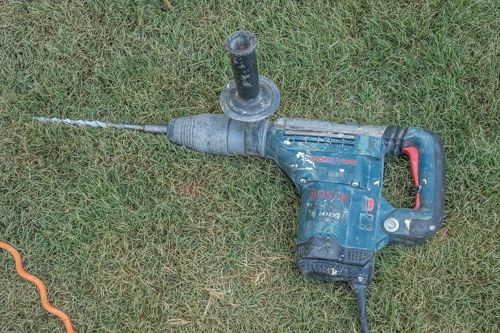
You can try to drill holes in concrete with a standard 3/8-inch drill, but it will be very slow going. Save yourself time and energy by using a standard-voltage heavy-duty hammer drill like this one, which will bore down with ease.
Sleeve anchors
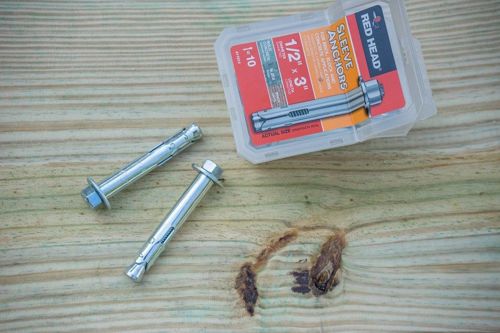
Use sleeve anchors of a size recommended for your post base. The packaging will tell you the size of the drill bit to use, as well as how deep to drill the holes.
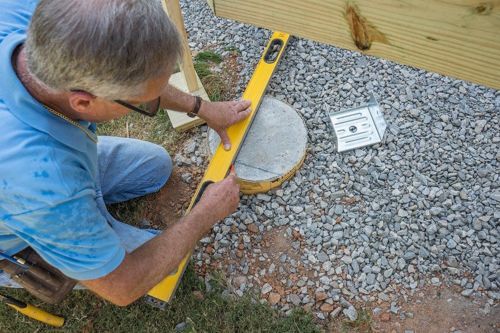
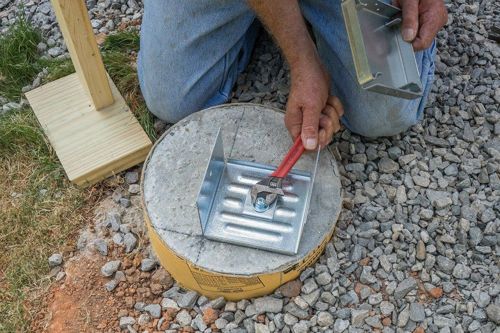
Mark for the hole
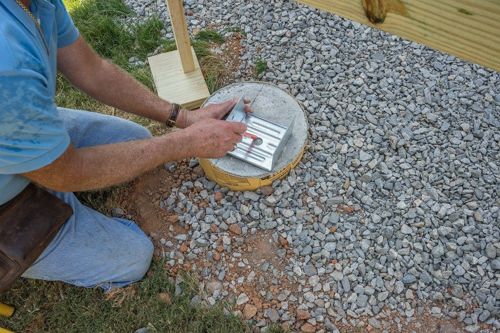
2. Position the post base as shown with its inside area aligned with the pencil lines. Scribe a circle where the base’s lag screw will go.
Drill the Hole
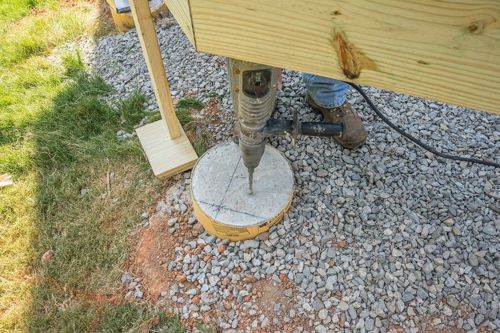
Drill a hole of the recommended size, a half inch or so deeper than the sleeve anchor. Pull out most of the dust by lifting the drill bit quickly as you drill, two or more times.
Tap the anchor in
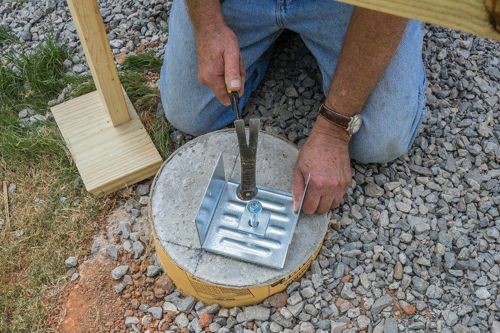
3. Reposition the post base, aligned with the layout lines, and tap a sleeve anchor down into the hole.
Tighten the bolt
Use a crescent wrench or a socket wrench to tighten the nut, which will cause the anchor’s sleeve to expand so that it grips the concrete firmly.
Measure for post
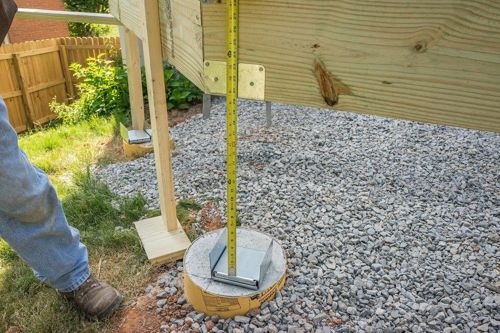
4. Install a post cap, also called a post-to-beam connector, onto the beam or doubled joist above; use a level to be sure it is plumb with the post base.
Tap in the post
Measure the distance between the two hardware pieces, then subtract 1/16 inch or so to account for imperfect cuts.
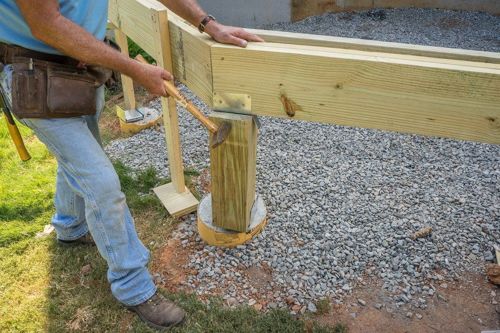
Use a hand sledge to tap the 6x6 into place, check for plumb, and drive nails into all the hardware holes to secure the post.
Finish with nails

Use a hand sledge to tap the 6x6 into place, check for plumb, and drive nails into all the hardware holes to secure the post. With the posts in place, you can remove the temporary supports.

Get Helpful Deck Planning Resources Sent to Your Inbox!
Sign up for weekly tips and advice


