Deck lighting is a great way to make your deck more attractive and useful. Follow our step-by-step instructions to learn how to install low-voltage lights. Deck lighting is a great project because low-voltage lighting doesn't usually require hiring an electrician. Installing deck lighting is similar to installing landscape lights.
You can choose from a variety of light posts, rail lights, and stair riser lights. Most deck lighting systems are powered by a 12-volt transformer that is plugged into a GFCI protected ordinary wall outlet. Solar lights that are self-powered are available, and they don't require wiring or transformers. Always read the manufacturer's installation instructions and contact your local building department before starting the project.
Create a Lighting Plan
First, you’ll want to position your lights so that they’ll illuminate the appropriate areas. Planning your deck lighting installation prior to installing any low-voltage deck lighting is essential for proper installation.
Start by identifying the locations of AC power sockets for plugging in the transformer. Once you’ve done that, you’re ready to start making approximate measurements for the length of wiring necessary to run your lights, and how many transformers you might need for your project.
Take time to consider the different levels of light you might want to have on your deck. For some areas you may want very soft light to create ambiance. Other sections of your deck may call for more light for any number of reasons.
It may be wise to pre-purchase some of the lights and temporarily connect them on your deck or on your lawn/patio to test the amount of light given off by each one. Remember to sit outdoors for 10 or 15 minutes surrounded by these lights to allow your eyes to adjust.
Using Transformers for Low Voltage Deck Lighting
Most deck lighting systems require a transformer as a power source that converts 110-volt line voltage to 12-volt low-voltage electricity. The transformer will plug into a standard outlet and run wiring through a loop to each light fixture. Some transformers use a timer or light sensor to automatically turn the lights on at night. It is very important to purchase the correct transformer for your lighting system. Most LED lights require 12-volt DC volt transformers while most incandescent lights require 12-volt AC transformers. Check the specifications on the light fixtures before purchasing your transformer.
Be sure the outlet the transformer is plugged into is a Ground-Fault Circuit Interrupter (GFCI). It’s also prudent to locate the GFCI in such a way it’s shielded from rainfall as well as the transformer. A driving rain can create a short and trip the breaker in the outlet.
How Do I Know Which Size Transformer I Need?
To determine the needed size of the transformer, you will need to multiply the number of lights by the number of watts and add 10 percent for line loss.
You will need to purchase a transformer that can supply at least 220 watts. Round this number up to the next available transformer size.
You can also use an interactive online Lighting Transformer Calculator to determine the wattage and quantity of transformers needed. This will help to ensure you don’t overload the transformer. Overloaded transformers can fail prematurely and potentially cause fixture performance problems.
Important Note: It’s critical to know which type of voltage (i.e., AC vs DC) your lighting fixtures require, as the wrong voltage type can cause major component failure and other performance problems (and may even void your warranty). Never mix AC and DC fixtures on the same circuit. For this reason, it’s highly recommended to use the same brand light fixtures and transformer.
Wiring Deck Lighting
It is important to use the correct type of wiring for your low-voltage deck lighting system. Most LED lights use 18/2 gauge wire, while most incandescent lights use 12/2 gauge wire. You will need to match the polarity of the wire to the lights. Most wires are split into a smooth black wire and another wire with white lettering or ribbing. You must connect the matching wires to create a working connection. Check your lighting installation instructions for guidance on the best wire type and size to use.
How Do You Wire Deck Lighting?
You will need to create a circuit by connecting the lights with wire in a routered cavity in the railing or under the deck to protect them and hide them from view. When running your wiring, especially at or close to ground level, it is recommended that protective mesh or conduit be used to protect wiring from varmint chewing and damage. Aurora pigtail wires can be used to connect side-mounted rail lights to the main cable line. Voltage drop can occur from line loss over a long line of lights. The position of your transformer and lights layout will create a low-voltage circuit. For best results, we recommend that you install your lights in a looped circuit. A straight line, T and split load installation can be used for alternate circuit layouts. LED lights must be wired in parallel, not in a series, and polarity must be maintained throughout the lighting system.
Installing Low Voltage Deck Lighting
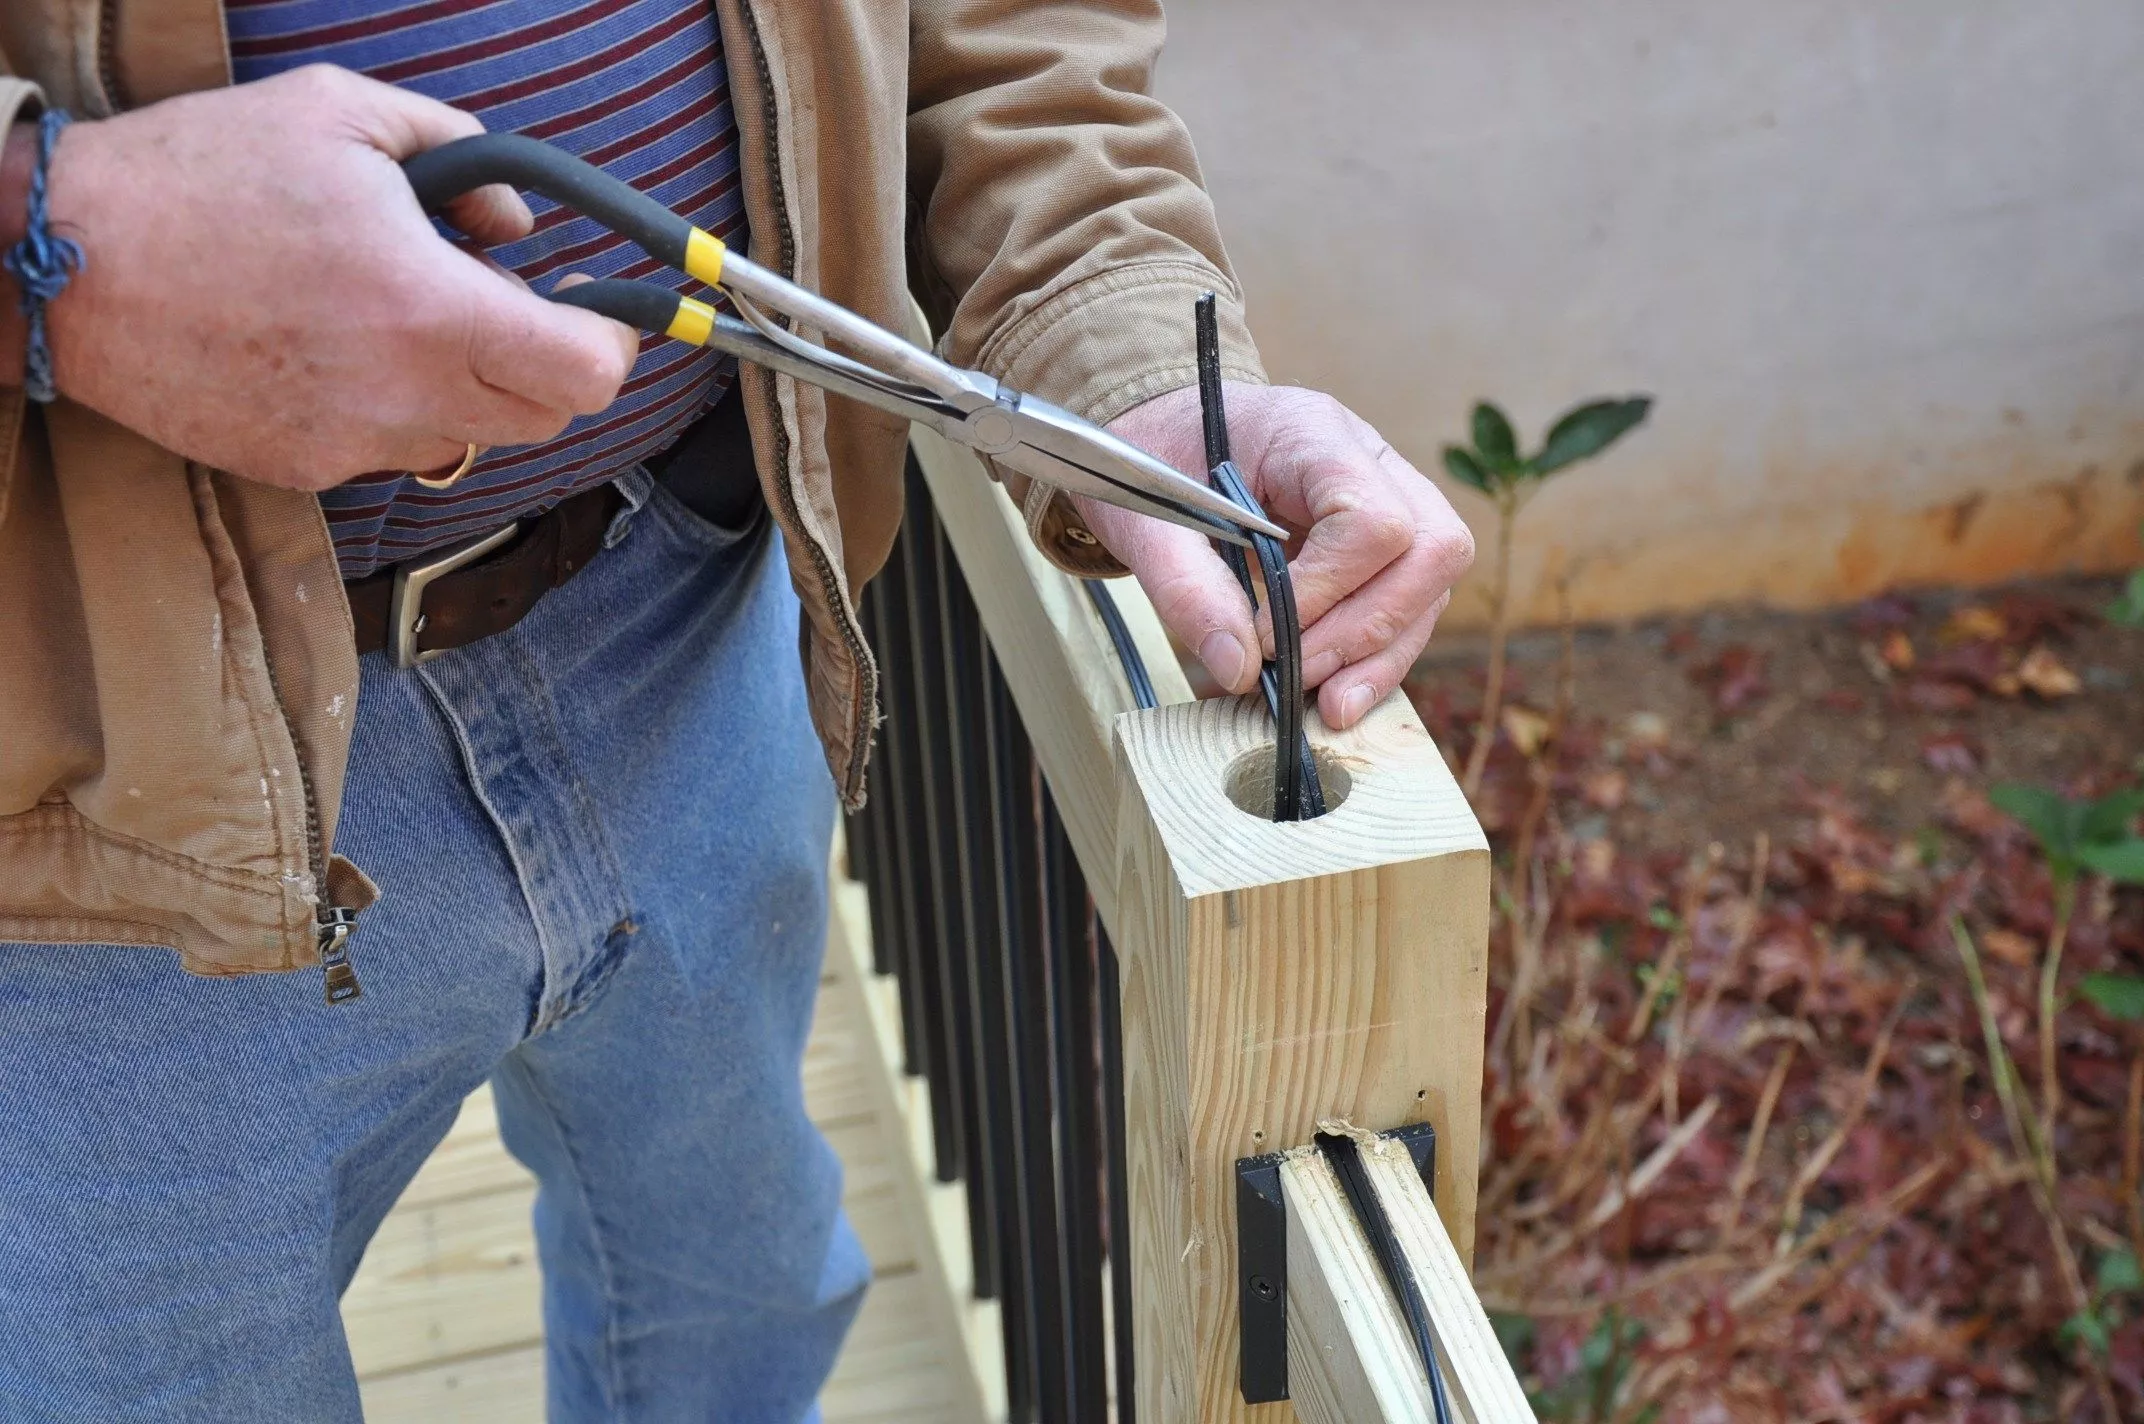
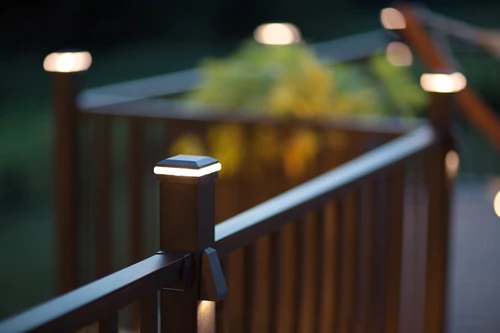
Post cap lights can be somewhat challenging. If you use a decorative sleeve that slides down over the post, it may have built-in spacing between the sleeve and the treated wood that acts as a channel to run the low-voltage wire. If you don’t have this, you can use a router and straight bit to cut your own channel.
Leave about 6 inches of wire at the top of the post to enable connecting it to the actual light. Some instructions recommend caulking the fixture to the top of the post or sleeve. Only put small dabs of caulk at the corners to prevent movement. Think ahead about how easy it needs to be to replace the post cap that has the lights in it. You need to be able to do this in case the fixture gets damaged or the LEDs fail over time.
1. Using a table saw, cut a 3/8" x 3/8" channel down the center of the top surface of the top rail.
2. After making your two outside cuts for the channel, move the fence closer to the blade to remove the center material.
3. Mark the center of the top surface on each 4x4 rail post.
4. Drill a 5"-deep hole in the center of the top surface of the rail post using a 1-1/2" diameter forstner bit.
5. Place the drill bit in the top rail channel and drill a 3/8" hole in the side of the 4x4 rail post to the center hole.
6. Pull your low-voltage wires through the center hole and leave 6" of excess wire above the post.
7. Run the low-voltage wire down the side of the end rail post.
8. Drill a hole through the deck floor and run your low-voltage wires to the transformer.
9. Strip the wire ends back 3/4" with a wire stripper for connections. Align the wire polarity. The negative side is always marked with white lettering or identifying markings. The positive side is smooth black.
10. Use a weatherproof wire nut to connect the low-voltage wires to the correct polarity. Screw the post cap light to the side of the post with two screws.
11. Connect the low-voltage wire at the end post to the transformer near an electrical outlet.
Be Sure to Cover Unused Connections!
After you’ve finished connecting your lights, you may still have unused female power connections. Unused splitter ports can be vulnerable to the elements, so all unused female connections should be covered using the plastic caps provided by the manufacturer.
Always keep in mind how water might get to all your low-voltage connections. You must protect them from driving rain, snowmelt, and dripping water. For connections that are in danger of exposure, think about using heat-shrink tubing to make water-tight connections. Avoid electrical tape as summer heat can cause it to fail and unravel.
Enhance Your Deck with Low Voltage Deck Lighting
Installing low-voltage lighting is really easy. You can empower yourself by watching how-to videos the lighting manufacturer might have available. The Internet has a plethora of low-voltage light videos and you may discover a few tips that will provide you with the needed boost to do this job to save money. The icing on the cake is the confidence you gain from achieving success!
To find local retailers of lighting and other decking accessories, use the Decks.com Find a Retailer tool.
