Balusters or pickets are the rail components used to provide infill for deck guardrails. IRC code prohibits guardrails from having any openings that would allow a 4" sphere to pass through. This rule produces the need for an attractive and economical repeated system for filling in the openings between rail posts and rail top and bottom members.
Because of the spacing requirement, you will need a lot of pickets or balusters even for a short length of rail. Use our baluster spacing calculator to calculate proper spacing based on your railing dimensions. Balusters will certainly be the most expensive rail component for your project. Years ago, most deck builders used wooden 2x2s nailed to the deck rim and top rail to meet the requirement.
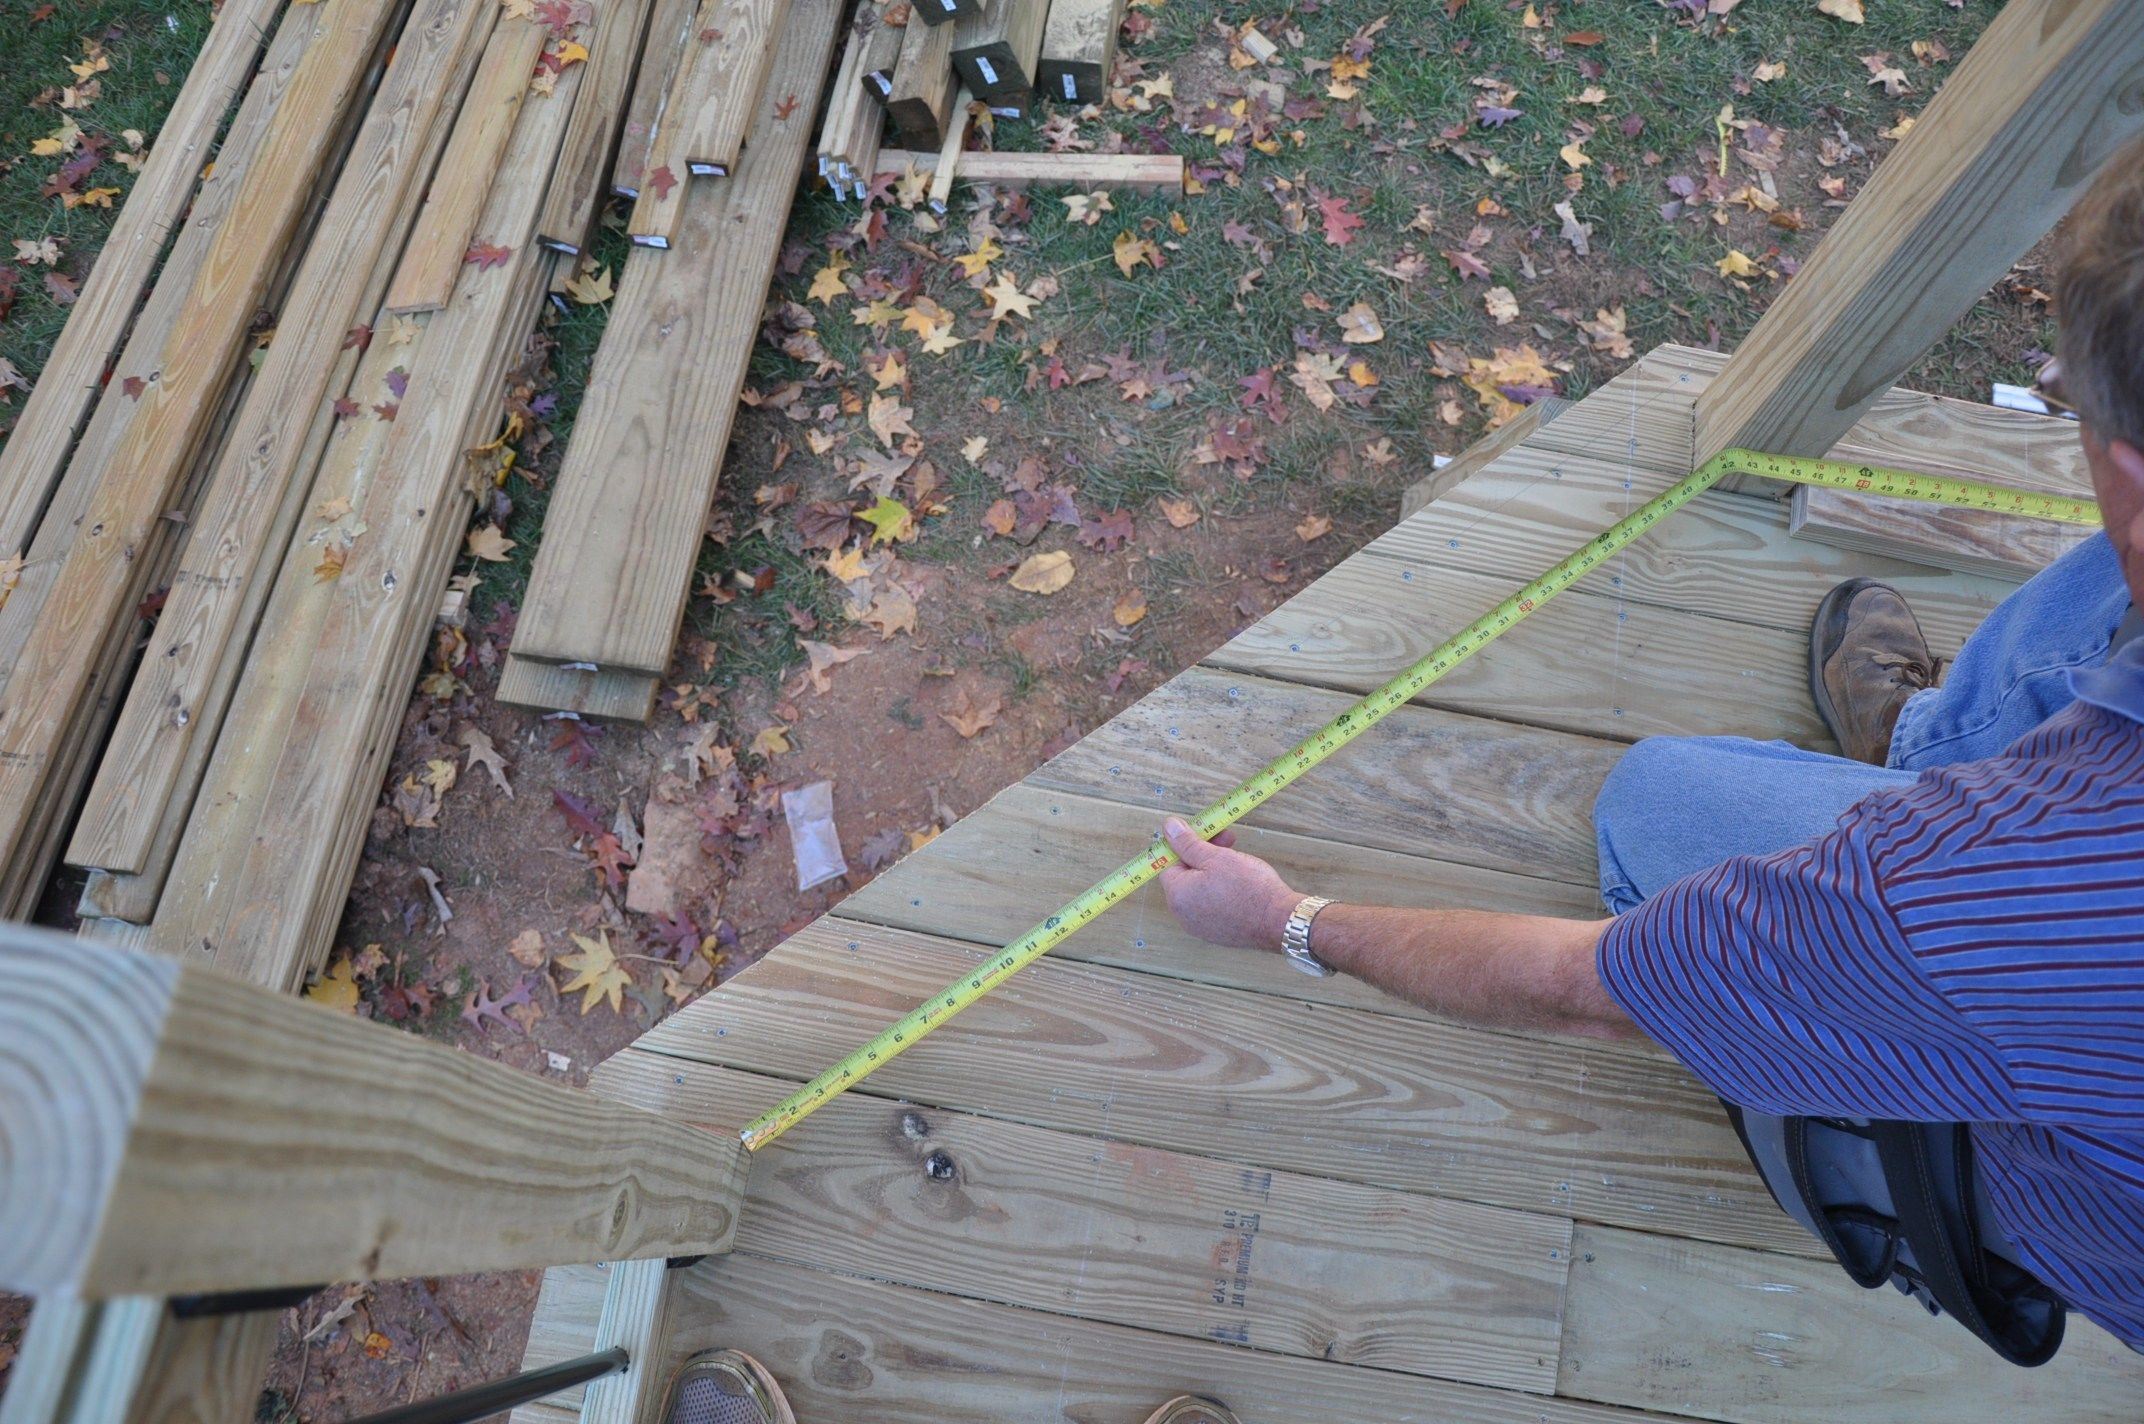
1. Measure the distance between rail posts. Measure the inside corner to corner distance for angled rail sections.
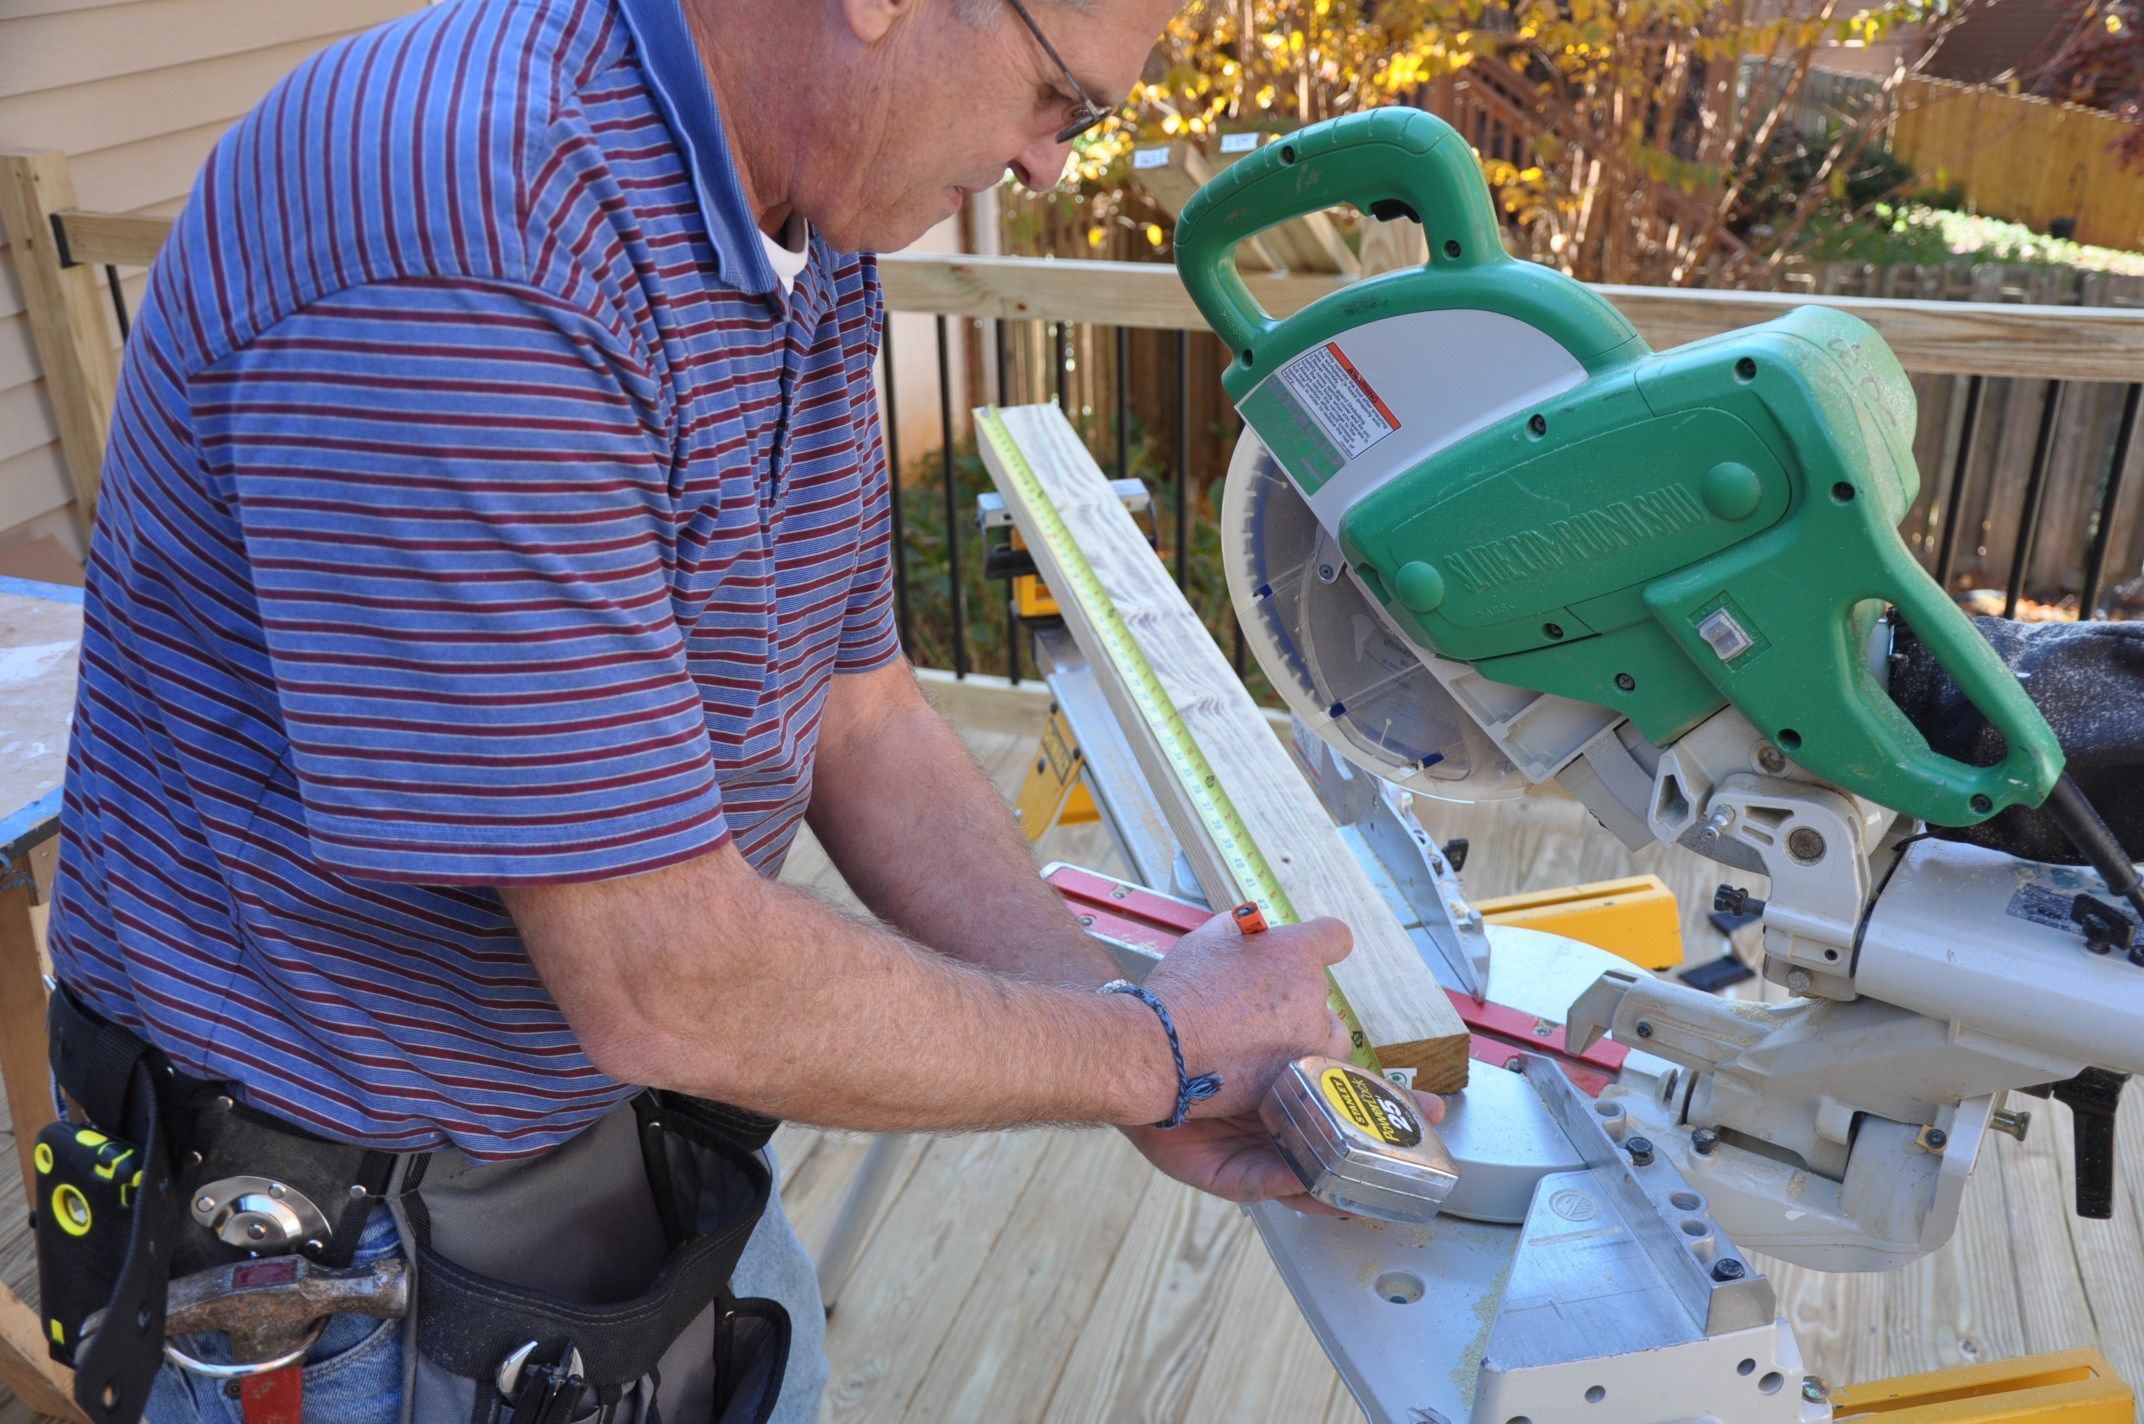
2. Cut the 2x4 top and bottom rails to the proper lengths. We suggest that you use a miter saw and cut each railing section one at a time.
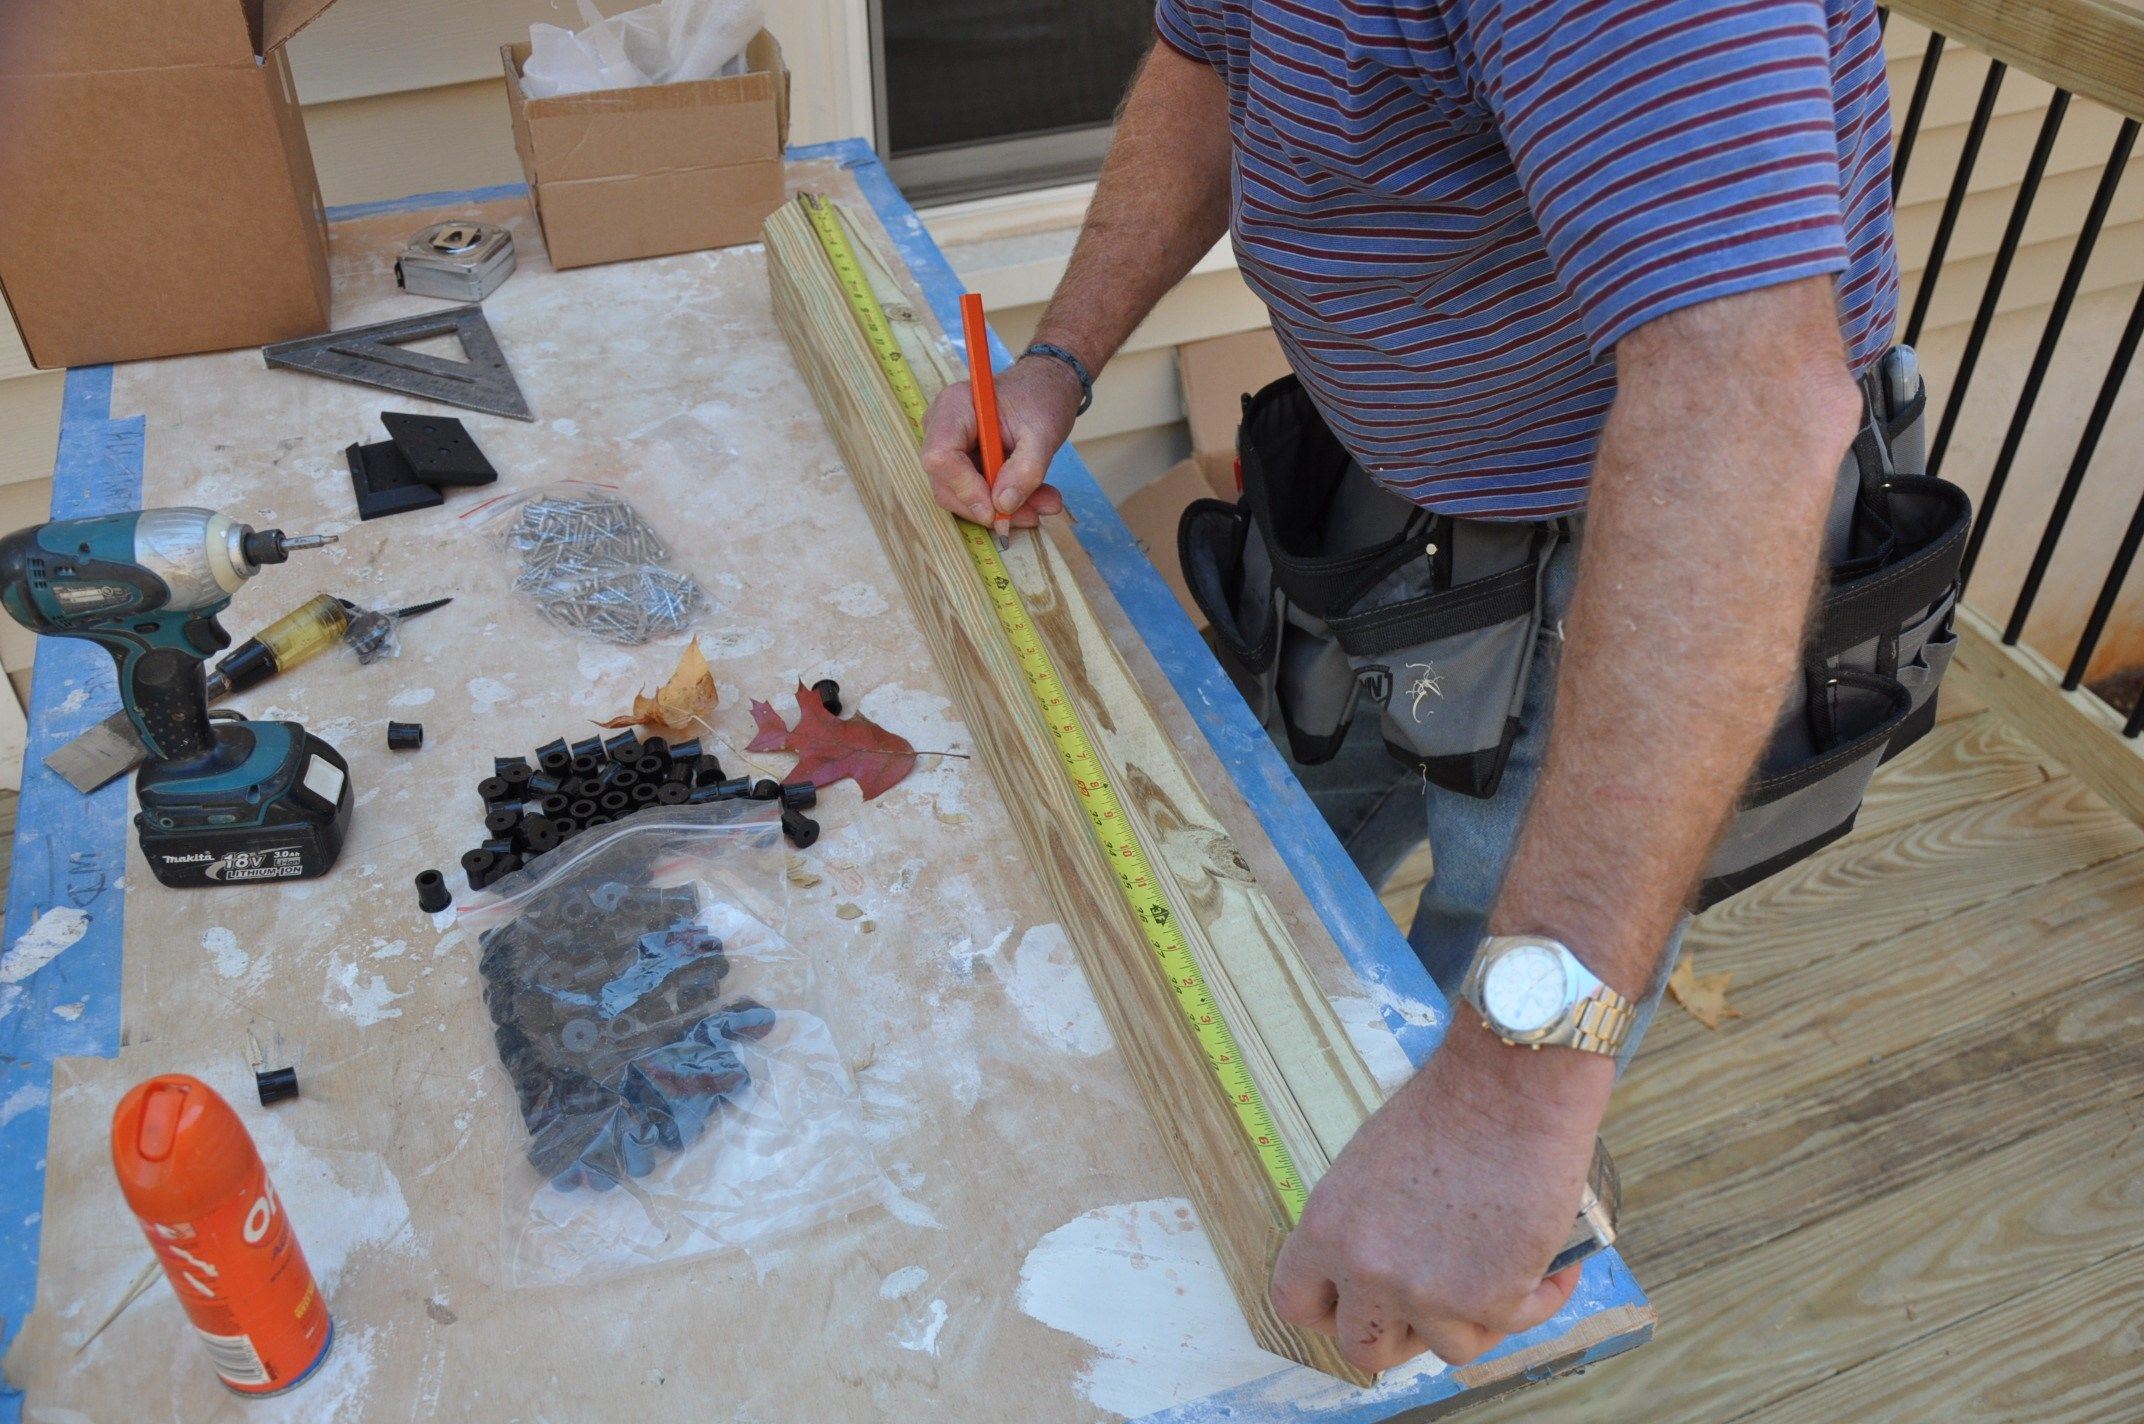
3. Mark the center of your rails. Make your marks on the inside faces. These marks will act as a guide as you lay out your baluster connectors.
4. This slide shows two options for baluster spacing on straight or angled rail sections. The lower 2x4 example shows placing the dark black center mark (to the right) between two balusters. This will provide more even spacing next to the rail post. The upper 2x4 example shows installing a baluster at the center mark. This will result in the end balusters being placed too close to the rail posts.
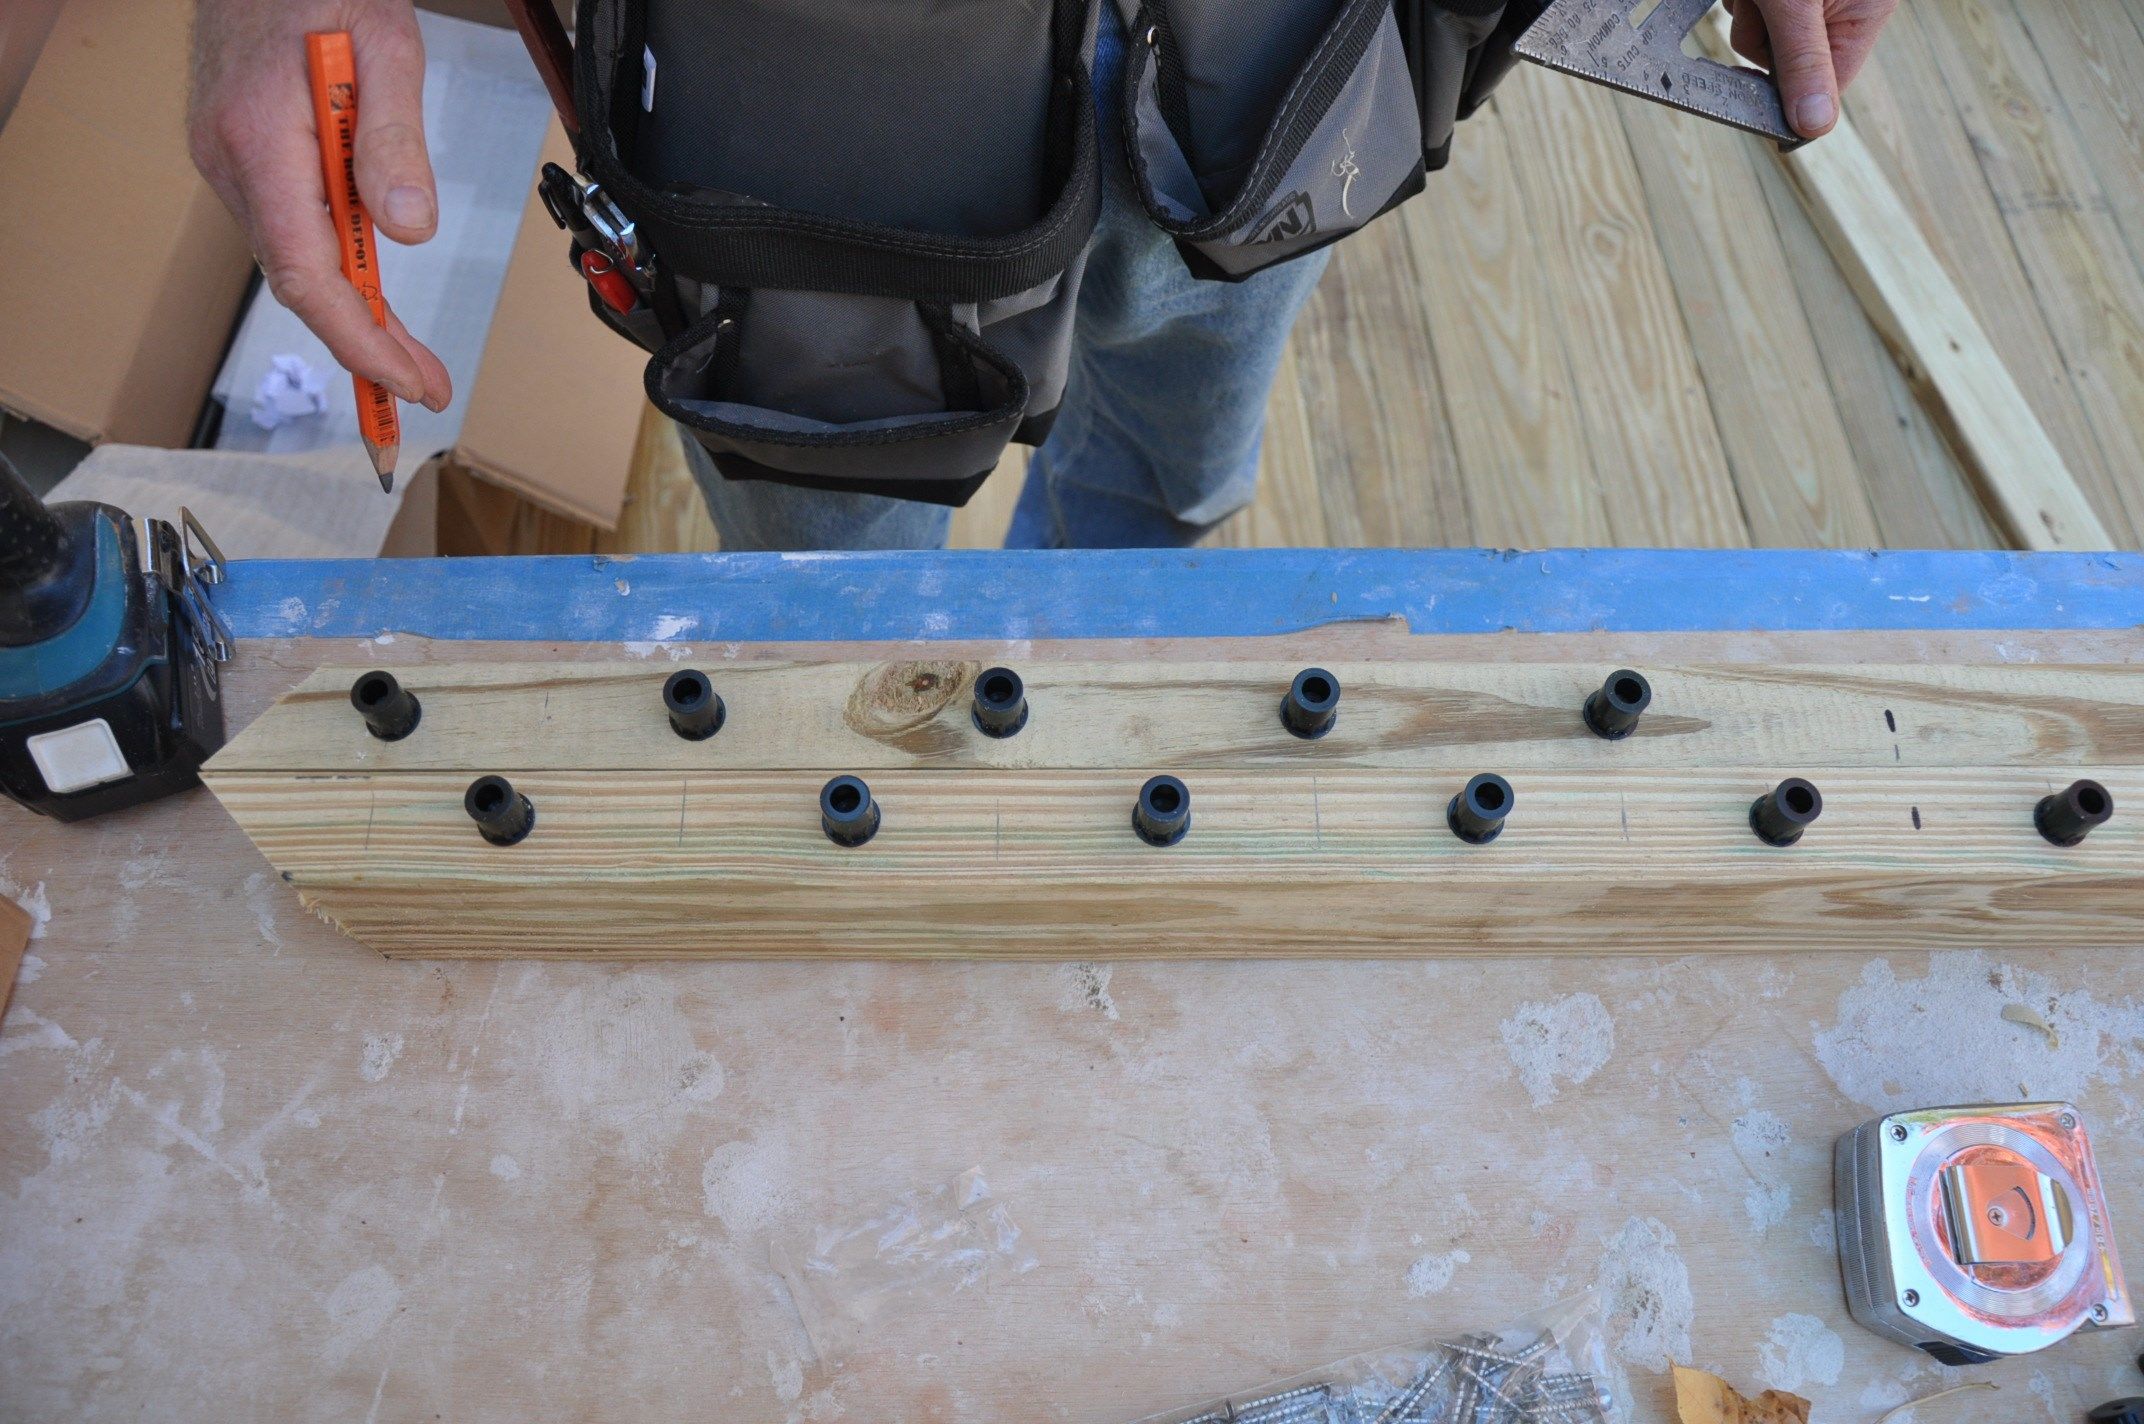
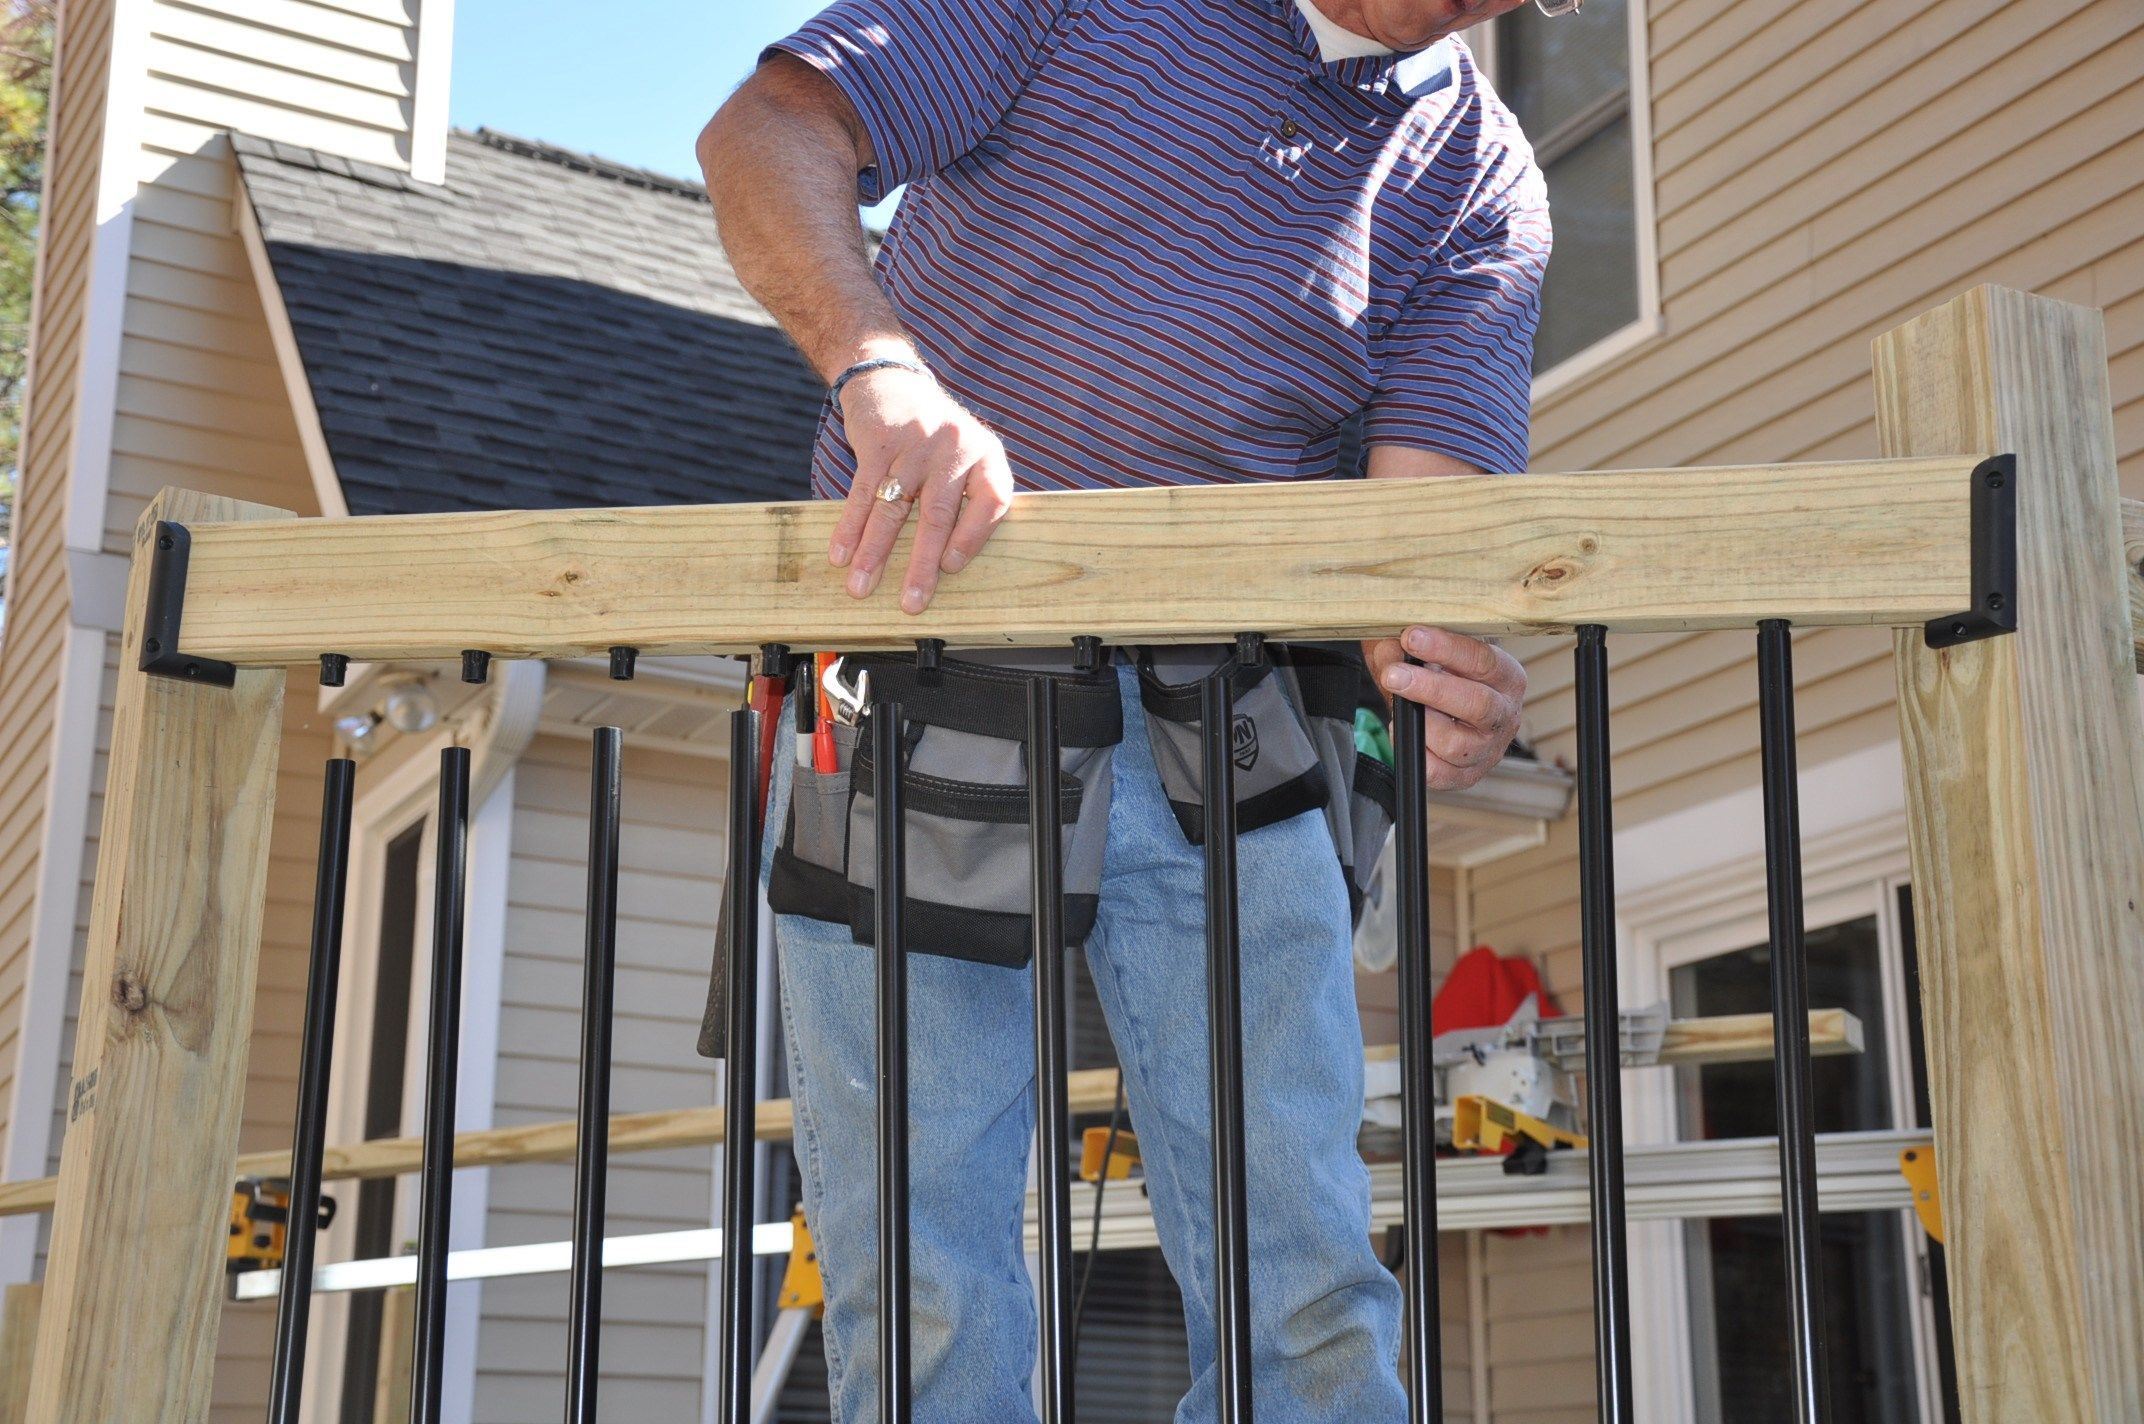
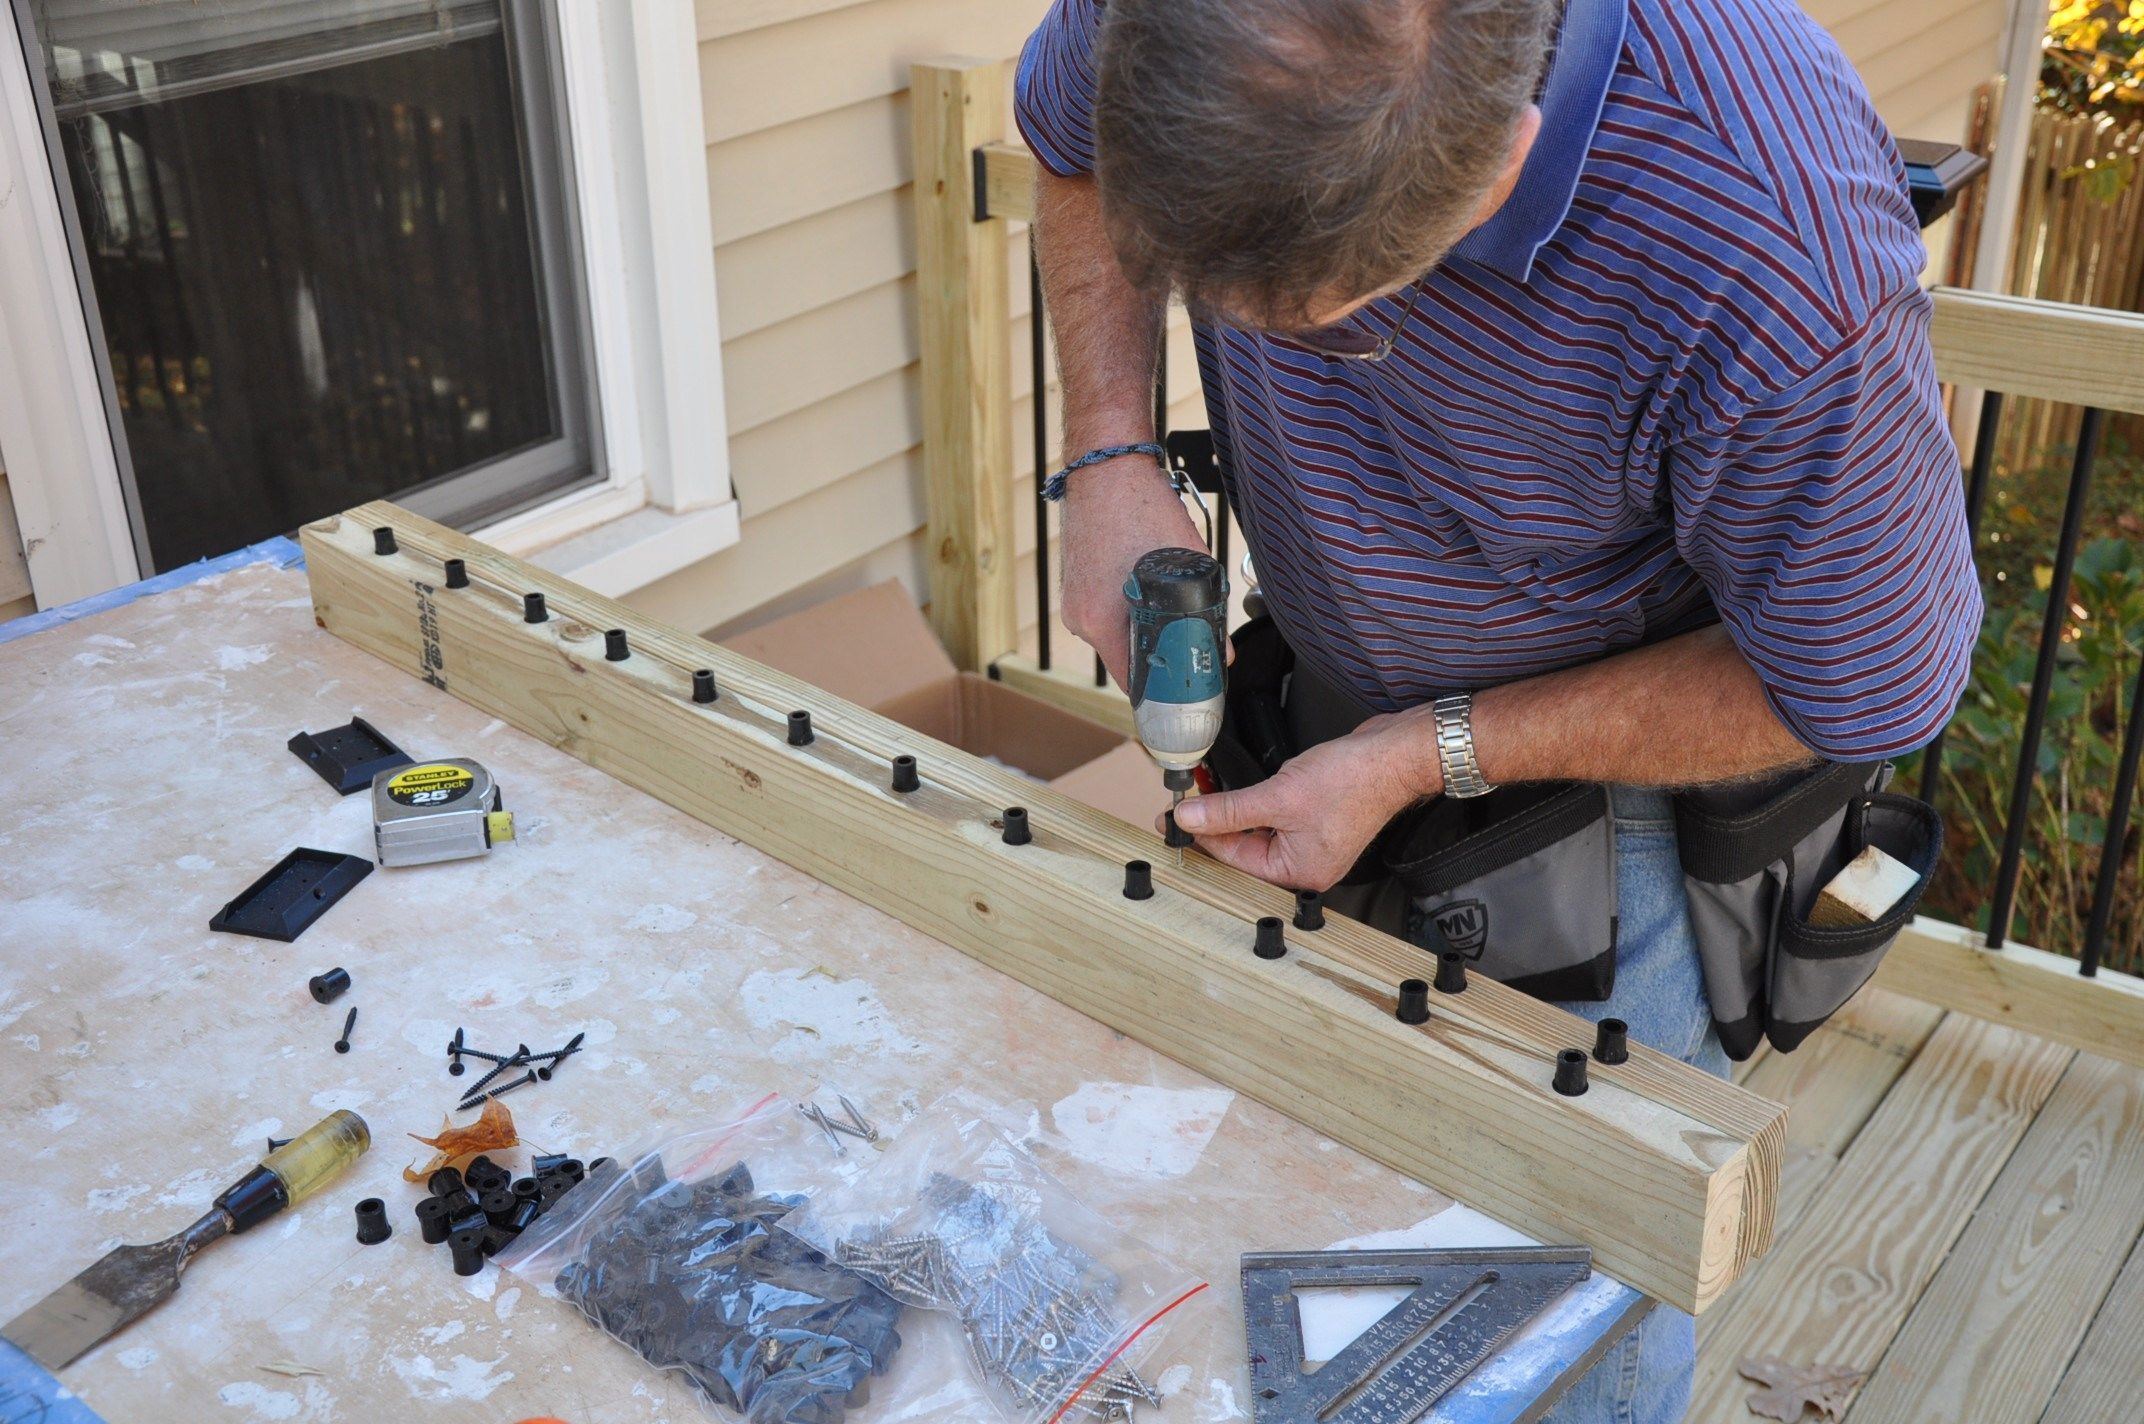
5. Be sure to screw in the baluster connectors into the center of the 2x4 rail. Deck balusters should be installed less than 4" on center.
6. Install your bottom rail 1 1/2" above the deck floor, if you are using a 2x4 or 2x6 rail cap with 26" balusters to assemble a 36" high guardrail.

7. Slide your baluster into the bottom rail connectors first. Next, work from one end to the other to slide the balusters into the top rail connectors. Secure your top rail to the rail posts, and install your top cap to finish the rail.