If you cut out your siding to install a ledger board, careful steps must be taken to ensure that moisture cannot reach your house. Infiltrating rainwater can travel downward, sideways and even upward, so special flashings must be used. In the past, metal flashing and extra layers of roofing felt (tar paper) were often used, but nowadays, vinyl “Z” flashing and rolls of vinyl back flashing do a better job.
Ideally, the house’s sheathing should be triple protected from moisture - with building paper or roofing felt stapled to the sheathing; then with back flashing; and then the Z flashing, which also protects the ledger itself.
The deck flashing configuration shown in this article is quite common. However, your codes may call for other methods, so check with your building department before you start work. For instance, some inspectors may prefer self-adhering flashing (which is much the same as self-stick ice and water shield often used at roof eaves) instead of vinyl back flashing.

Cut the flashing with tin snips
Tin snips are the fastest and safest tool to cut vinyl flashing. Tin snips come left- and right-handed.

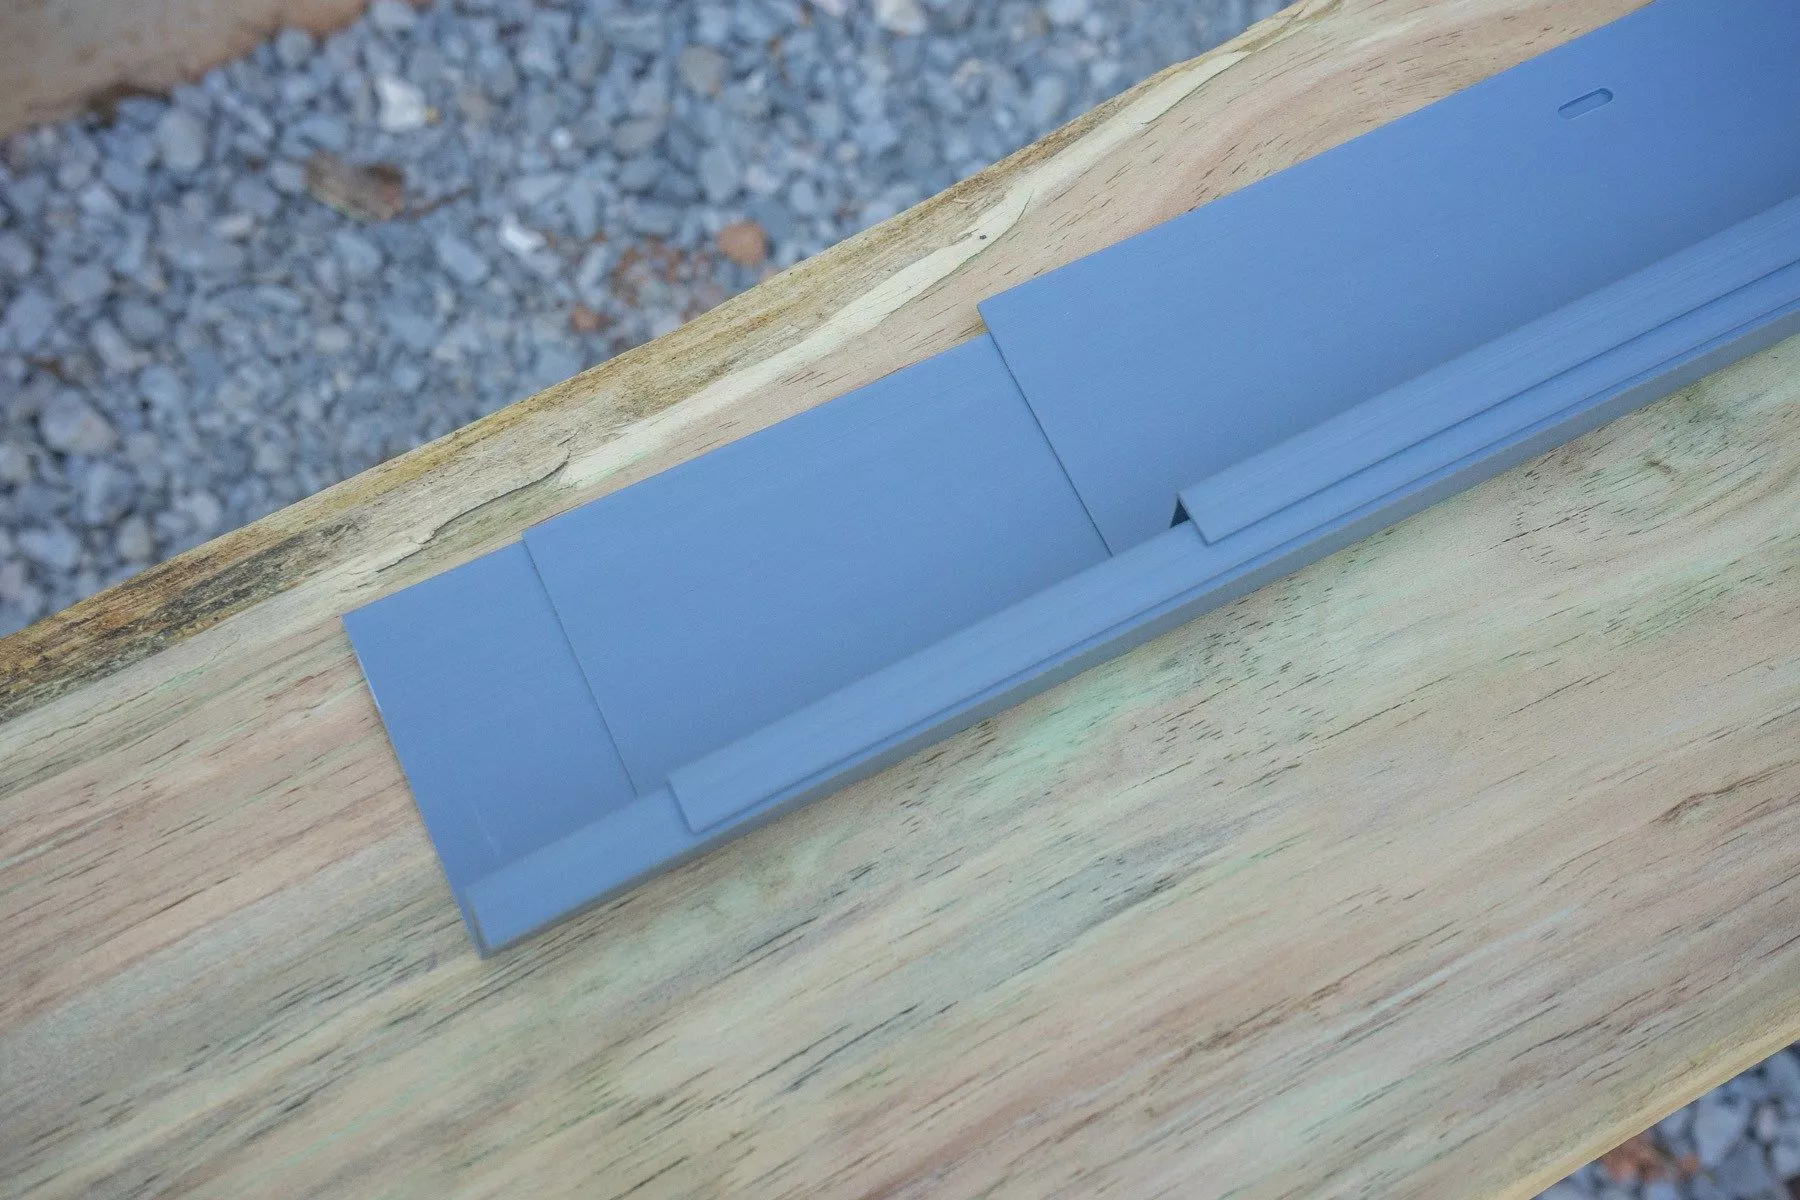
Score with a utility knife. Do not cut all the way through.
It's dangerous whenever using a razor knife. Be sure to clamp a straight edge to the surface to ensure a straight line. This is just a score, not a cut. You do not want to cut through the flashing. Cutting halfway through will allow it to bend very easily.

Bend flashing with a block and framing square for a 90 degree bend to fit inside the house corner wall.
In this example, we used back flashing that is as wide as the exposed building paper, plus 3". Mark for cutting to length with a square and pencil, and cut with tin snips. To make a bend at an inside corner, clamp a straight edge onto the piece and score with a knife, and bend carefully.

Measure carefully to cut around the door
In this case, the siding was completely rotten and had to be removed below the deck.

Cut flashing
Where the back flashing needs to be cut around an obstacle, measure for the notch and cut with tin snips, or slice several passes with a knife.

Slip flashing under siding
When slipping the flashing under the siding, be sure to slide the flashing to the left or right of the ledger by at least 2". This will ensure water doesn't infiltrate behind the flashing.

Slip the siding up and around the door
Slip the back flashing under the siding at least 3" at the top and the sides. You may need to pry out siding first. If nails are in the way, pull them out. Pry the siding out near a nail, then push the pry bar against the nail as you partially tap the siding back in. That should pop the nail head out far enough so you can pry it out. Take care not to tear the building paper or tar paper while you do this. Attach the back flashing with as few nails as necessary to keep it lying flat.
[TIP]
At this point, you will need to go to here to cut and attach the ledger. Then, come back and install the Z flashing.

Nail the Z flashing over the top of the ledger
[Tip] When nailing your vinyl Z flashing to the house, be sure to nail every 12" along the house with roofing nails. The nails should not be nailed tight to the flashing. You should allow the flashing to move from side to side in the slotted hole provided. Do not notch the flashing around joists.

Slip the flashing behind the trim
Install flashing that is made for ledgers. It should be vinyl and have a “Z” shape that wraps around the top of the ledger. Where necessary, slip it behind moldings. Where the ledger is longer than the flashing, overlap the flashing pieces by at least 4".

Overlap the flashing in the corner
At an inside corner, slide the first piece in so its bottom lip slips in between the two boards. (If the boards are too tight and you cannot do that, cut the lip to fit.) Snip a notch out of the second piece as shown, and slip it into place. If the second piece cannot sit flat, you may need to cut the notch a bit larger.

Be sure to caulk the flashing
Squirt a bit of gutter caulk or silicone sealer to seal any joints that don’t overlap 4" or more. At this point, you can also caulk the inside corner of the ledger.

Carefully slip in the siding
Slip the bottom piece of siding under the next-to-bottom piece. You may need to cut notches for obstacles, and you may need to pull out nails in order to slip the piece up far enough.

Use 1-1/4
In this instance, we have installed the bottom piece 1 ¼" above the flashing, so it will end up ¼" above the decking, which is 1-inch thick.

To keep water and ice from building up between the first deck board and the flashing, use an EPDM foam, such as Trex RainEscape Wall Flash.