Deck railing post attachment is one of the most important things you need to do correctly when building a deck. Sturdy deck railings are critical for safety and also required by code for any deck 30 inches or more above grade. Proper installation is absolutely necessary to ensure that posts are spaced close enough to keep children and pets from slipping through and secured tightly enough to prevent wobbling that can lead to railing failure and falls.
This article teaches how to install posts with two bolts in order to create a very strong attachment. However, your building department may require additional hardware for extra strength. Also, if you are attaching a railing post to an outside joist that is not doubled, install blocking nearby or to the side of the post. Otherwise, the post will be wobbly.
Deck Railing Post Code Requirements
When building a deck, you may be wondering “what is code for deck railing posts?” Many older decks have railing posts installed on the outside of the deck framing, and sometimes those posts were notch-cut at the bottom where they fit against the outside joists. Current codes demand stronger posts, so they are generally not notched and are installed on the inside of the framing. That means they need to be installed prior to adding the decking.
Wood railing posts are usually 4x4s, which can be left bare or covered with PVC or composite sleeves. Most local codes call for a railing that is either 36 or 42 inches tall, but check with your building department. The post will be the desired height of the railing, and the width of the framing it is attached to, minus the thickness of the cap that rests on top of the posts (if any).
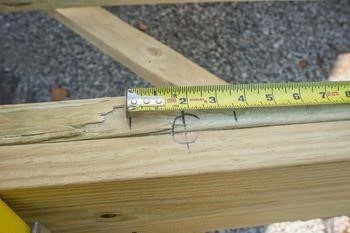
Hidden Dangers in Railing Posts
It’s not uncommon for about 2 inches of wood to be removed to what appears to be a 4x4 deck railing post, that’s actually only a 2x4.
What to Consider Before Installing Deck Railing Posts
How Do You Cut Posts to Length?
Cut the post to the desired height of the railing. Do the following math: Determine the height of the deck joist the post will rest against. Add to this the thickness of the decking. Subtract the thickness of the top cap, if there will be one. Here we show posts for a 36-inch-tall railing, which is common. To 36, we add 9 1/4 inches for the width of the 2x10 joist, plus 1 inch for the thickness of the 5/4 decking, and subtract 1 inch for the top cap - for a total railing post length of 45 1/4 inches. Because the post cap and the decking are the same thickness, the portion of the railing above the framing is an even 36 inches.
Which Way Should Deck Posts Face?
On a deck with angles, the 4x4 post is always attached to the flat face of the rim joist that creates the outside face of the deck framing.
IMPORTANT NOTE: If this rim joist is just nailed into the ends of the angled floor joists, it will not be sufficiently strong to support the deck railing posts. Nails driven into the end grain of the joists have little holding power. The tall deck railing post acts as a lever and multiplies any force that pushes outward.
Use special deck-railing-post hardware that attaches the post to the sides of the angle-cut floor joists. That hardware is discussed at the end of this article.
Deck railing posts at the top of the stairs must be oriented so the stair handrail attaches to one face of the 4x4 post.
Are You Attaching a Post Next to the House?
Where the railing runs into the house, some decks use a 2x4 attached to the house’s siding rather than a 4x4 post. However, this creates a place for moisture to collect, so most builders install a 4x4 post a few inches away from the house, as shown here. Be sure the distance between the house and the side of the 4x4 post is less than 4 inches to meet code requirements.
Are you Using Bolts with Fascia?
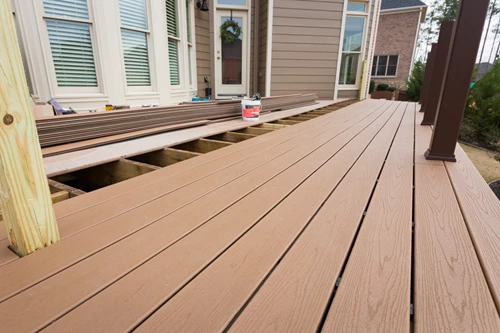
If you want to cover the face of the framing with fascia, install the fascia first. Then, drill holes and drive the railing post bolts. Once all the railing posts are installed, you are ready to lay the decking. After the decking is finished, it will be time to install the top and bottom rails, balusters, top cap and any other parts.
How to Attach 4x4 Posts to Deck
It’s important to realize the best practices for how to attach a 4x4 post to a deck. First and foremost, never ever use lag bolts. A lag bolt is just a giant screw with coarse threads. Lag bolts can be overtightened and lose much of their gripping power.
The only bolts to use for this application are through-bolts. A through-bolt has machine threads on one end. You use a nut and large washer to squeeze the two pieces of wood together that the bolt passes through. Always drill the hole the exact same size as the diameter of the bolt. You’ll have to hammer the through-bolt through the wood.
Be sure this through-bolt is coated with two coats of zinc. Modern treated lumber has a high copper content and the steel under the zinc galvanizing must not be allowed to react with rainwater or snowmelt that contains copper leached from the treated lumber. Unprotected steel is at risk of corrosion that can ultimately lead to deterioration and deck failure.
Materials & Tools Needed
Materials:
- 4x4 treated-lumber posts
- 1/2-inch-diameter through bolts with washers and nuts
- Finish materials including post caps or decorative post sleeves
- 5-inch Simpson Strong-Tie timber screws
Tools:
- 1/2-inch power drill/driver
- 1/2-inch diameter 12-inch long auger bit
- Hammer
- Tape measure
- Pencil
- Safety glasses
- Work gloves
- Power saw with a 7.25-inch blade
- Framing square
- Two or three squeeze clamps
- Open-end wrench or socket wrench and sockets to match bolt nuts and head
- Torx bit to match timber screw head
- 4-foot level
Deck Railing Post Installation
Step 1: Mark rail post centers.
Consult your plan to see where the deck post should be located. You will need one at each corner. Position others as evenly spaced as possible and with no more than 6 feet between posts.
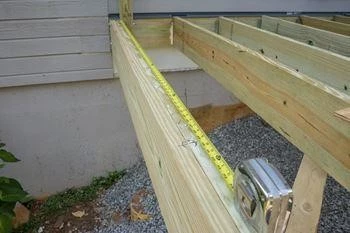
Step 2: Mark for the exact position.
Mark the center of each post and then measure away from the centerline to establish the sides of your 4x4 on the inner face of the floor joist or rim joist. Use the framing square to guide you in drawing parallel lines on the joist. These will allow you to position the posts and help get them plumb.

Step 3: Cut and plumb the post.
Cut the first post and drive a 5-inch-long timber screw halfway up the height of the joist to secure the post to the joist. Screw a flat piece of scrap lumber to the bottom of the joist at the post location to act as a temporary shelf to support the weight of the 4x4. This allows you to easily hold the 4x4 as you drive the timber screw through the post into the floor joist. Be sure to drill a pilot hole in the 4x4 to make driving the timber screw an easy task for your drill/driver.
Use the 4-foot level to plumb the post. Be sure the posts are plumb in both directions. Use treated-lumber shims as required to get the post plumb.
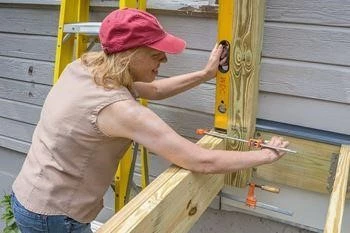
Step 4: Hold the post in position
Hold the post in position and clamp it in place with the squeeze clamps. Double-check after clamping the post is still plumb. Be sure the clamps are not where the through-bolts will be. Through-bolts should be in the center of the 4x4 and located 1 and ¾ inches from the bottom and top of the floor joists.
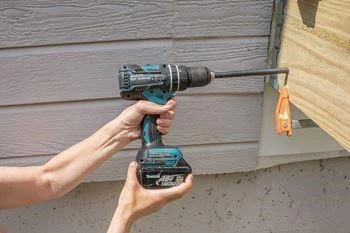
Step 5: Drill holes for the bolts.
Be sure the hole you drill is level. Remember, the hole diameter should be the same outer diameter of the through bolt. You want a tight fit. An auger bit is the best bit for this job. Be sure it’s sharp. You can reverse the bit and remove wood shavings to reduce friction.
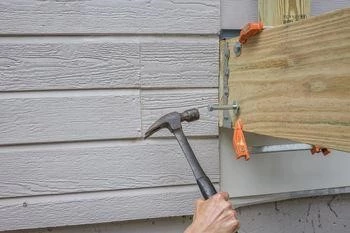
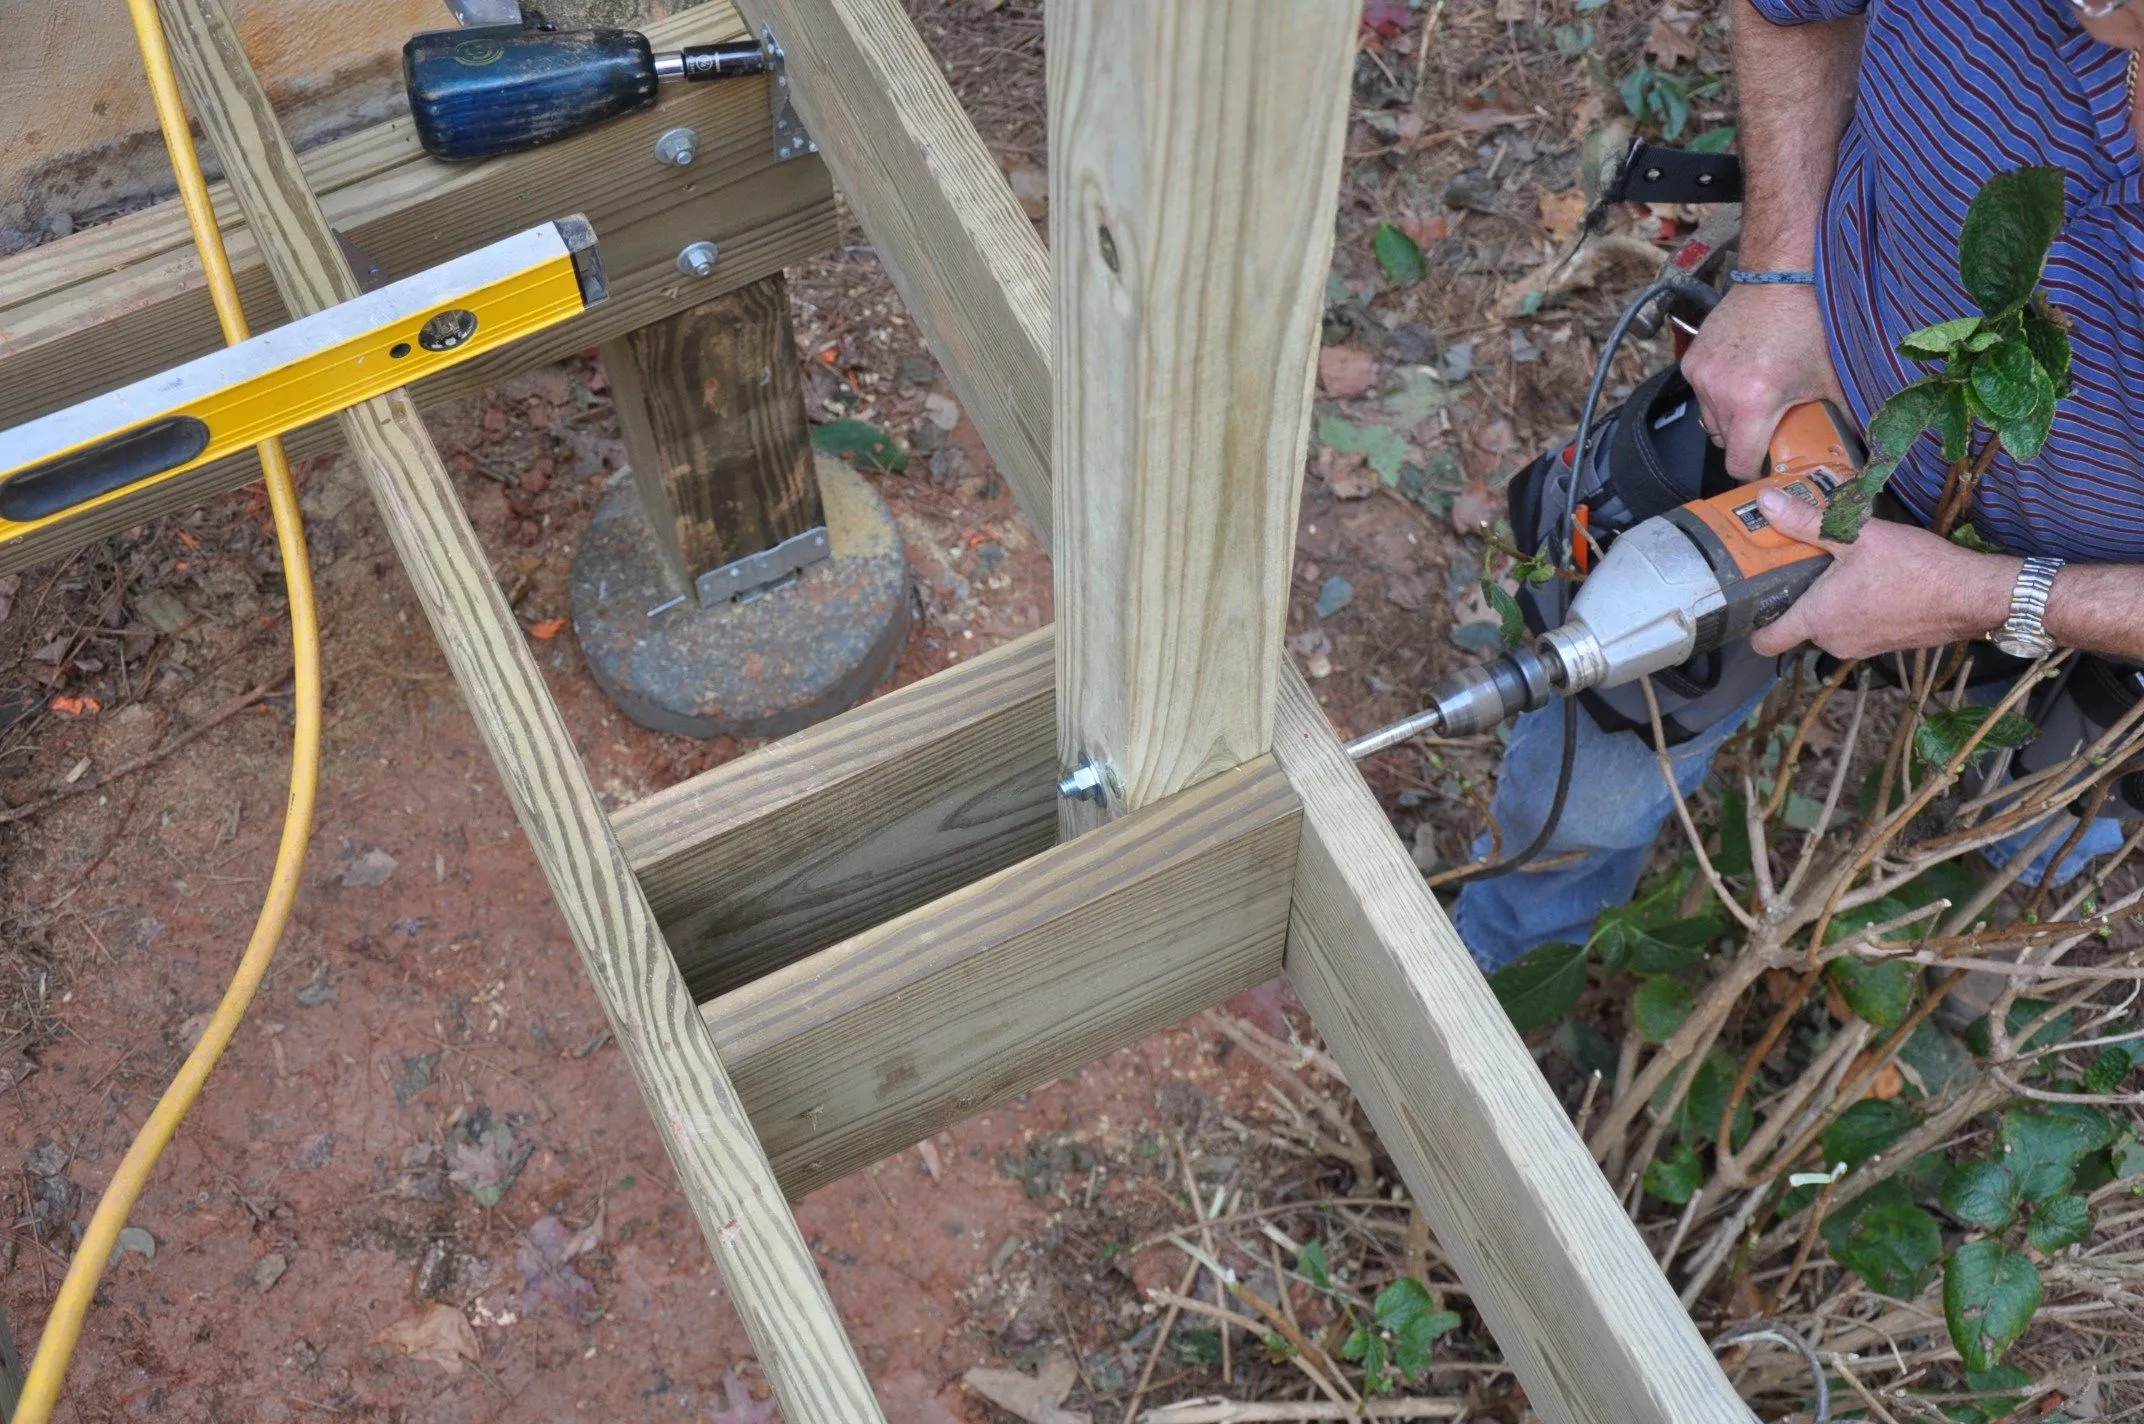
Step 6: Pound the bolts through.
After drilling the first hole, hammer in the first through-bolt. The head of the bolt should be on the outside of the deck. Washers and nuts should be inside against the face of the 4x4 post. Tighten the nut fairly tight and re-check the post for plumb. Once plumb, drill the second hole.
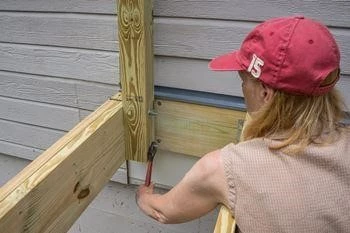
Step 7: Slip on washers and tighten the nuts.
Hammer in the second through-bolt. Attach the washer and nut. Tighten both bolts. Every six months check the nuts for tightness. As the treated lumber shrinks, it’s natural for the bolts to loosen.
Alternative Deck Post Attachment Method
The second method to attach a deck post rail involves attaching a special piece of hardware to the side of the floor joist. This hardware is easy to install if you follow the instructions. It is the best method to employ for posts that are located at the ends of joists.
Watch the following video and purchase the required hardware. Be sure to obtain the technical bulletin from Simpson Strong-Tie.
To find local retailers in your area, use our “Find a Retailer” tool or if you’re looking for builders in your area, use our “Find a Builder” tool.