


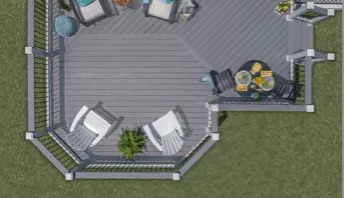
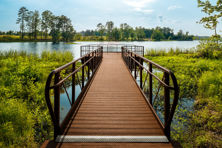
How to Replace Deck Boards & Repair Your Deck

As your wood deck ages, the boards may begin to rot, split, or come loose. This is especially true if the deck boards have not been properly maintained with routine cleaning, staining, and sealing. Repairing deck boards may be as simple as tightening some screws, but rotted deck boards or split boards should be replaced. This is an easy DIY project that doesn’t require a permit or, in most cases, rebuilding the deck’s structure, because posts and joists aren’t directly exposed to the elements and often outlast the decking. You’ll save a lot of time and money by replacing only the worst deck boards instead of the whole deck.
How Much Does It Cost to Replace Deck Boards?
If the deck was damaged by a storm, your homeowner’s insurance might cover the cost of repair or replacement.
The cost of replacing deck boards depends on how many boards you replace and the cost of the wood you use. A single pressure-treated 5/4 (1-5/32-inch) deck board measuring 6 inches wide and 16 feet long will cost around $23. The same deck board in cedar will be about $58, while a similar composite deck board runs about $42. A 5-pound box of #10 3-1/2-inch coated deck screws (approx. 240 screws) costs around $27. The same screws in stainless steel cost nearly twice as much.
Required Tools
- Circular Saw / Jigsaw / Oscillating Multitool / Reciprocating Saw
- Screw Gun / Power Drill
- Speed Square
- Wood Chisel
- Claw Hammer
- Pry Bar / Cat’s Paw
- Eye Protection
- Paint Brush
- Tape Measure
- Pencil
Required Materials
- Replacement Deck Boards
- Coated or Stainless Steel Deck Screws
- Wood Sealant / Stain (only for use on wood decking)
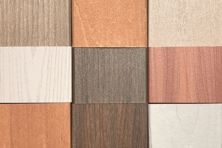
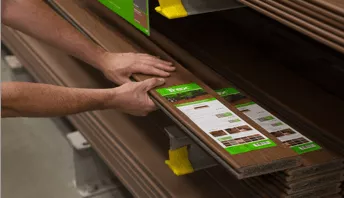
The new deck boards should match the look of what’s already on your deck. If you’re unsure of the wood species used, make a fresh cut and smell it. Pressure-treated lumber, cedar, and redwood have their own distinct aromas. For composite decking, try to identify the manufacturer or brand and then match the color and style on the company’s website or at retail.
How to Remove Deck Boards & Replace Them
Remove the Bad Boards from the Deck
Identify the deck boards to replace. If you’re not removing the entire board, decide where to make cuts. Offset the cuts at least one joist space from the end of neighboring boards and make sure that the remaining portion of the old deck board, if any, and the new board will span at least two joist spaces. Mark the cut line using a pencil and speed square. Cut out the damaged deck board either flush with joist or along the joist’s centerline using a circular saw. To avoid cutting notches into the neighboring boards with the circular blade, use a jigsaw or oscillating multitool to finish the cut. If you cut along the centerline of the joist, remove any nails or screws from the cutline or shift the cutline to avoid them.
When using a pry bar to remove a board, place a block of wood under it so it won’t mar adjacent deck boards. If you cannot remove a screw because the head is stripped, use an oscillating multitool or reciprocating saw to cut the screw flush with the joist. Use a cat’s paw to extract deeply sunk nails or cut them.
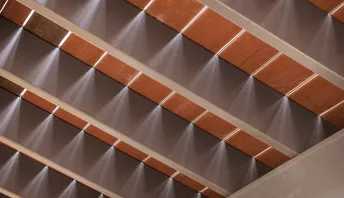
Inspect the Joists, Beams, and Posts
Removing the deck boards will expose the joists and beams. Inspect them for rot or other damage and verify that they’re fastened securely to the posts and ledger board. Inspect the joists for rot, too, especially if they contact the ground. Verify that the joist hangers are plumb, free of rust, and not missing any fasteners. If you find rot in any structural member, decide whether to repair or replace it and learn how to avoid and prevent rot in the future.
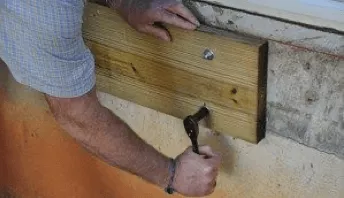
Add Support Cleats & Reinforcing Joists
If necessary, add cleats or sister joists to support the replacement deck boards and to reinforce damaged joists. Fasten the cleat/joist using framing nails or structural screws at the existing joist where you cut off a deck board and anywhere that a joist needs reinforcement. Make sure the top of each cleat/joist is flush with the top of the existing joist. Apply a sealer to the top of the joists to help them resist rot.
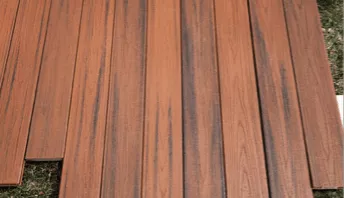
Cut the New Deck Boards
Measure the distance between existing deck boards. If possible, use a single board to span the distance and allow an 1/8-inch gap for expansion at each end. Each board should span at least two joist spaces, and cuts should be staggered with those of neighboring deck boards. Avoid cuts that would leave knots at the ends of the board.
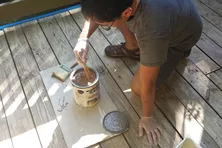
Apply Stain (optional)
Applying paint or stain can add years of service life to new deck boards. It will also help the new boards blend in with any old deck boards. If you’re using wood that accepts stain/paint poorly – as is typical of pressure-treated wood – you may need to allow the boards to dry for several weeks before you coat them. Sanding the boards can also help the stain/paint to adhere. Be sure to coat the end grain of the boards. For a weathered look that matches the existing boards, combine one (1) cup of baking soda with one (1) gallon of water, scrub the solution into the wood, and rinse it off. Allow the board to dry before you coat and install it.
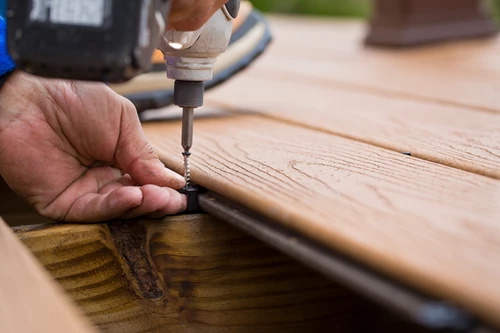
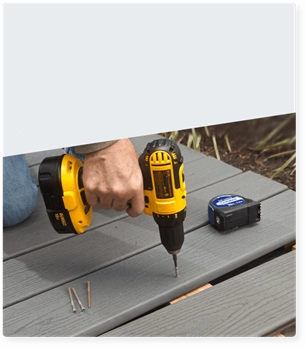
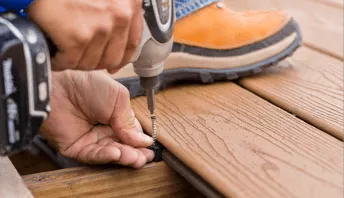
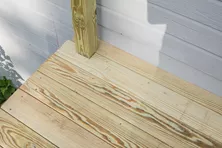
Install the New Deck Boards
To prevent cupping, install the new boards bark side up, so that the grain pattern is convex. Use 3-1/2-inch deck screws to fasten the boards. Drilling pilot holes will make the job easier and help to prevent splitting, especially at the board ends. When placing the new boards, make sure there is a uniform gap between each adjacent board.
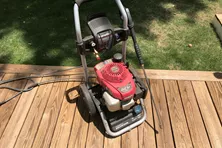
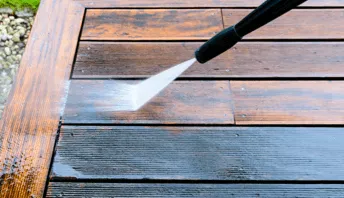
Pressure Washer Buying Guide
When it comes to cleaning your deck, it's important to choose the right pressure washer. Use this pressure washer buying guide from Decks.com to help with your decision!

Preventing & Treating a Slippery Deck
Inclement weather can cause both wood and composite decks to become slippery and potentially unsafe. Learn how to prevent and treat a slippery outdoor deck at Decks.com.

Deck Inspection: Checklist for Framing, Footings and More
Concerned that your deck no longer meets safety regulations? Want to know how to spot signs of trouble for your deck? Review our checklist for inspecting your deck at Decks.com.
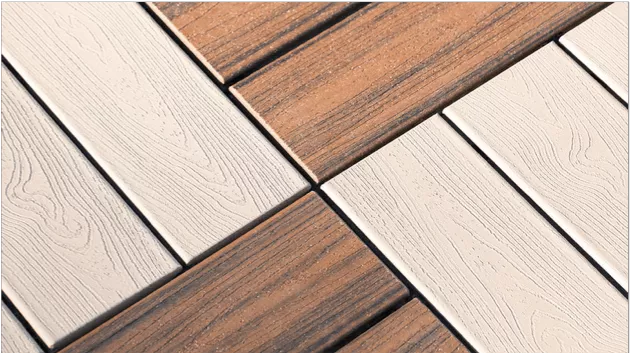
Capped Composite Decking
What is capped composite decking? It's a great option if you like the look of wood but not the maintenance. Learn about capped composite at Decks.com.
Cross Timbers
Cross Timbers composite decking material is manufactured by Elk Corp. in Dallas, TX.
More Helpful Resources
Explore Articles by Topic
Footings
Information related to installing frost footings for decks
Framing
Learn structural framing methods
Decking
Learn about wood and composite decking materials
Stairs
An in-depth look at the complex issue of how to build stairs
Railings
How to install guardrails and handrails to meet IRC code

Features
An overview on water drainage, benches, planters and lights
Design
The basics of deck design
Planning
Learn about permits and working with contractors

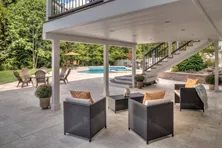
Porches & Patios
Build a covered deck to enjoy all seasons
Ledger
Proper attachment techniques
Care
Maintain your deck to maintain your investment
Materials
An overview on water drainage, benches, planters and lights
How to Remove Scuffs and Scratches from Composite Decking
Removing scuffs and scratches can help make your composite deck look like new. Learn how to fix and prevent your composite deck from future scratches.
How to Bug-Proof Your Deck & Floorboards
Prevent bug infestations below and above your deck using mesh, screens, and more. Learn how you can have a bug-free deck this summer with Decks.com.
How to Stain a Wood Deck
Staining your deck, porch or patio can help maintain the longevity of its appearance. Learn how to stain your deck with these easy to follow steps at Decks.com.
Eco Friendly Composite & Wood Decking Options
Looking for the most environmentally friendly way to add a gorgeous deck to your home? Learn how composite decking is made from recycled materials at Decks.com.
Bark Side Up vs. Best Side Up
Unsure which way to lay your decking boards? Check out our guide to learn if your deck boards should lay bark side up or bark side down at Decks.com.
Waterproof Decking Materials & Options
Did you know you can ensure the space under your deck stays dry, or even waterproof your decking boards? Explore all waterproof decking options at Decks.com.
Explore Articles by Topic
Footings
Information related to installing frost footings for decks
Framing
Learn structural framing methods
Decking
Learn about wood and composite decking materials
Stairs
An in-depth look at the complex issue of how to build stairs
Railings
How to install guardrails and handrails to meet IRC code
Features
An overview on water drainage, benches, planters and lights
Design
The basics of deck design
Planning
Learn about permits and working with contractors
Porches & Patios
Build a covered deck to enjoy all seasons
Ledger
Proper attachment techniques
Care
Maintain your deck to maintain your investment
Materials
An overview on water drainage, benches, planters and lights