


Deck Maintenance & Care Checklist for DIYers

A deck can add more enjoyment to your home and backyard, as well as resale value to your home. However, owning a deck comes with its own set of responsibilities -- particularly, regular maintenance. Decks are exposed to the elements year-round. Wood decks, in particular, are more susceptible to rot, mold, and insect infestation.
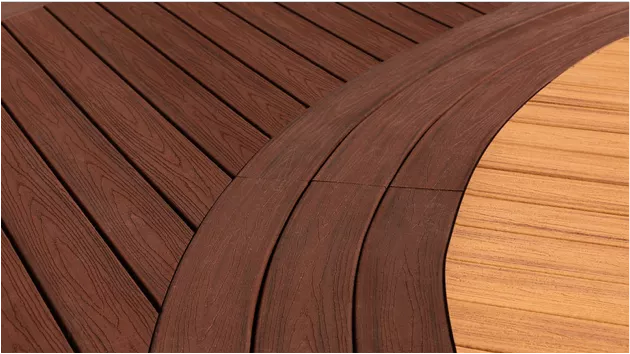
When comparing composite decking to wood, composite requires less stringent maintenance than wood since most composite deck boards have a core composed of a blend of wood and synthetics. This core is surrounded by a synthetic coating that prevents moisture and insects from creeping in and compromising the integrity of your deck. On the flipside, wood decking can be far more vulnerable to the elements and insects, as well as absorb more moisture because it’s an all-natural material.
However, the lifespan of a wood deck can be extended with regular maintenance. Regular maintenance is critical to maintaining your deck’s beauty and structural integrity so you can enjoy it for years to come. With that in mind, follow this checklist of wood deck maintenance tips to help keep your deck in good shape.
For more information, download the complete Care & Maintenance DIY Checklist:

1. Check for Decaying and Rotting Wood
Maintaining the structural integrity of your wood or pressure-treated wood deck is important to getting decades of safe use from it. The North American Deck and Railing Association (NADRA) recommends examining your deck at least once per year for any decaying or rotting wood.
When examining your deck, carefully and thoroughly inspect all areas, surfaces, and joists.
Here’s a quick deck maintenance DIY checklist of best practices for conducting your annual inspection:
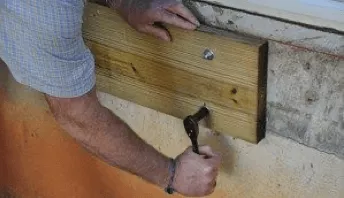
Check the ledger board. This is the board that connects your deck to your house or another anchoring structure for your deck. The ledger board is one of the most common areas where decks see their first instances of rot. Improper flashing of ledger boards can be a key factor in encouraging rot. Flashing your ledger boards can help create a barrier against moisture and precipitation. Another reason ledger boards may be more susceptible to rot is because the board was constructed with lumber that was not decay-resistant.
Check joists and support posts for decay. Joists and support posts are critical to the structural integrity of your deck. Not only should you check your joists and support posts for signs of rot, but you should regularly engage in good preventive maintenance to guard joists against rot.
Check deck boards. Check the surface of your deck for any signs of decay or infestation, or for any boards where the wood may have begun to split. Look at each individual deck board and be sure boards aren’t loose or that they don’t have small holes or feel soft. Loose boards should be tightened, while split or rotting boards should be replaced. If possible, also look at the underside of your deck board for rot and/or pest infestation, as well. In addition, make sure deck boards have proper gapping to allow for drainage and airflow.
How to Check Your Deck for Rot
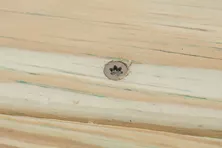
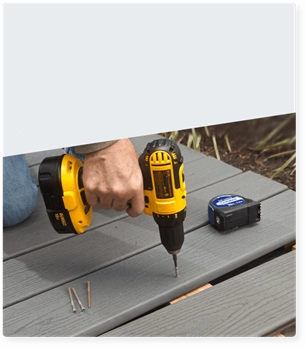
Use a screwdriver. You can use a screwdriver to check your deck to see if the wood is easily penetrated or feels soft. This could be one of the signs of dry rot.
Look for signs of infestation. In addition to poking your deck with a screwdriver to uncover any potentially rotted areas, you should also carefully examine your deck for small holes. These tiny holes can be signs of insect infestation or indicators that termites or other pests may have burrowed their way into the wood.
2. Make Sure Fasteners, Stairs and Railings are Secure
In terms of deck care and maintenance tips, deck owners should regularly check the integrity of fasteners on their deck, such as nails, screws, or anchors. Checking fastenings is particularly important to ensure your deck and railings aren’t wobbly.
One of the most important areas to check to be sure fasteners are secure is your ledger board, which connects your deck to a standing wall of a house or other structure. If your fasteners are not secure, this can cause your deck to pull away from a standing structure and risk collapse.
Here is a brief checklist of areas to inspect to be sure your deck’s fasteners are secure:
Ledger board. Check that your ledger board is securely fastened to a standing structure.
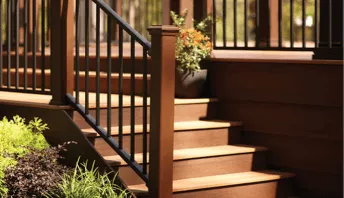
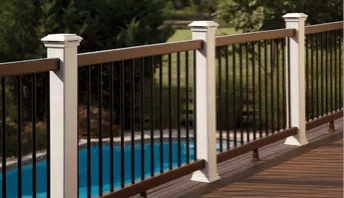
Stairs and railings. Inspect your stairs and railings to be sure they are both tightly secured and free from any signs of rot or decay.
Stair risers and stringers. Examine your stair risers and stringers as you’re inspecting your stairs and railings. Check for any loose fasteners and that your stairs feel stable and secure.
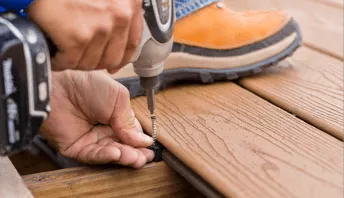
Check for stray nails or loose screws. Examine your deck boards for any loose screws or nails that are sticking up. This can pose a hazard and cause people to trip on your deck or may mean that your deck boards may be loose. Hammer these nails down and/or replace any loose screws that may have worn treads.
Check fasteners, nails, and screws for rust. Check for corrosion or rust on any fasteners. Take inventory of any rusty nails or fasteners and replace them with new ones. If you live in a saltwater environment, use stainless steel fasteners.
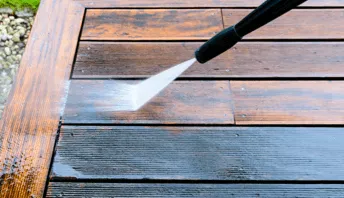
3. Clean The Deck and Clear Any Debris
All decks require thorough cleaning, even composite decking. Regularly cleaning your deck and making sure it’s free from any clutter or debris will not only keep your deck in good condition but will also help make your deck a safer space to enjoy. Cleaning your deck regularly helps prevent growth of mold or mildew that can lead to rot if left unchecked.
Here are some deck cleaning and maintenance tips to follow:
Schedule regular cleaning. Good deck maintenance means sticking to a regular schedule. Give your deck a thorough cleaning at least once or twice each year. Cleaning your deck in early spring is a great way to prepare your deck for summer BBQs or warmer weather gatherings.
Regularly sweep your deck. Treat your deck as you would any room in your home. Sweep your deck clean once a week or every two weeks to be sure dirt and debris aren’t clinging to its surface.
Remove leaves and debris. Leaves and other debris (including trash, such as used napkins or plastic bags that may have blown onto your deck) should be regularly swept and removed from the surface of your deck. Not only can these items create a slip-and-fall hazard, but, if they become saturated with water or moisture, can also lead to mold or mildew on your deck.
Remove any debris stuck between deck boards. In addition to sweeping your deck on a regular basis, you should also check between deck boards to be sure no debris has gotten lodged in those crevices. Damp or rotting leaves that are stuck between deck boards can also promote mold and mildew in these spaces. You can use a putty knife to get in between the boards to safely remove debris.
Thoroughly clean your deck with an appropriate cleaning agent. Choosing the right cleaning solution is important to maintaining your deck. You don’t want to use something that is too abrasive or that will cause damage.
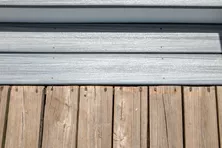
4. Stain and Seal a Pressure-Treated Wood Deck
Staining or sealing your wooden deck is an important facet of deck maintenance that should be done once every year to prevent rot and decay. There are a few key differences between staining and sealing a deck.
A sealer is a clear, water-resistant coating that can be applied to a wood deck. When dried, it forms a “seal” between your deck and the elements, protecting it from moisture that could lead to rot.
A deck stain is a solution that has a tint or pigment to enhance or change the color of a wood deck. While many modern deck stains are formulated to be water-resistant, it’s important to check the label to be sure that a deck stain is also a sealant.
If your deck stain formula does not have a protective sealant included, you will want to finish your deck with an added coat of sealer. Not only will this prevent stain from wearing away in high-traffic areas and giving your deck an uneven finish, but more importantly, it will add an extra element of water-resistance to your deck, safeguarding it from moisture.
When applying a sealant or stain, it’s important to do so when weather conditions are optimal. Check your weather forecast in advance to be sure you’ll have a period of dry weather when staining and sealing your deck. Rain or precipitation can ruin your hard work!
Here is a brief checklist of tips to follow when staining and sealing your deck. (Remember to also always read stain and sealer manufacturer’s requirements for additional information prior to staining and/or sealing your deck.):
Wait 48 hours for your deck to dry after cleaning. If you’ve given your deck a thorough cleaning or washing, be sure your deck has had ample time to dry before applying stain or sealer. Typically, you’ll want to wait 48 hours for your deck to fully dry after cleaning. However, if your deck sits in a shady portion of the yard and doesn’t receive much sunlight, you may want to wait an additional 24 hours before applying your stain or sealer.
Check the weather. Look at the weather forecast to be sure you have a period of dry weather so you can safely apply your stain or sealer. Temperatures between 50 and 90 F are optimal for making sure your stain and seal adhere properly.
Remove plants or furnishings from your deck and cover with plastic. If you have any furniture, potted plants or other items on your deck, remove them before staining. Stain or sealer can damage foliage or furnishing, so be sure to cover them, as well as any surrounding grass or shrubs, with sheets of plastic, tarps, or trash bags. If you have an elevated deck, covering the ground beneath it with a tarp can prevent stain or sealer from leaking onto your grass or any items you’re temporarily storing beneath your deck while staining.
Sand your deck. This step is optional but recommended if you have not sanded your deck in a while and there are multiple layers of sealer or stain that have built up on the surface of your deck. In order to help your stain or sealer better adhere to your deck, you’ll want to sand it first. Sanding your deck removes any old outer layers of stain or sealer, as well as smooths down any wood splinters. Use 80-grit sandpaper to sand your deck surface. You can use a pole sander to make this easier and avoid having to sand on your hands and knees.
Apply stain or sealer to a clean deck. After sanding your deck, be sure to sweep away the dust and grit. You can either sweep it or use a blower to clear away the dust. (Don’t use a hose to rinse away dust! Your deck will need to be dry in order to apply stain or sealer.) Be sure your deck has been cleaned before applying any stain or sealer. Not only will this help your stain or sealer adhere to your deck, but you won’t be “sealing” in any dirt or debris.
Note: If the stain you plan to use does not have a built-in sealer, you will want to stain your deck first, then wait until your stain has dried before applying sealer. A stain needs time to cure, so give yourself at least a full day before applying sealer or moving furnishings back onto your deck. If you need to apply a sealer on top of your stain, wait approximately 24 hours before applying sealer on top of your stain. Then, wait an additional 24-48 hours for your sealer to dry before walking on your deck.
How Do You Maintain a Pressure-Treated Wood Deck?
Maintaining a pressure treated wood deck requires similar levels of diligent care and maintenance on a regular schedule as you would with any other type of wood deck. Pressure treated wood has undergone a process that compacts water and preservatives into the wood to help make it more resistant to moisture, rot, and insects. Because of this process, pressure treated lumber sometimes feels wet when purchased in stores. However, the water evaporates, leaving those preservatives behind to react with the wood, extending its lifespan and endowing it with properties that repel insects and moisture.
Despite this unique process, pressure-treated wood should be given the same amount of regular care, cleaning, and maintenance as other types of wood decks, ranging from pine to cedar to redwood. Using a quality sealant is a critical part of treated lumber deck maintenance. Like any type of wood deck, adding a coat of sealant to a pressure treated wood deck will offer added protection against moisture.
Regardless of the type of wood deck you choose, committing to a regular schedule of maintenance and upkeep can give you years of enjoyment from your deck. Following these tips and checklists can help make it easier to keep track of your annual and seasonal deck maintenance routines.
For more information, download the complete Care & Cleaning Guide:
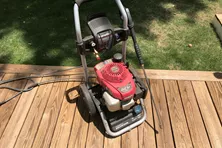
Pressure Washer Buying Guide
When it comes to cleaning your deck, it's important to choose the right pressure washer. Use this pressure washer buying guide from Decks.com to help with your decision!
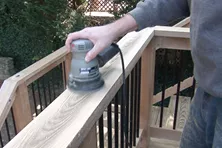
How to Sand a Wood Deck
Sanding a deck is important to prevent any wood slivers and imperfections. Use these instructions to properly sand and refinish your deck.

Can You Paint or Stain Composite Decking?
Most composites don’t require painting or staining. However, if you are considering staining or painting your deck, you can learn how to do so and what you’ll need at Decks.com.
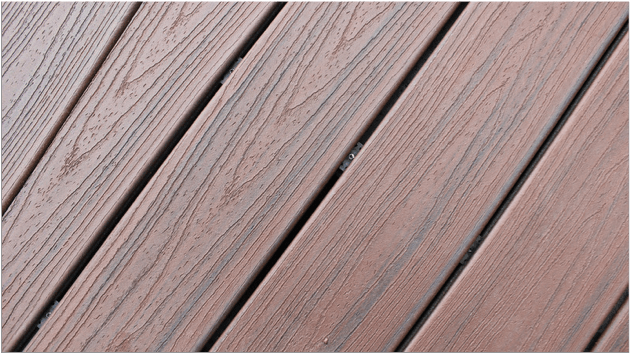
Capped Composite Decking
What is capped composite decking? It's a great option if you like the look of wood but not the maintenance. Learn about capped composite at Decks.com.
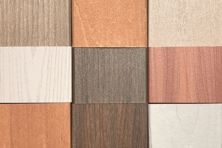
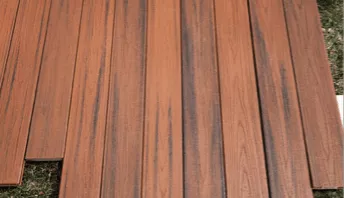
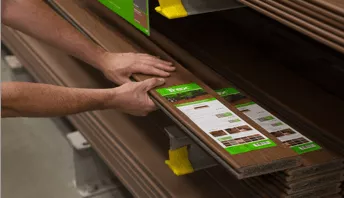
Types of Wood Decking Materials
There are many options for choosing the best wood for your deck, like pressure treated pine, cedar, redwood or mahogany. Compare types of wood at Decks.com.
More Helpful Resources


Explore Articles by Topic
Footings
Information related to installing frost footings for decks

Framing
Learn structural framing methods
Decking
Learn about wood and composite decking materials
Stairs
An in-depth look at the complex issue of how to build stairs
Railings
How to install guardrails and handrails to meet IRC code

Features
An overview on water drainage, benches, planters and lights

Design
The basics of deck design
Planning
Learn about permits and working with contractors

Porches & Patios
Build a covered deck to enjoy all seasons
Ledger
Proper attachment techniques
Care
Maintain your deck to maintain your investment
Materials
An overview on water drainage, benches, planters and lights

How to Remove Scuffs and Scratches from Composite Decking
Removing scuffs and scratches can help make your composite deck look like new. Learn how to fix and prevent your composite deck from future scratches.

How to Prepare & Protect Your Deck for Winter
Preparing and protecting your deck for the cold weather is important to ensure the longevity of your deck, especially in cold climates. Learn how to prepare your deck for winter at Decks.com.

How To Fix Loose Deck Railing and Prevent Wobbly Banisters for Years
Learn how to fix a loose outdoor railing on your deck to avoid future damage.

Eco Friendly Composite & Wood Decking Options
Looking for the most environmentally friendly way to add a gorgeous deck to your home? Learn how composite decking is made from recycled materials at Decks.com.
Composite vs Wood
Composite and wood decking differ in terms of maintenance, costs, labor, and lifetime value. Compare composite vs wood decking at Decks.com.
Gorilla Deck
Gorilla Deck Vinyl Decking is manufactured by Homeland Vinyl Products in Birmingham, AL.
Explore Articles by Topic
Footings
Information related to installing frost footings for decks
Framing
Learn structural framing methods
Decking
Learn about wood and composite decking materials
Stairs
An in-depth look at the complex issue of how to build stairs
Railings
How to install guardrails and handrails to meet IRC code
Features
An overview on water drainage, benches, planters and lights
Design
The basics of deck design
Planning
Learn about permits and working with contractors
Porches & Patios
Build a covered deck to enjoy all seasons
Ledger
Proper attachment techniques
Care
Maintain your deck to maintain your investment
Materials
An overview on water drainage, benches, planters and lights